We adopted Sophia when she was about 6-7 weeks old. She was one of 5 kittens that were discovered and rescued from a forested area on northern Vancouver Island. The first year was definitely a challenge with her PTSD and anxiety. But, as her trust levels increased, so did her interaction with us. Sophia has now passed her second birthday. She is fit, healthy and tremendously curious! She likes to be included and involved in all projects!
Sophia helping with quality control!
This blog post is about the construction of a new storage bench. Of course, Sophia participated fully during all stages of construction!
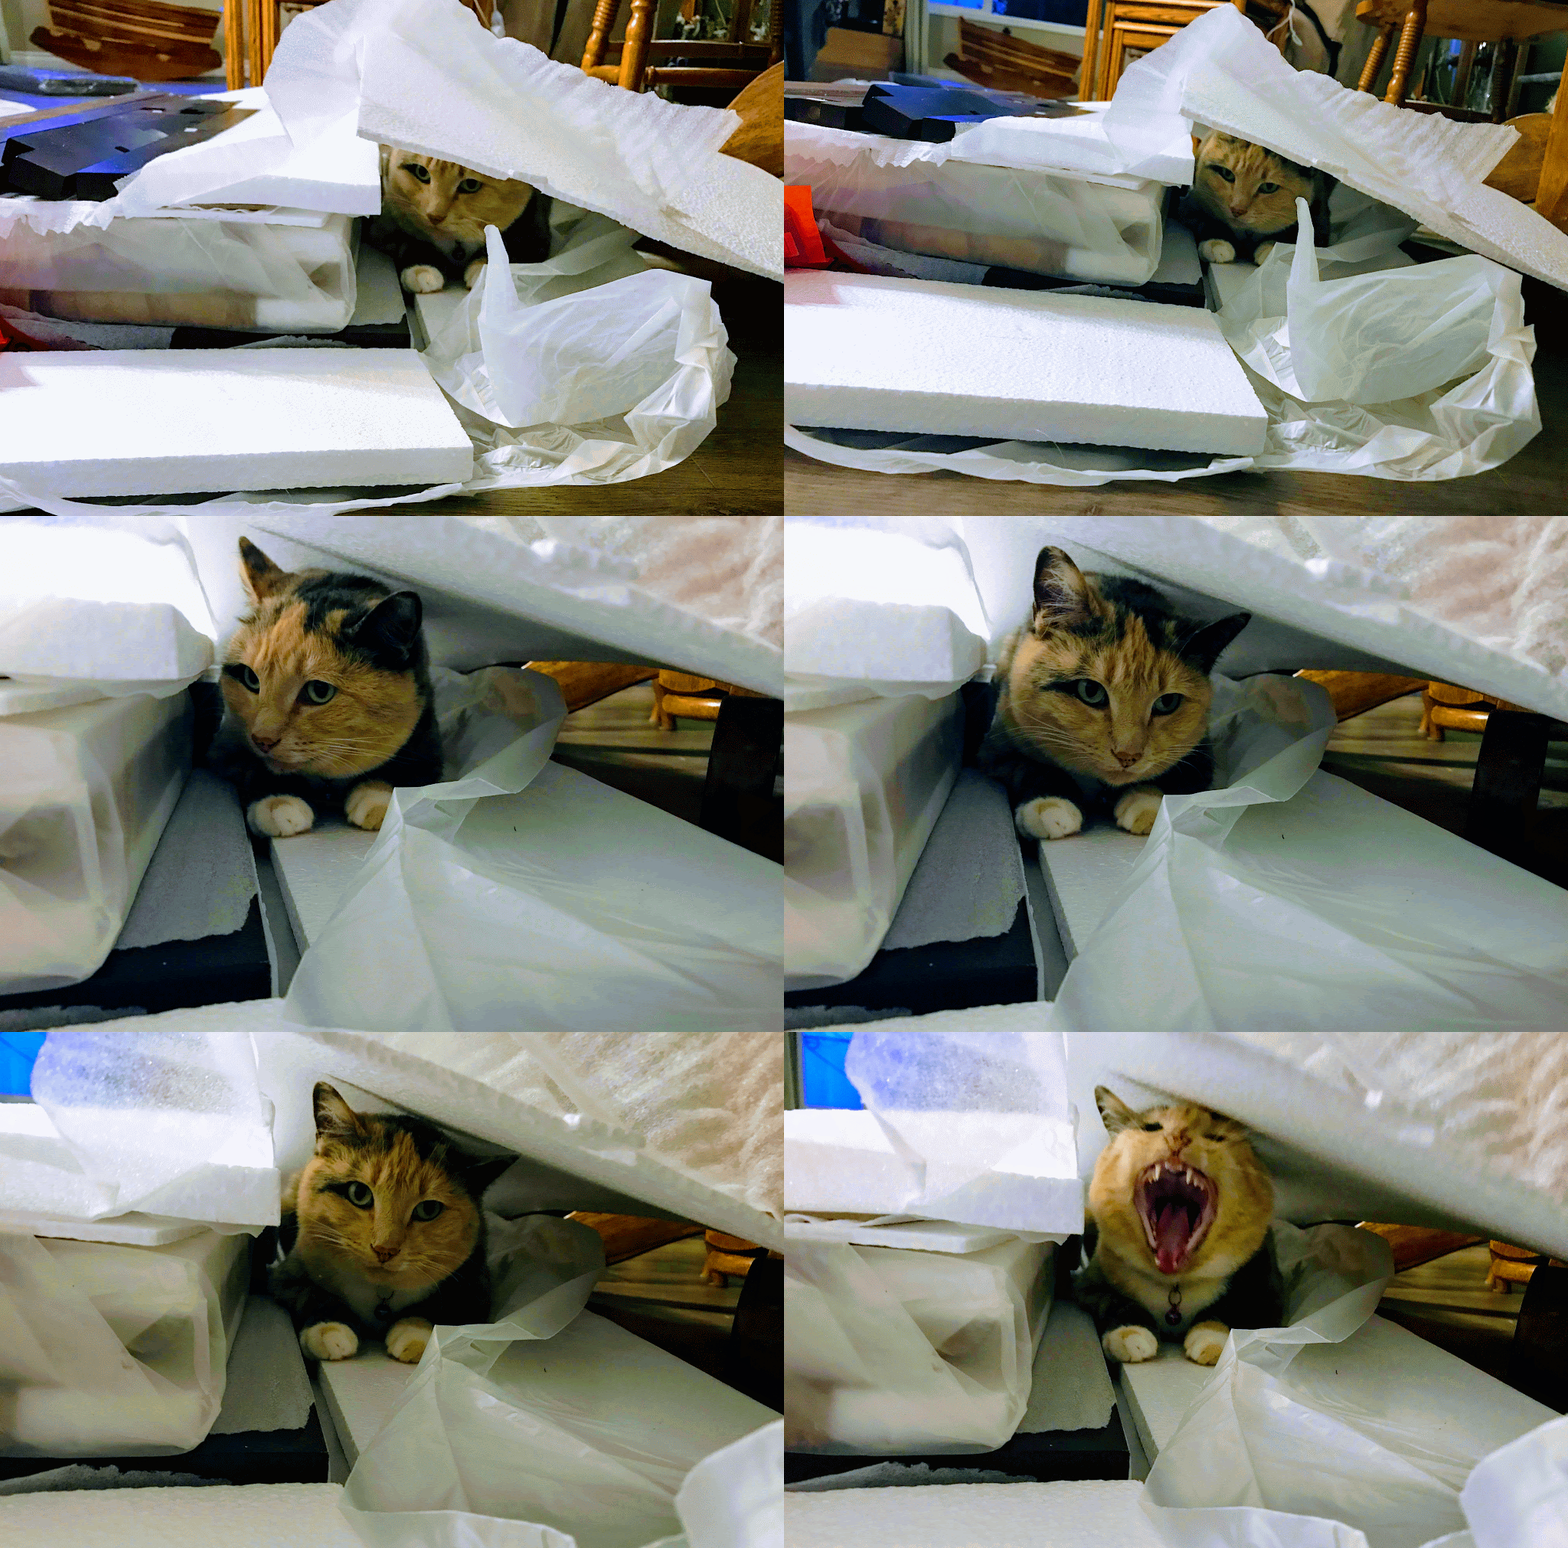
We carefully unpacked the box….Sophia had to check out the color and quality of the wooden pieces. Translated, this meant exploring and hiding inside the layers of packing material while we read the assembly instructions.
Sophia checks out the packaging for us…
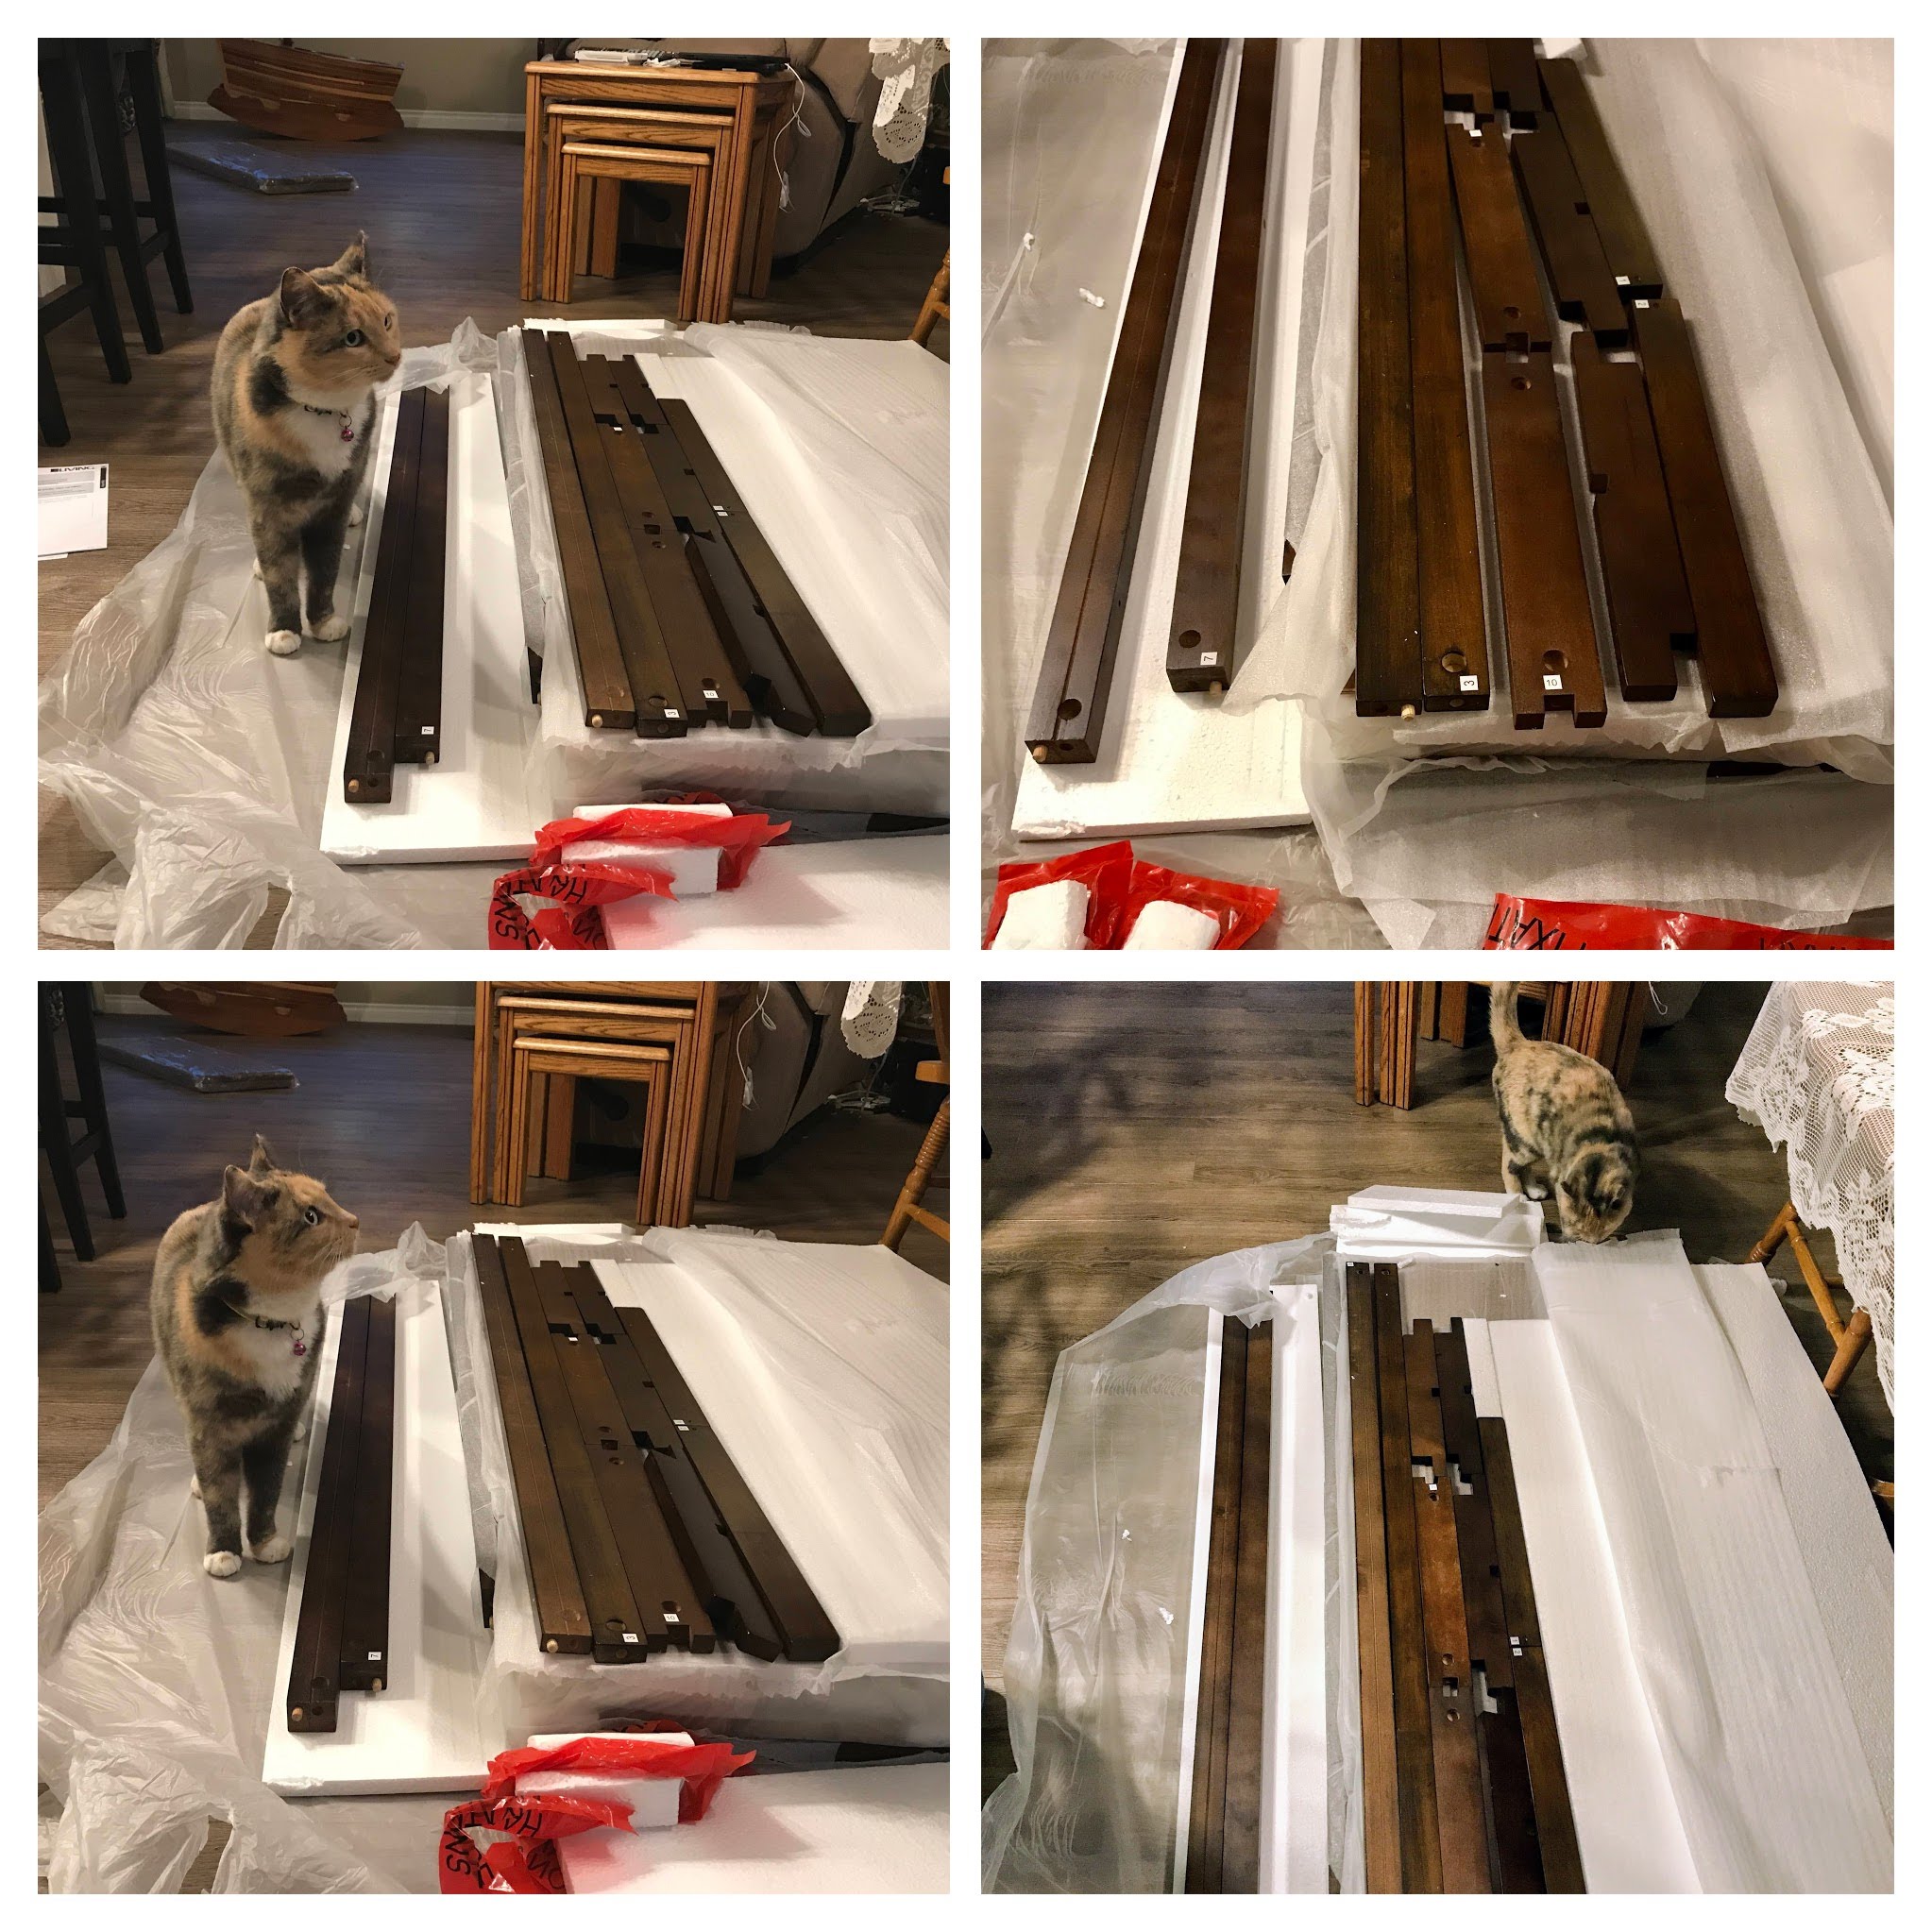
While we sorted out the necessary components for this project, Sophia supervised making certain we were working diligently.
Sophia inspects the components….
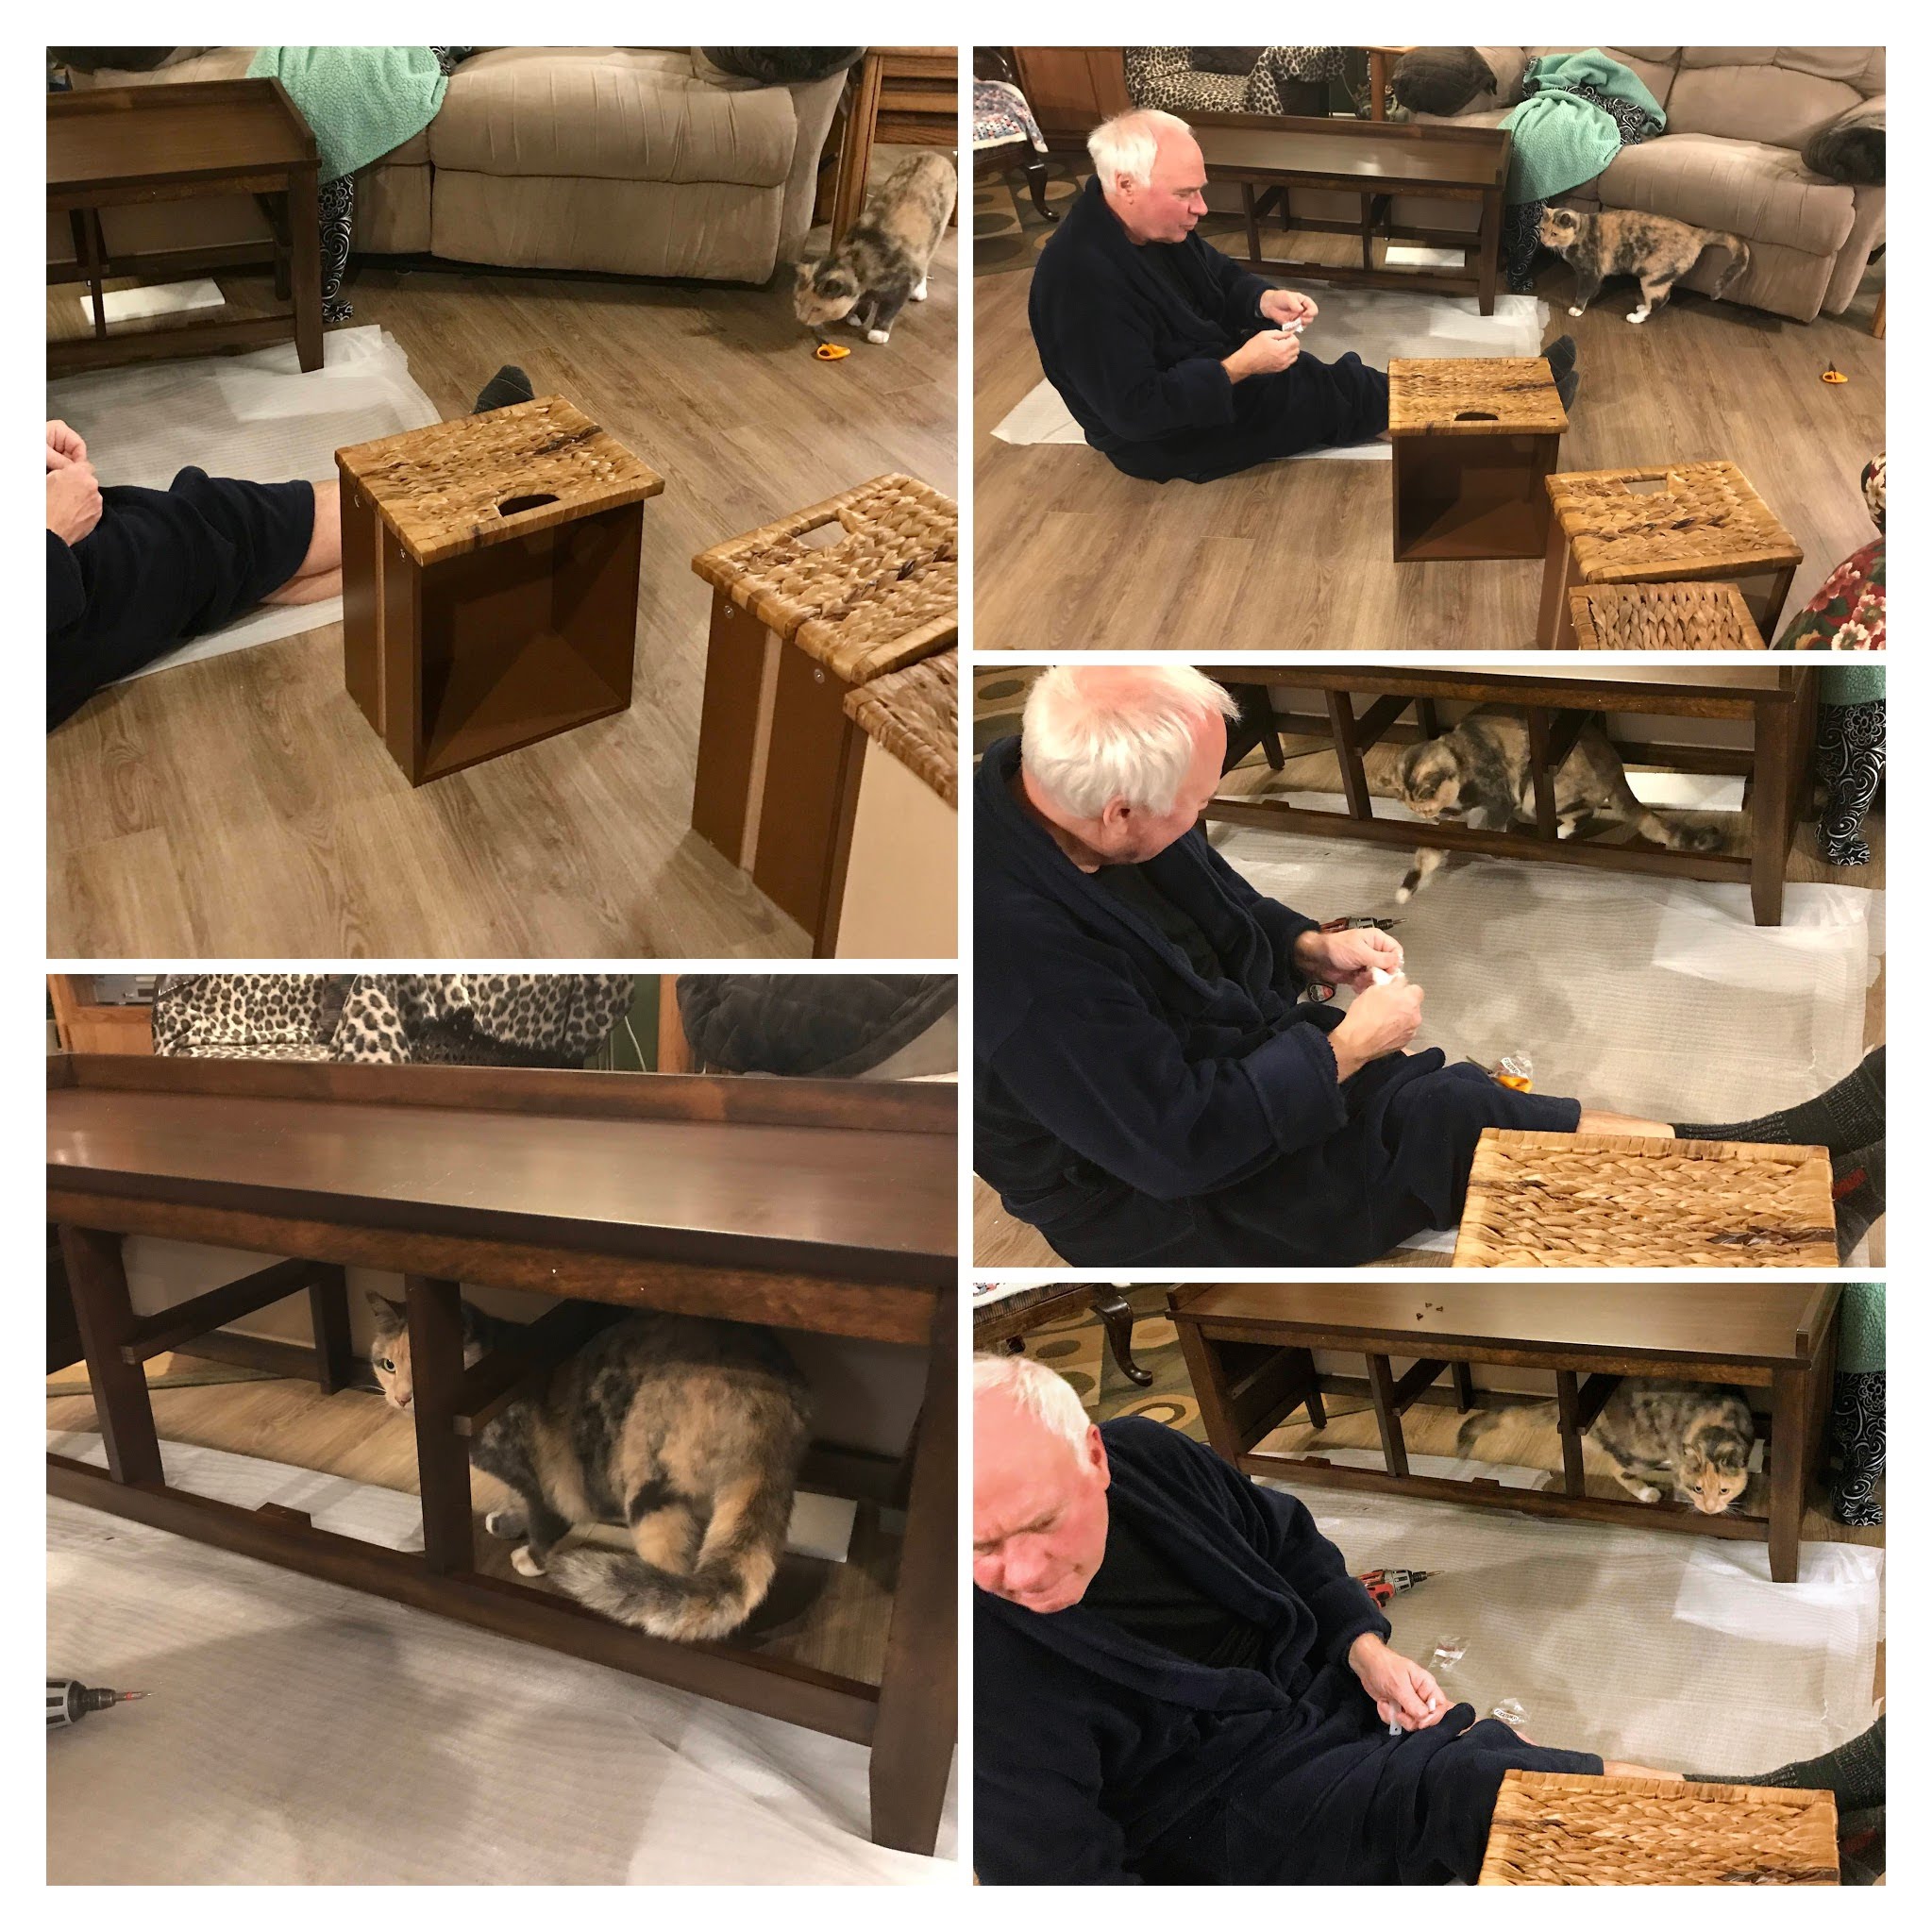
The next step was to assemble the sides, top, and bottom sections. Sophia watched from a nearby dining room chair while I located numbered pieces and my husband assembled them together.
Assembling the sides while Sophia observes from a safe location!
The rattan fronts on the doors seemed to intrigue Sophia and she decided to come closer to the action. She hid inside the bench structure and watched the process–even putting out her paw to assist!
Sophia getting closer to the action and extending her paw to help!
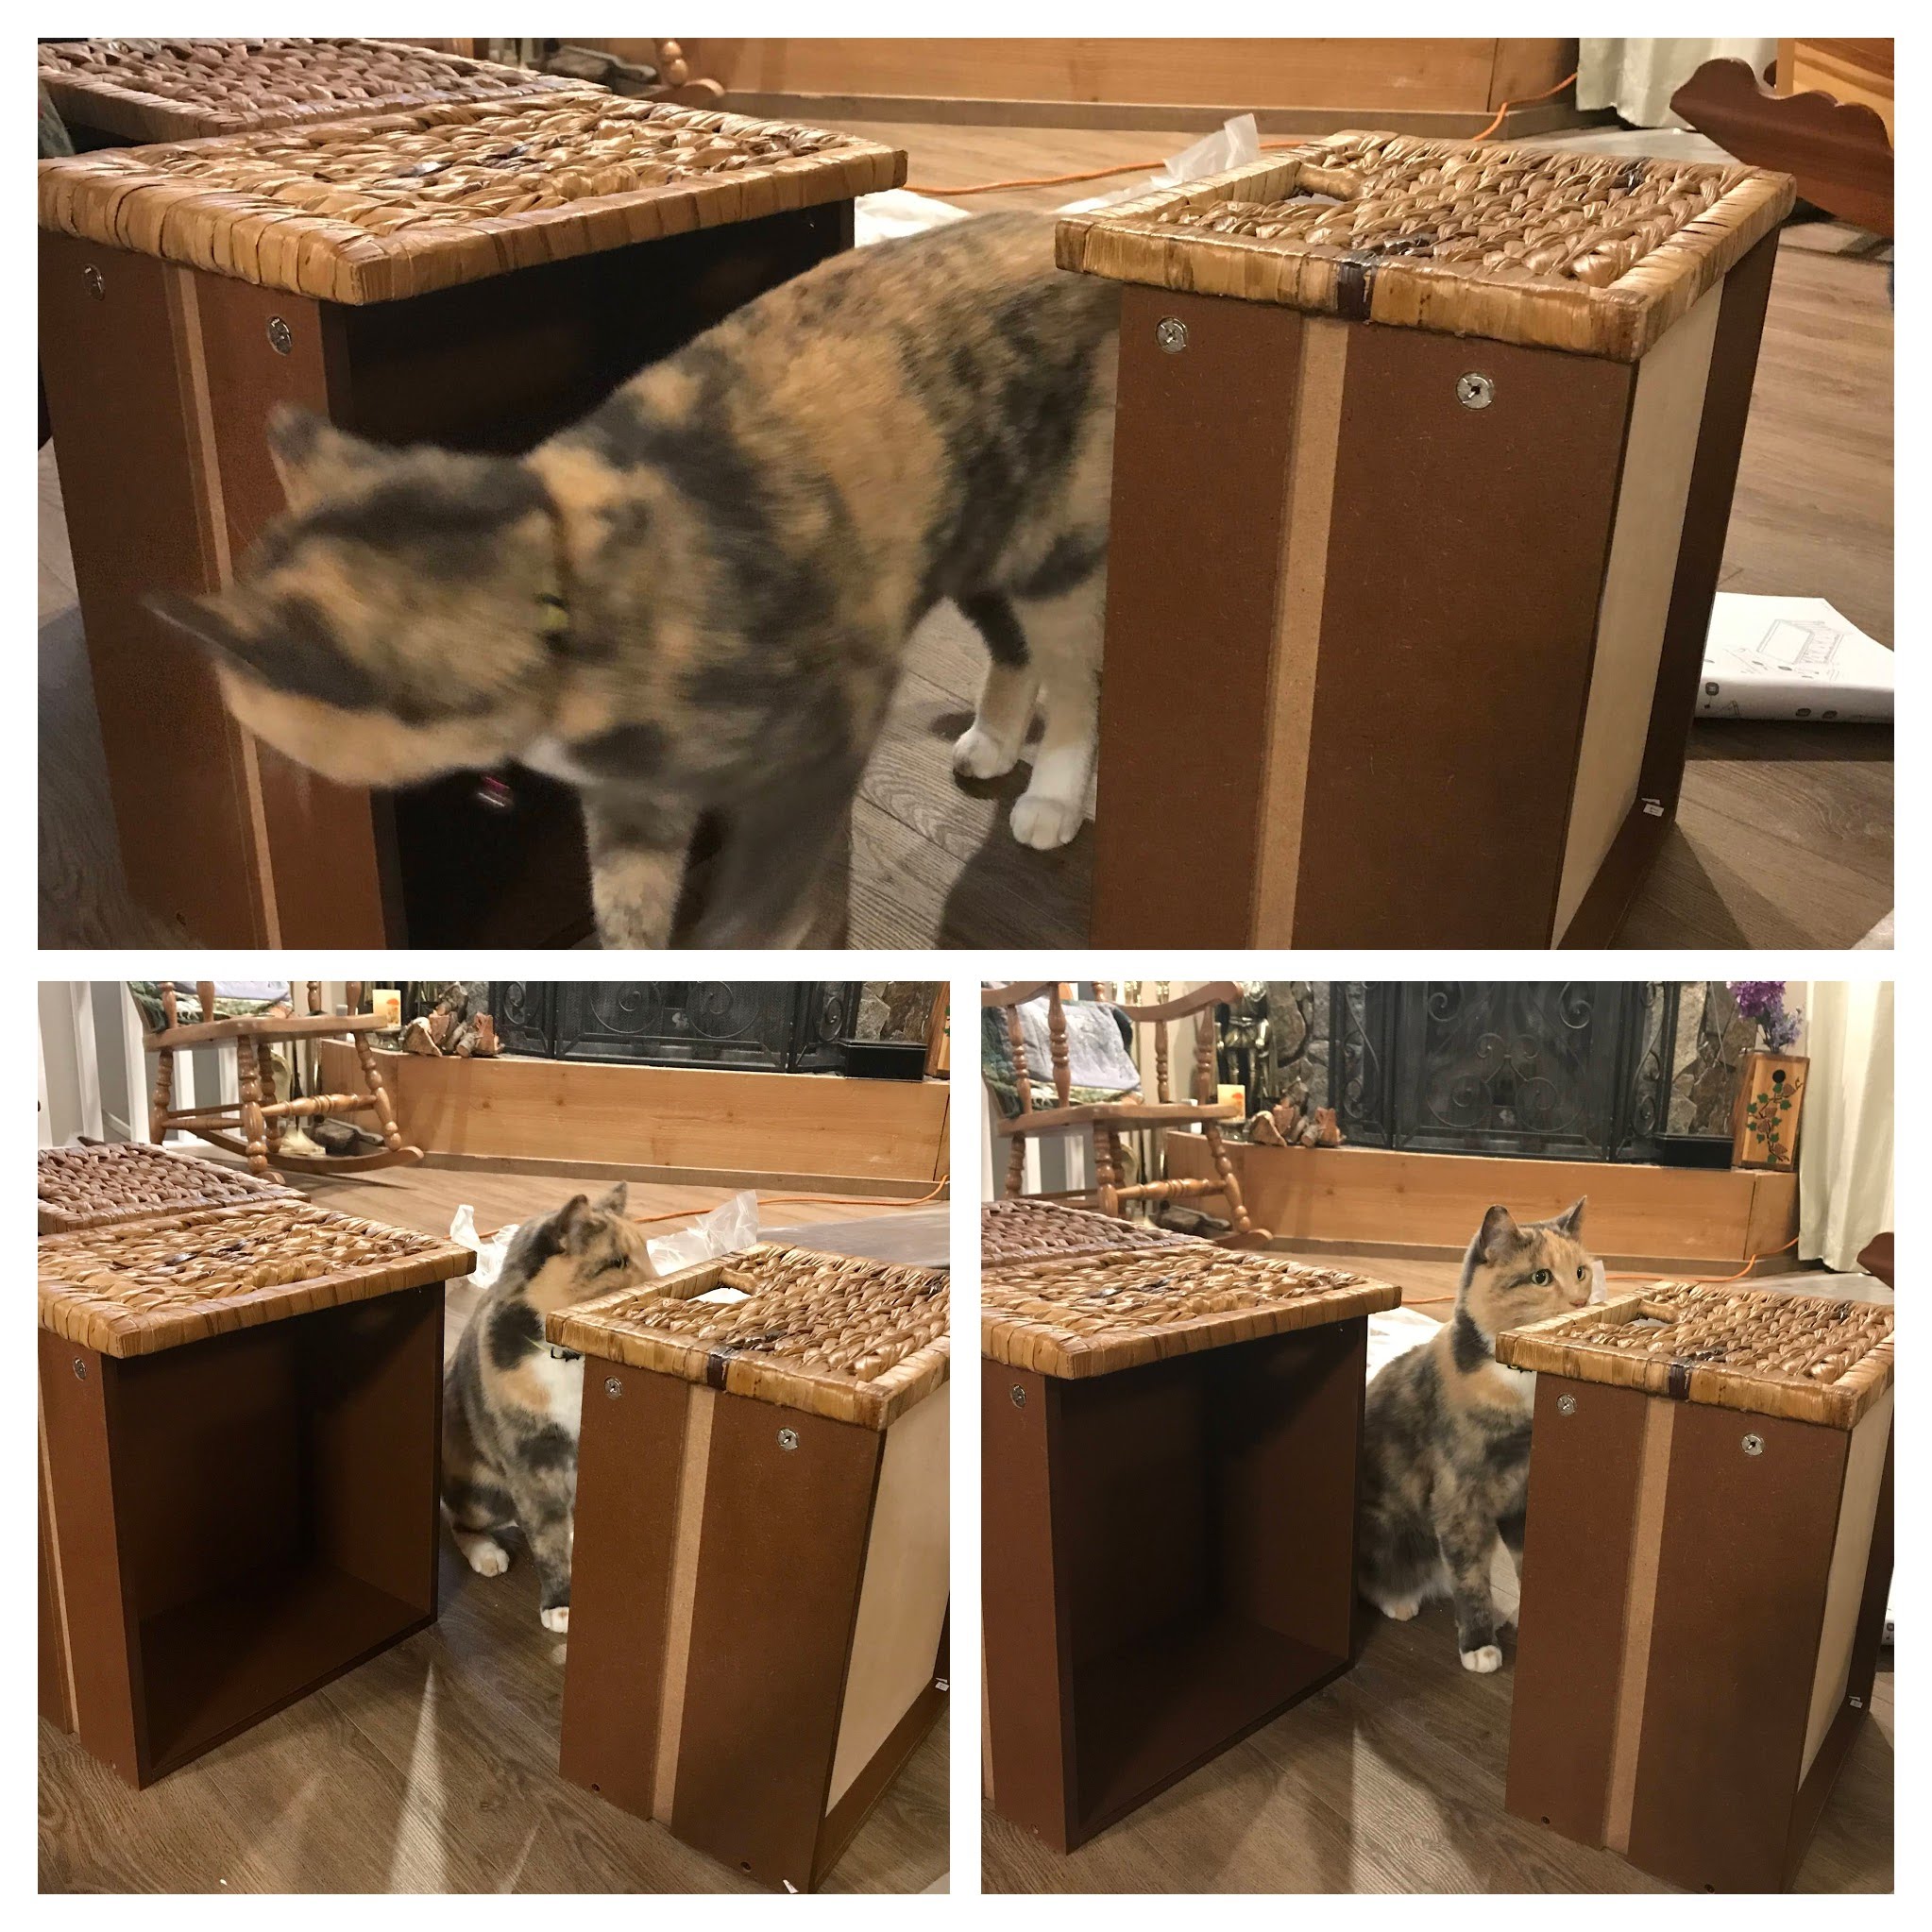
Sophia had an in depth inspection of the drawers. She seemed to approve of the construction, but was a little too fascinated by the decorative rattan on the front.
Sophia gives a final inspection of the drawers
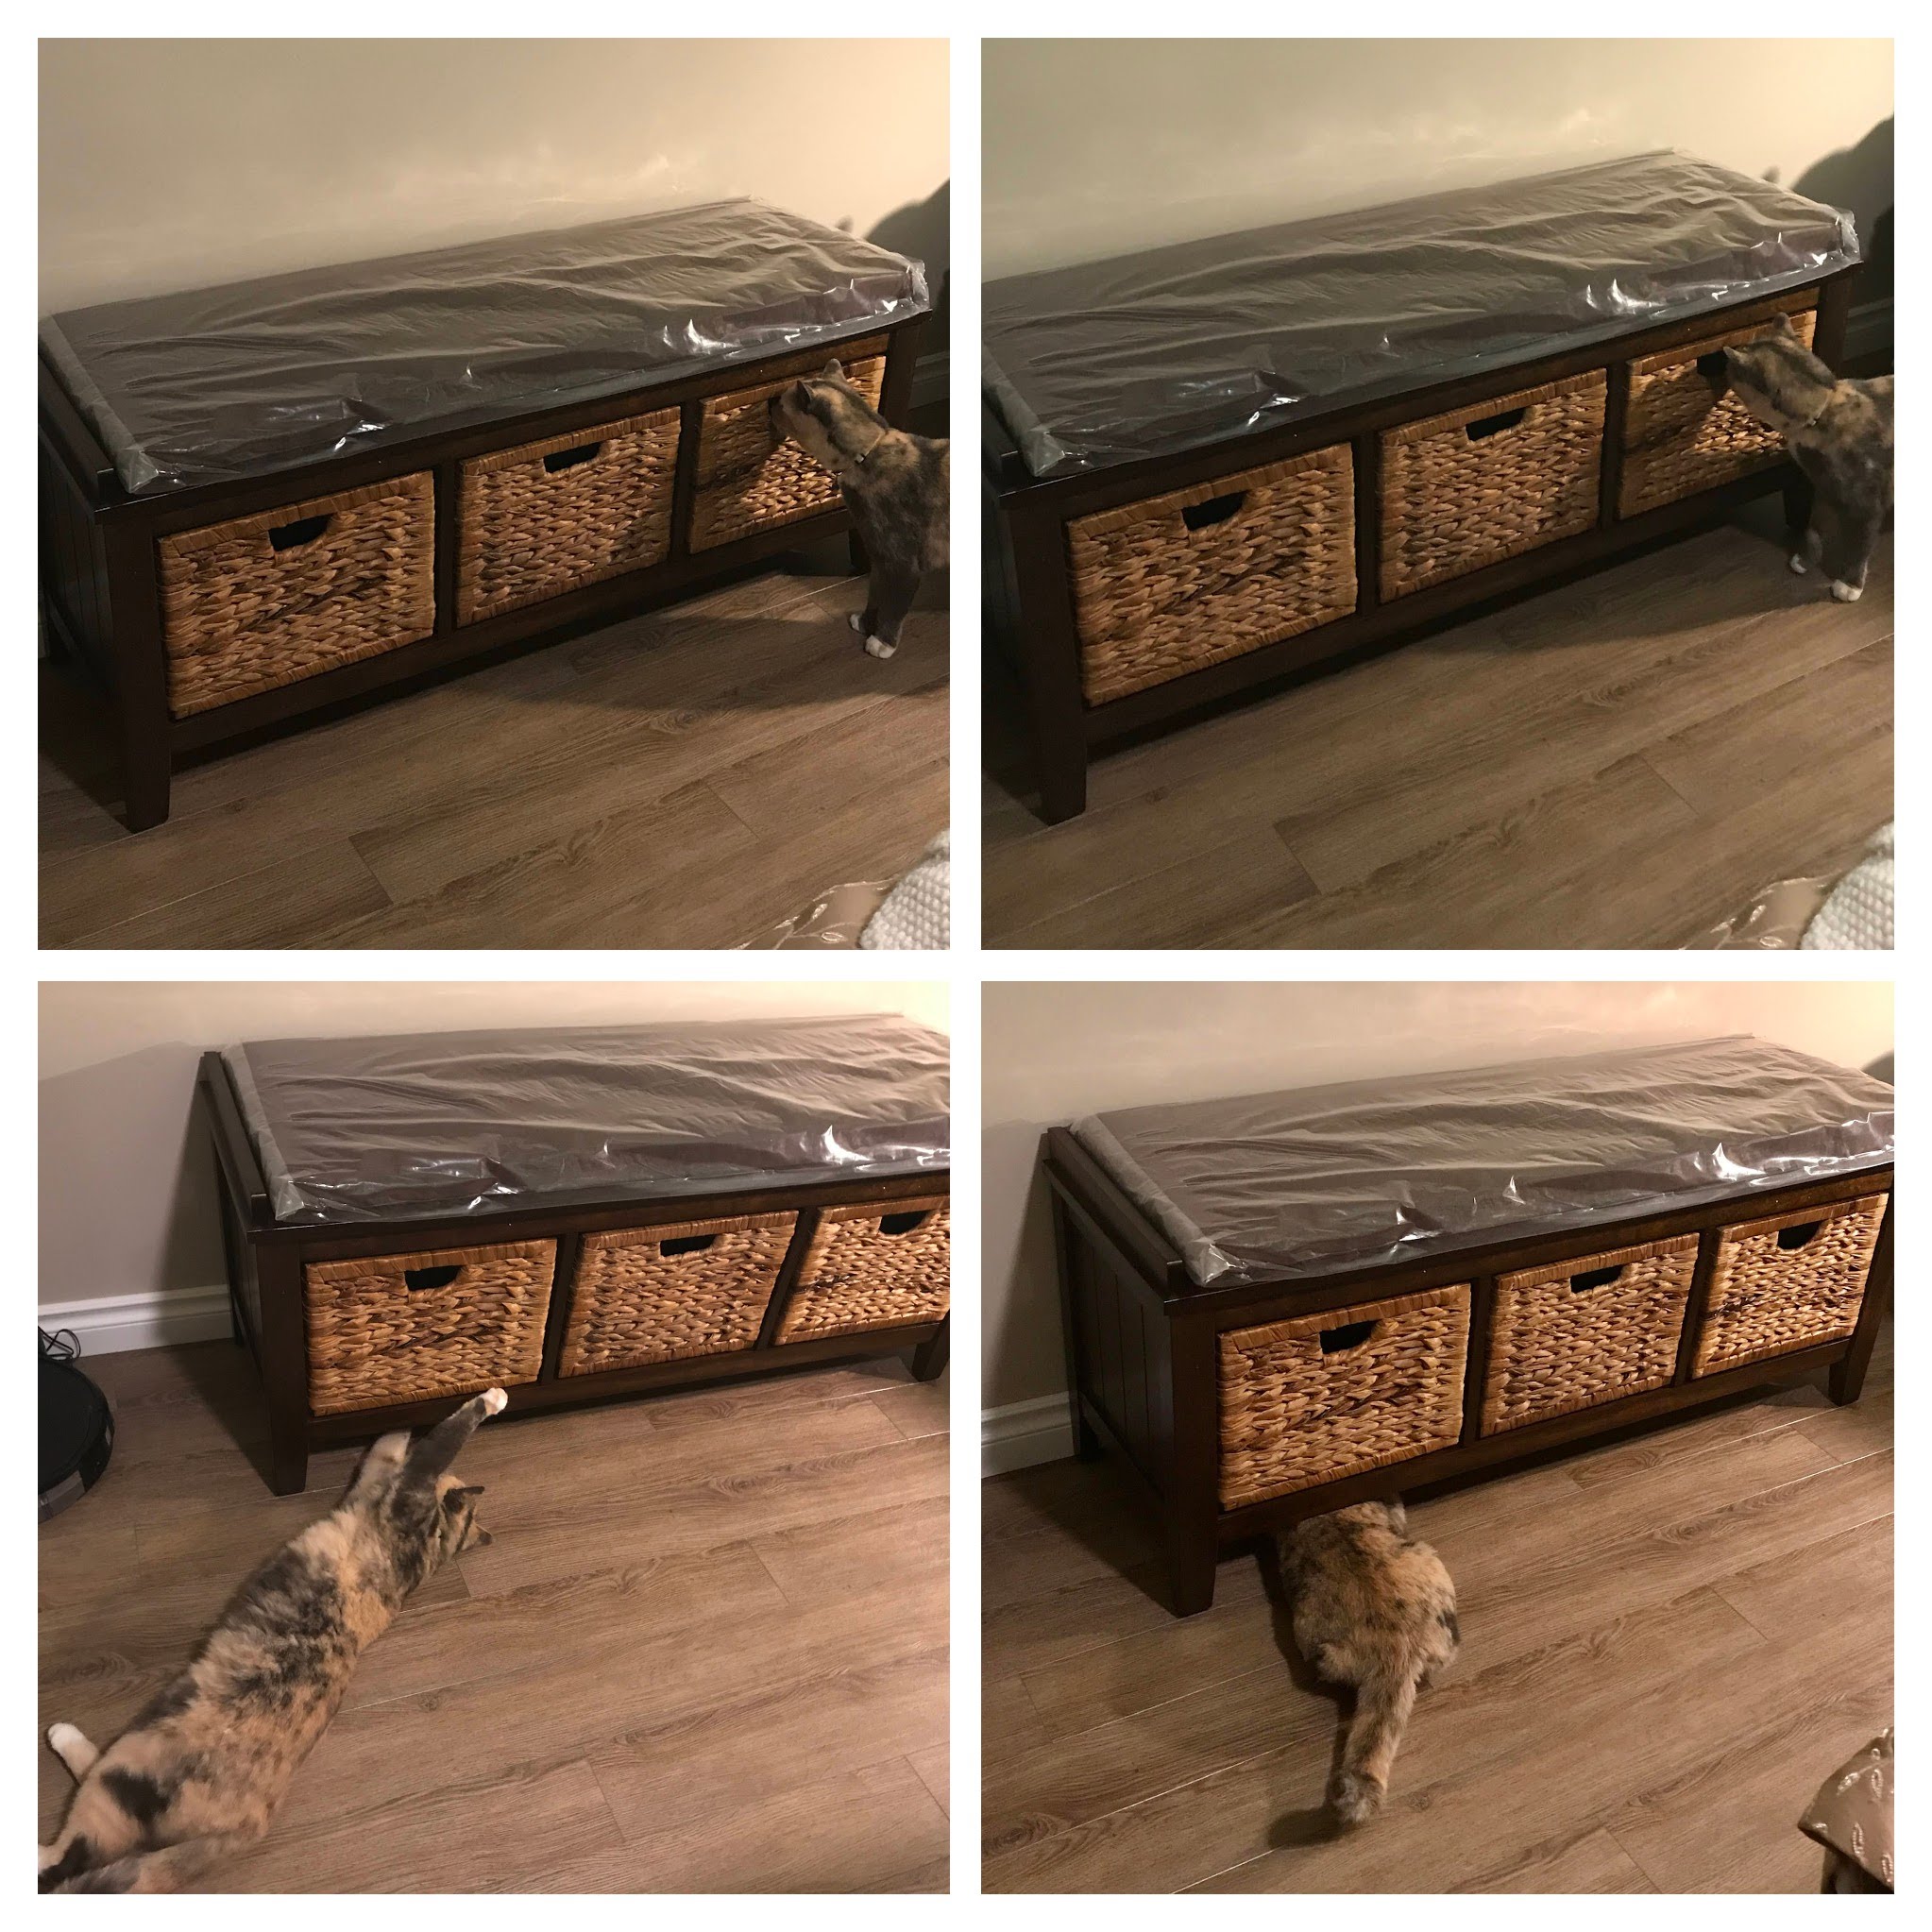
Newly assembled, we moved the storage seat into its new location. Of course, Sophia followed and gave the furniture its final inspection from the sides and front. Luckily, it was too tight when she explored underneath, so this won’t be a new hiding spot. She adores playing tag with us!
Sophia inspects the new furniture and thankfully can not fit underneath it!
This was a quick and easy little covid project. We all assisted and are very content with the end result. Now ….Back to hiking and exploring around Vancouver Island.
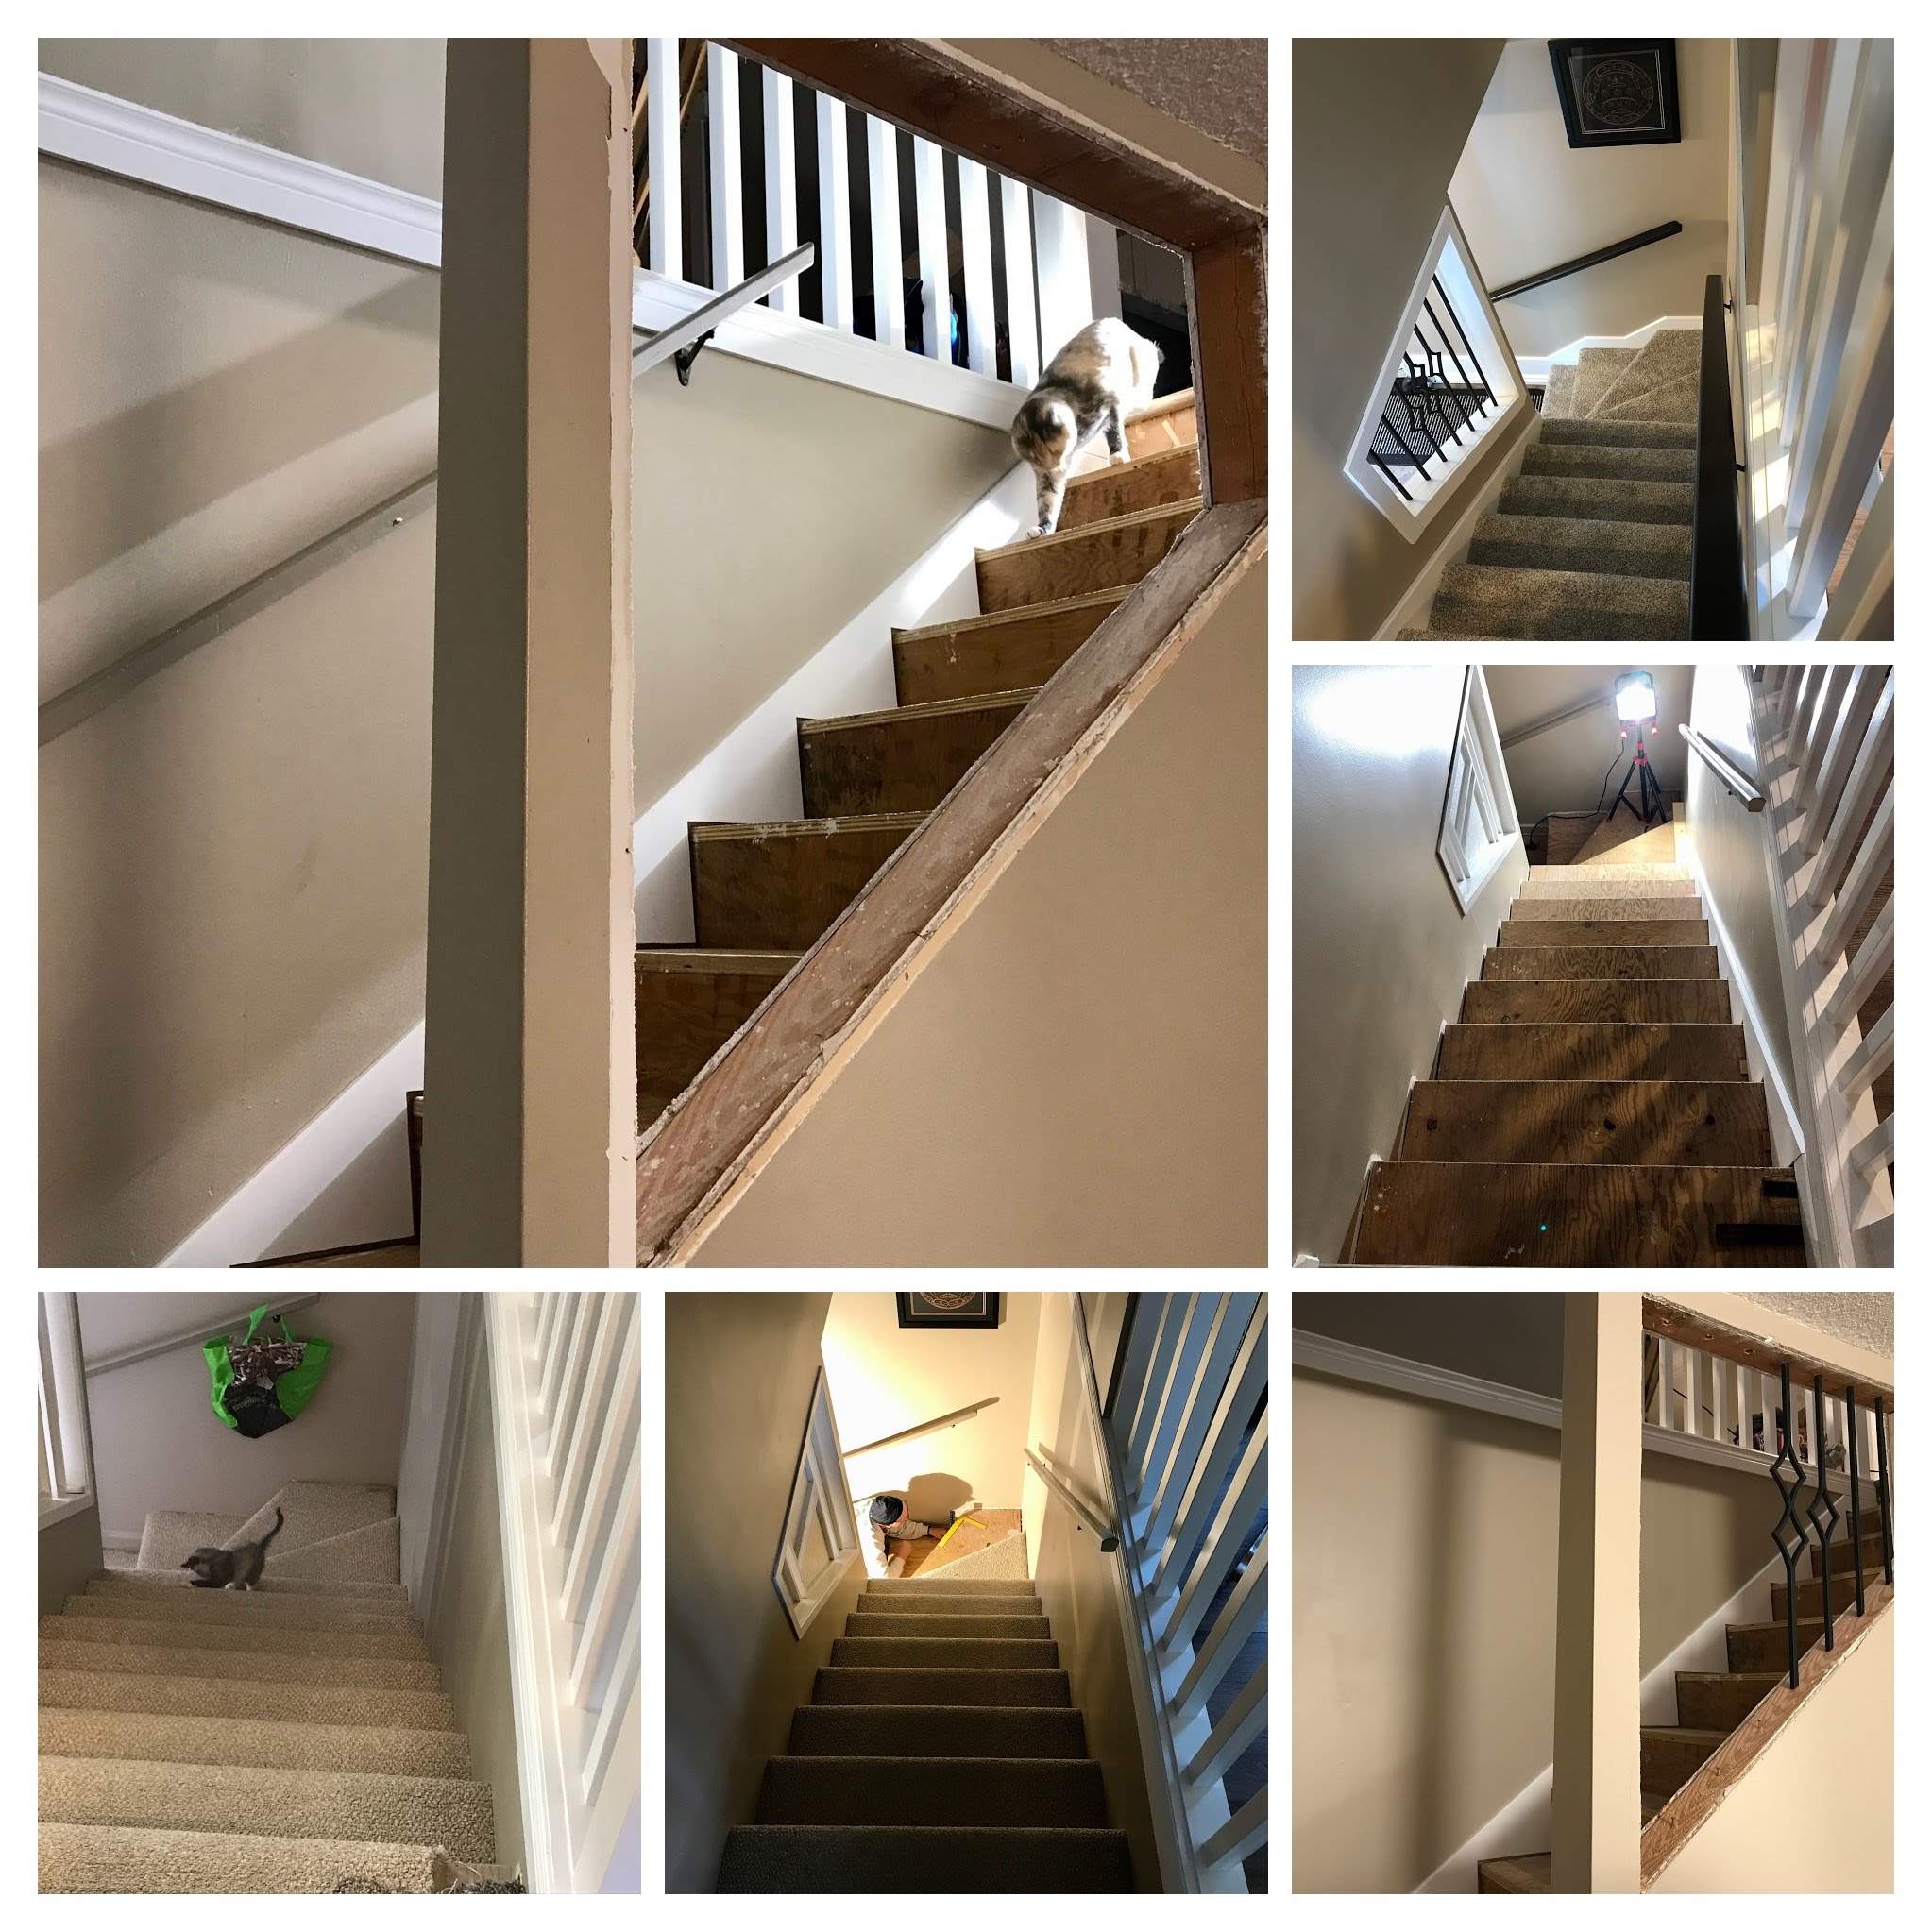
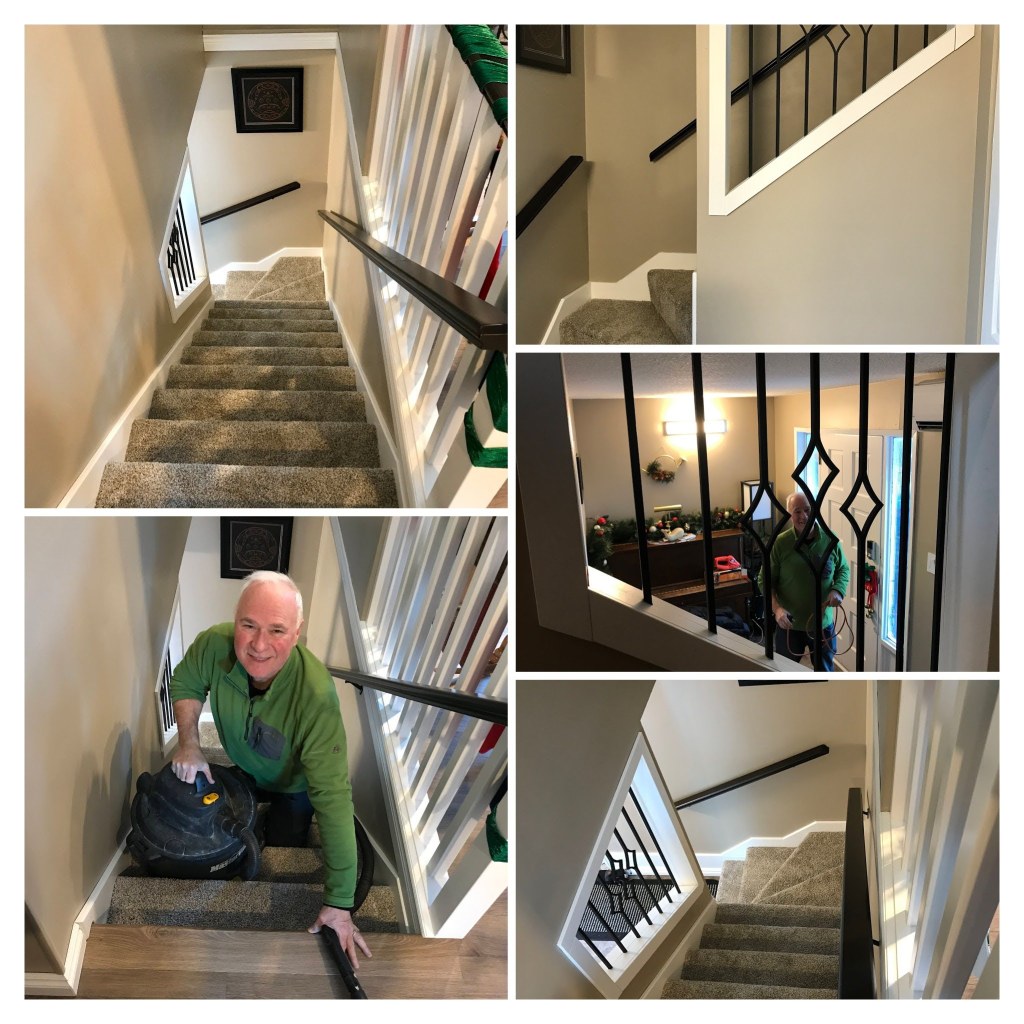
Covid lockdown periods offer an opportunity to focus on projects near and dear to your heart. This blog post illustrates a renovation project to update the interior stairwell area of our house.
Updating the interior stairwell area of our house. Winter 2021.
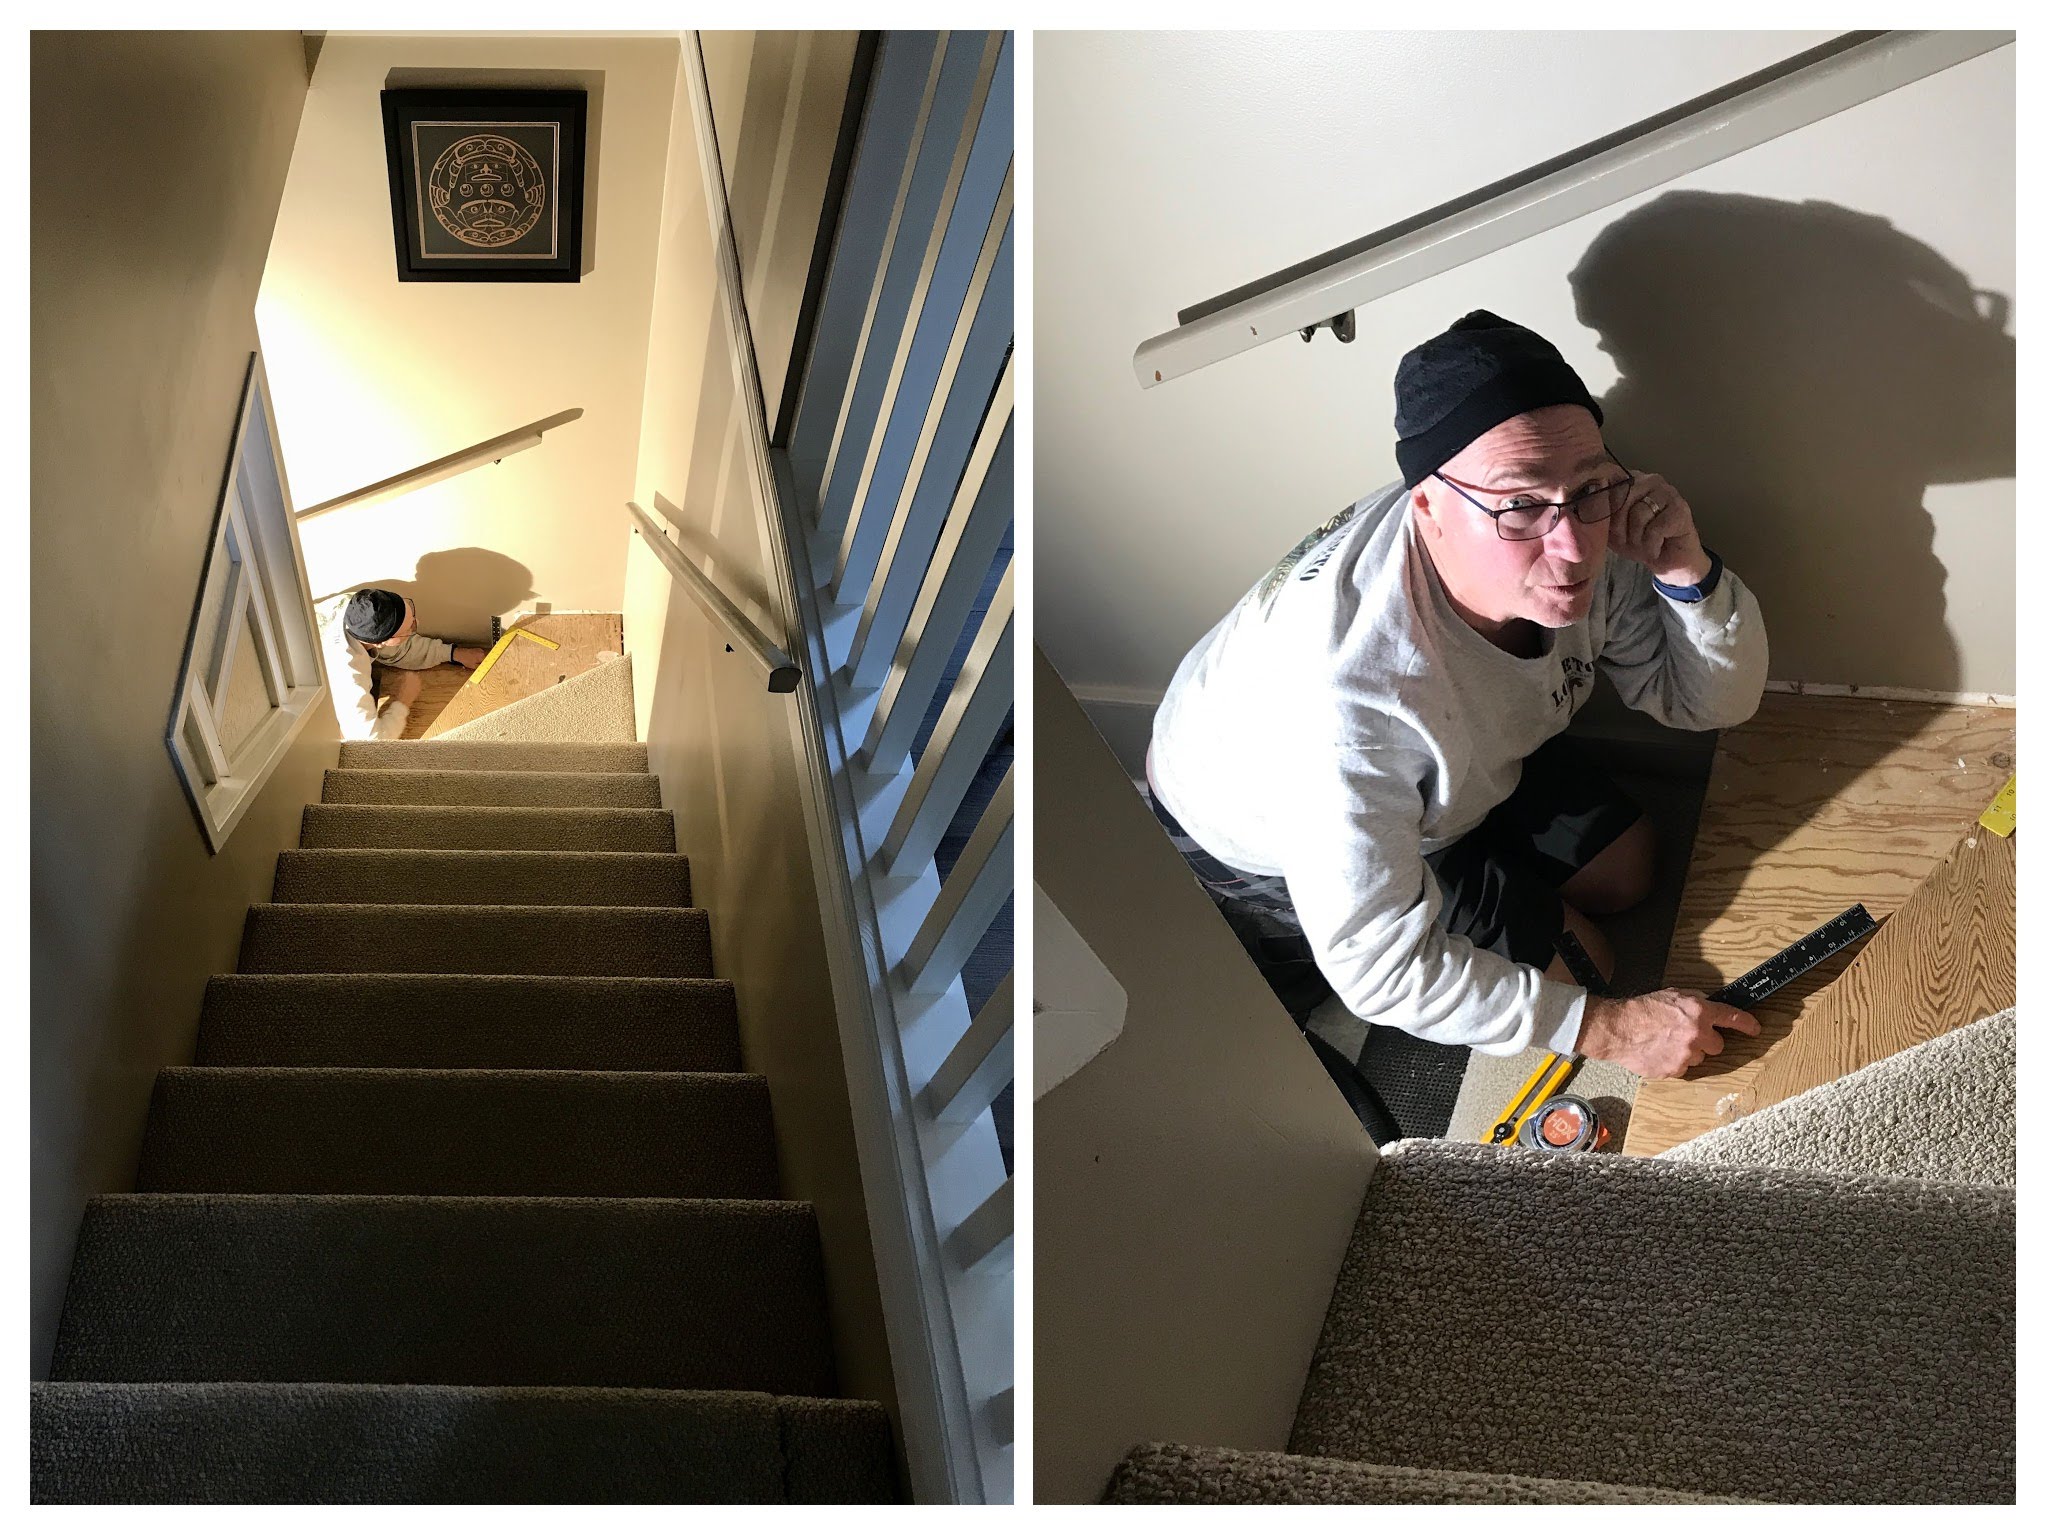
I assisted with color selection, design, holding levels and boards during measurement and installation, and was the official photographer. My husband was the driving force, remodeling expert, and leader of this renovation project!
Our goal was to update the stairs area and add more natural light into the stairwell.
After researching ideas on multiple home renovation sites; then determining what was actually possible to alter and update in our 1970’s house; we commenced the project.
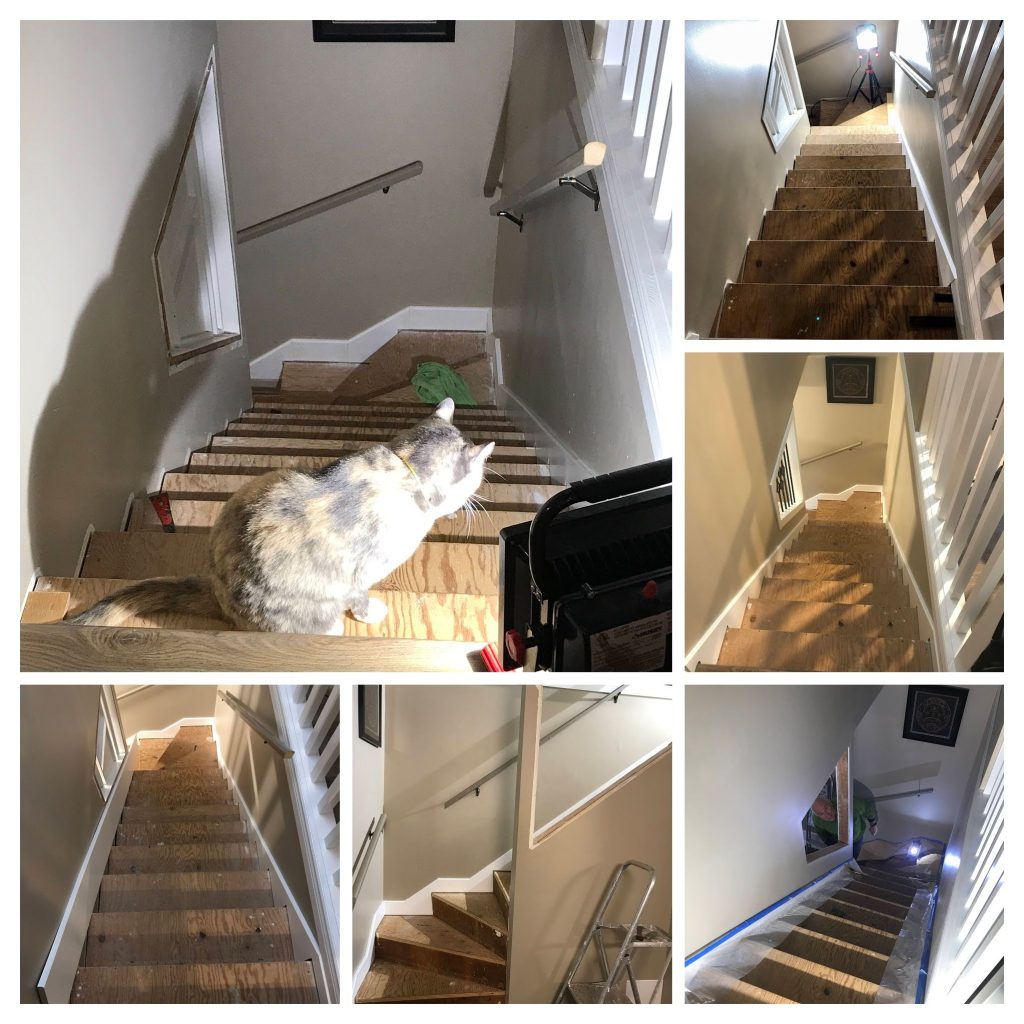
Removing previous carpet, underlay, nails and staples!
The current carpet and underlay were removed. All the nails and staples were pulled out. That’s a tedious job!
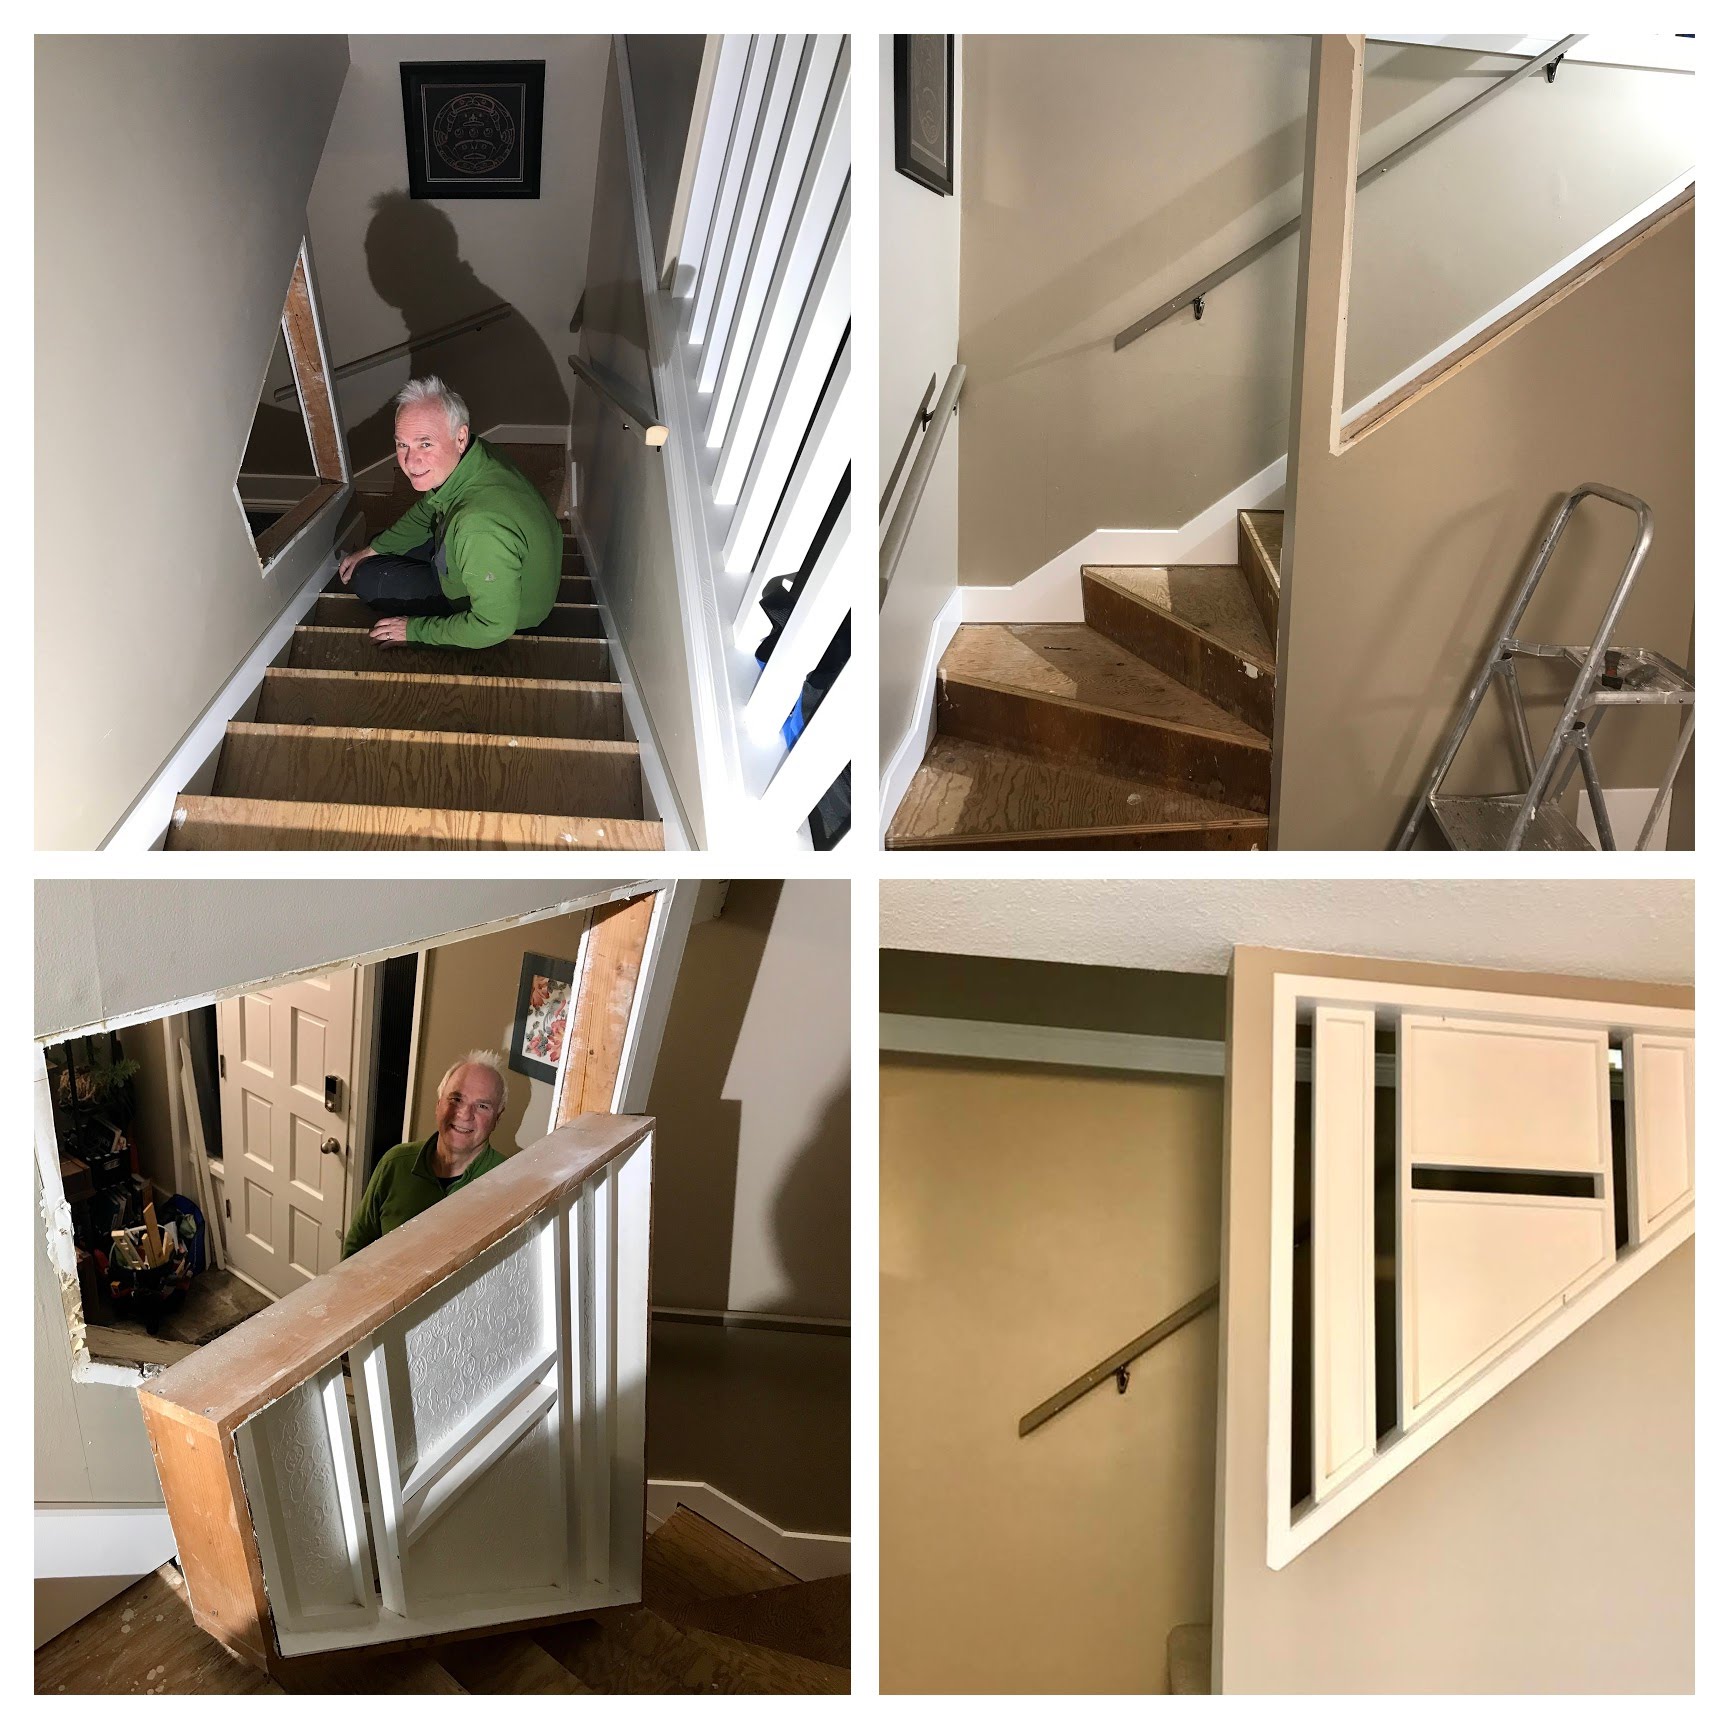
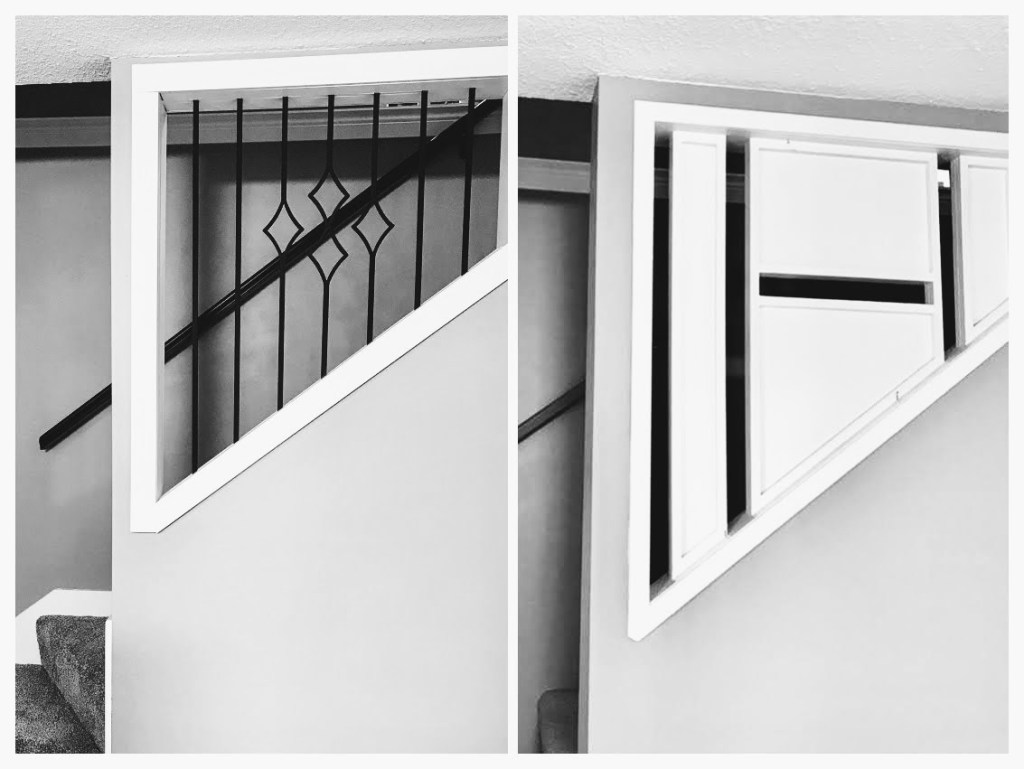
Removing the old pass-through opening…
The wood and painted plexiglass panels were removed from the pass-through opening. I must confess, I was never fond of that retro design!
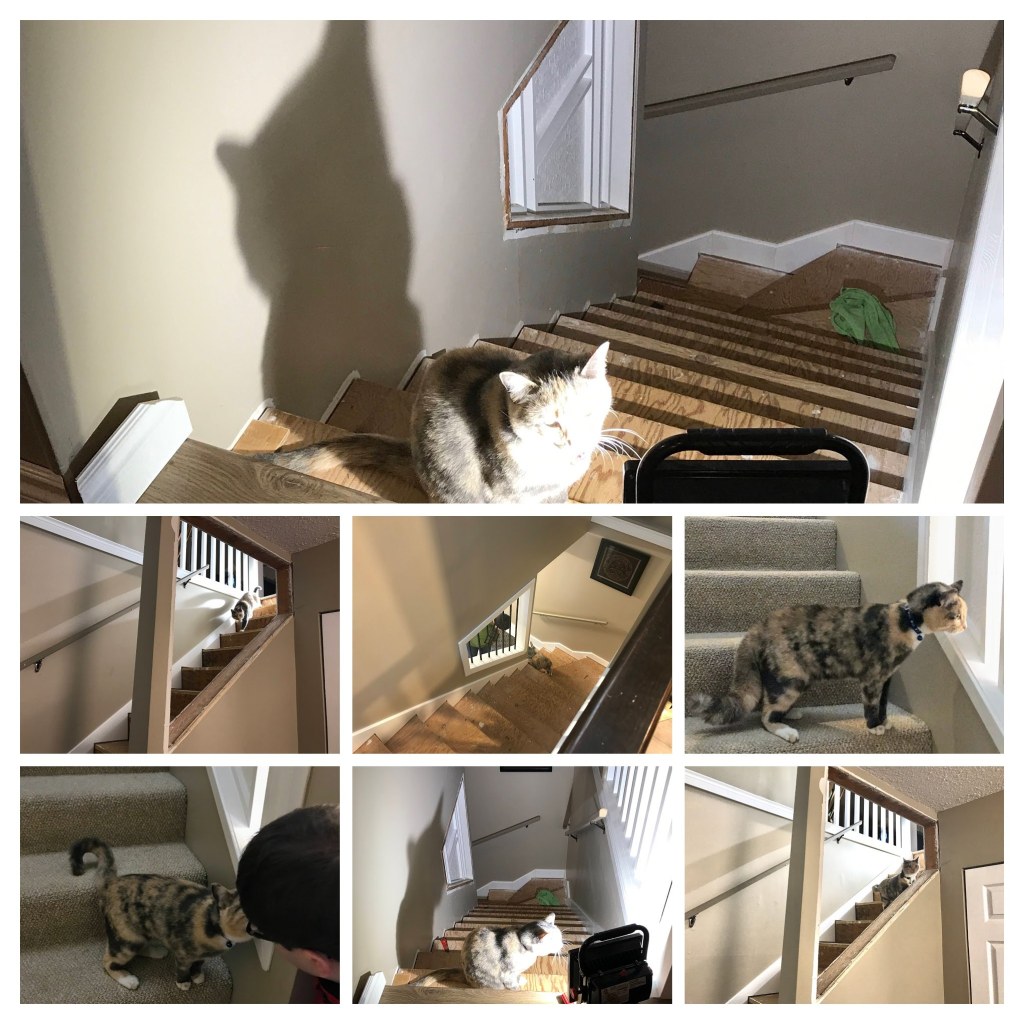
As usual, our cat was involved checking out the progress and “assisting” with the changes.
Sophia loves to assist and evaluate our progress
The old handrails were removed. Imperfections in the walls were repaired and fresh paint was applied.
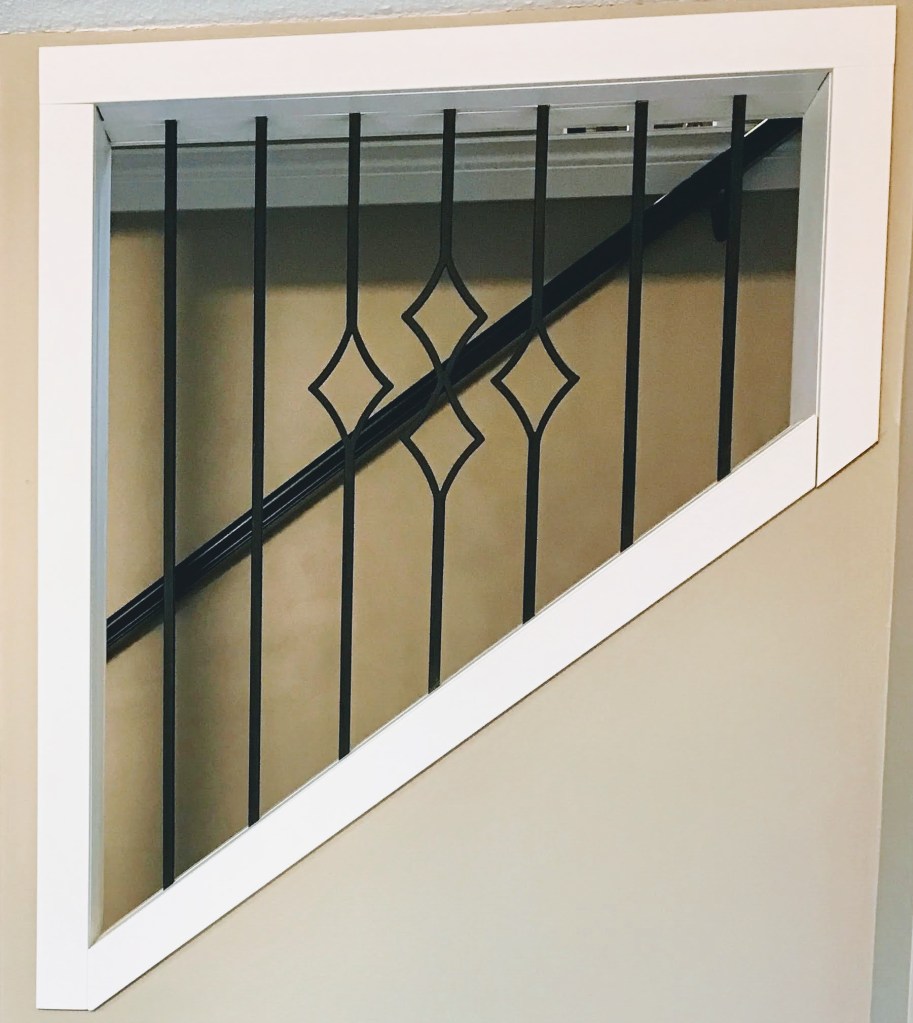
At “Finishing” stores we selected the wood for the stair skirts, new handrails, and trim around the pass-through opening. Wrought iron balusters were selected for inside the opening. The black balusters were a new design featured in the 2021 catalogue. We really liked how the shapes of the balusters complimented the shape of our pass-through opening.
New wrought iron balusters in the pass-through opening
The carpet and underlay were picked to compliment and transition between our foyer tile and upstairs flooring.
Measurements, painting, cutting, placement, routing, and more measurements ensued.
The custom designed stair skirts made a huge difference brightening up the stairwell area and were first to be attached in place.
My hubby created custom designed stair skirts
Updating the pass-through area came next. It was really exciting to see how this change encouraged more natural light and made the space look so much more modern and enticing.
Updated new pass-through opening and espresso modern handrails.
The new espresso stained solid wood handrails are both functional and tie in with our color scheme.
The installation of the new thick, comfy carpet was the final stage of our Covid Project Stairwell Renovation.
All done! We achieved our goals of updating the stairwell and adding more natural sunlight.
We are really thrilled with this update to our home. Awesome job, Mark!
What’s next? Time to return to hiking and exploring once the snow recedes and the roads are accessible once again.
During the lockdown periods caused by the global Covid 19 pandemic, you may feel confined but you have choices. As a Life Long Learner, I decided to use the extra time to try something completely new to me–refinishing a piano!
My first refinishing project was to refinish my 1936 piano!
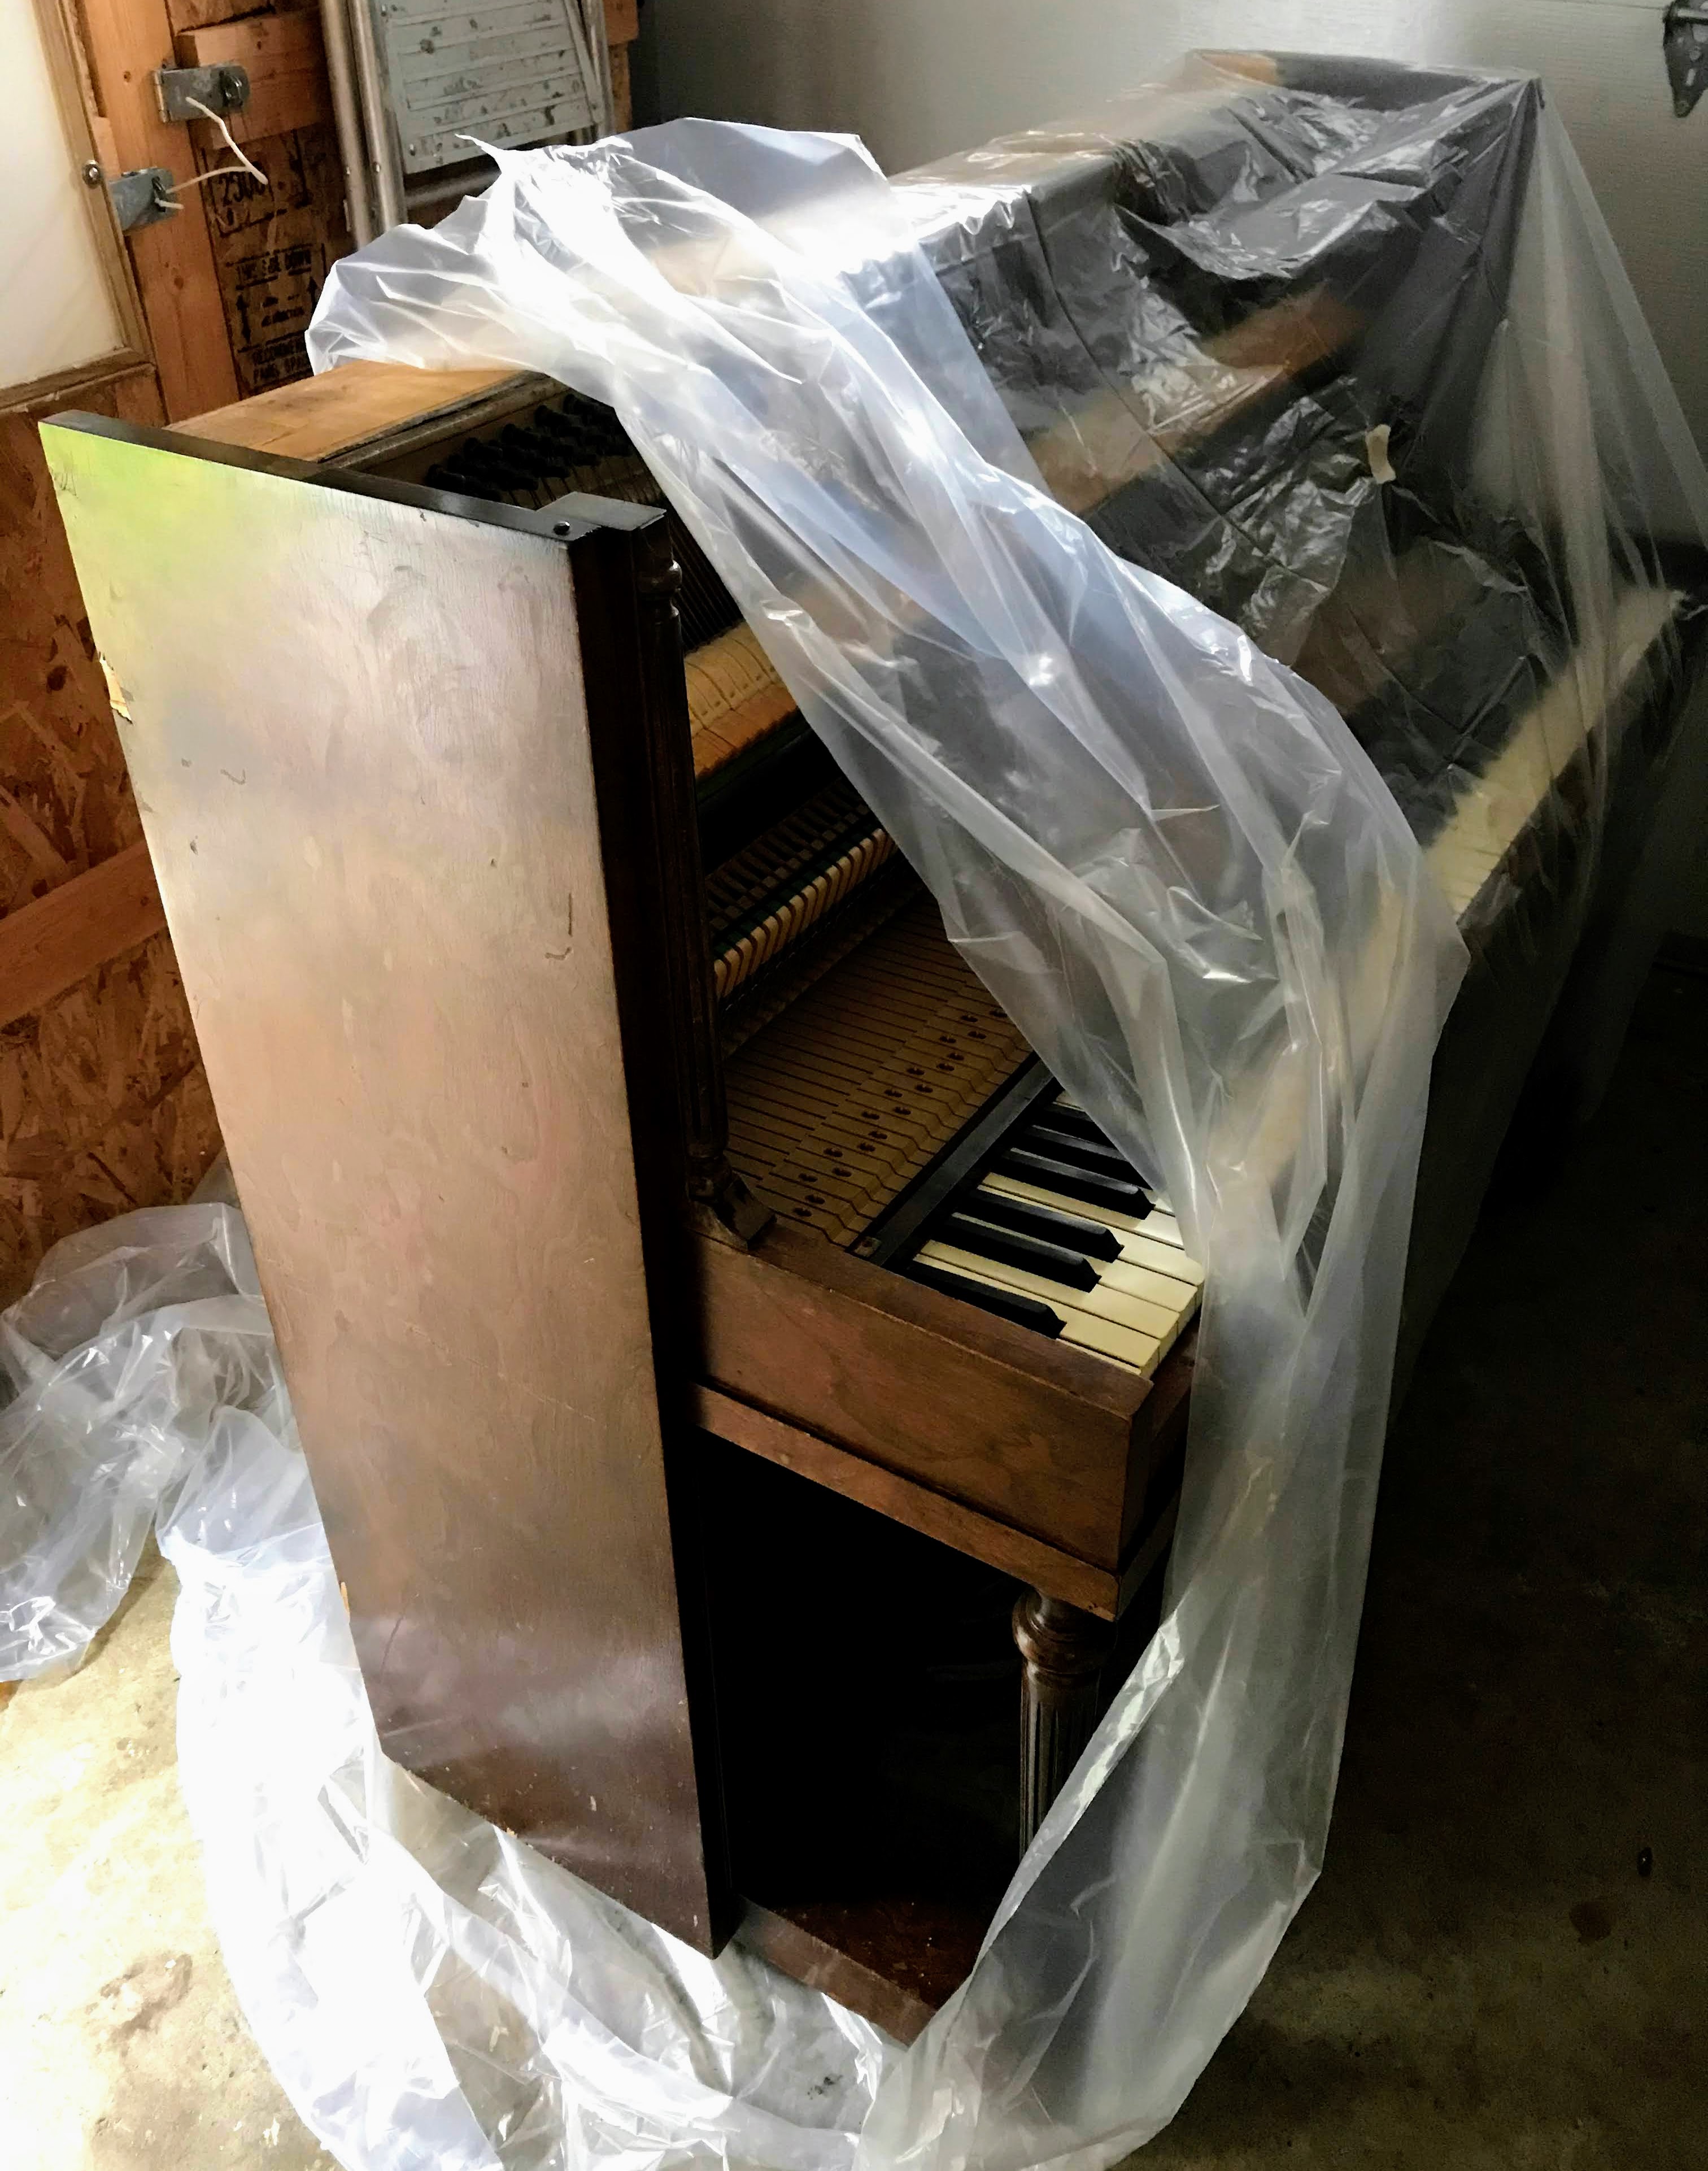
My DohertyCanadianpiano was created in late 1936. It has lived a challenging life being bumped and moved many times. I purchased this piano (well used) in the 1980’s when I was studying classical music, then my son also learned to play using this instrument.
My piano prior to its most recent move.
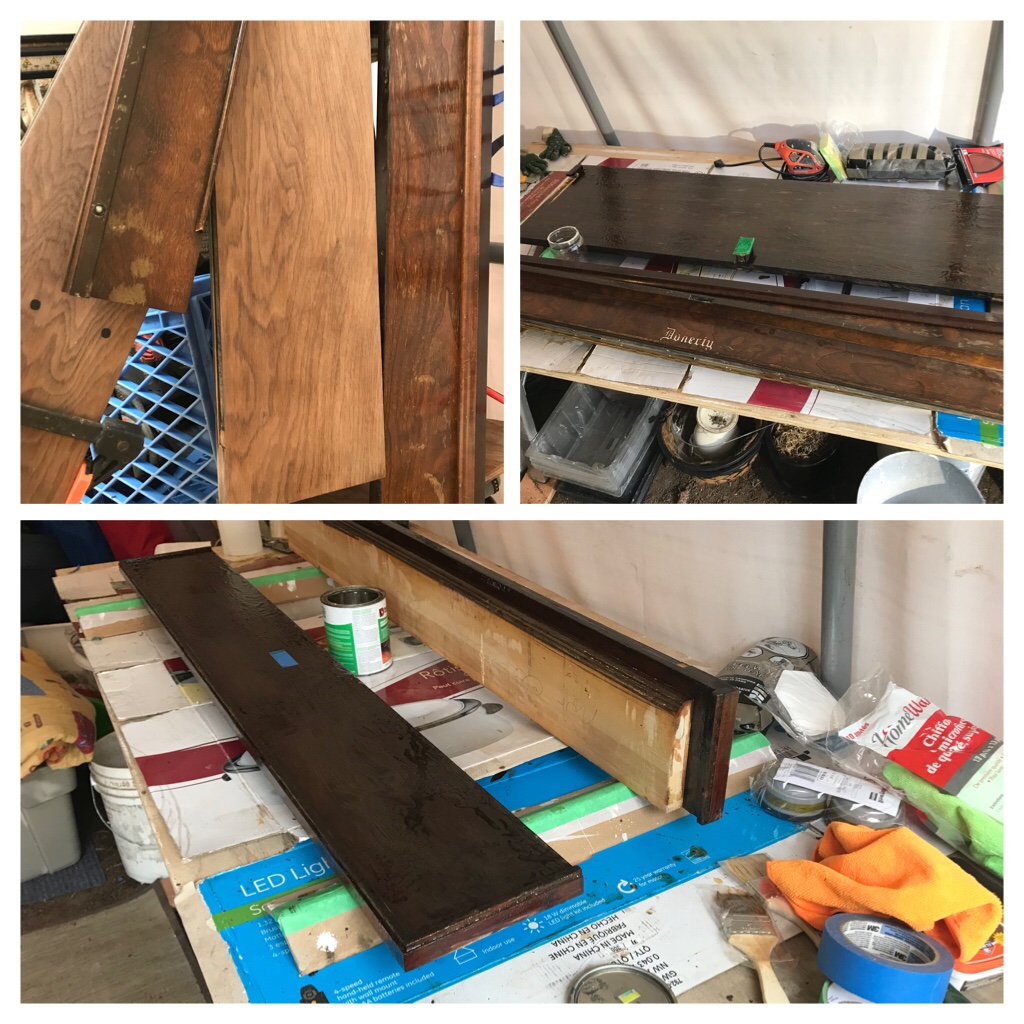
Since the last move in 2017, the piano had been sitting in our garage. Boards were stained with water spots and there were multiple grooves and dents in the wood finish. Yet, when I removed the plastic cover and opened the keyboard lid, the sound was still quite reasonable and keys were not sticking! It was time to rejuvenate this amazing instrument and welcome it into our new home.
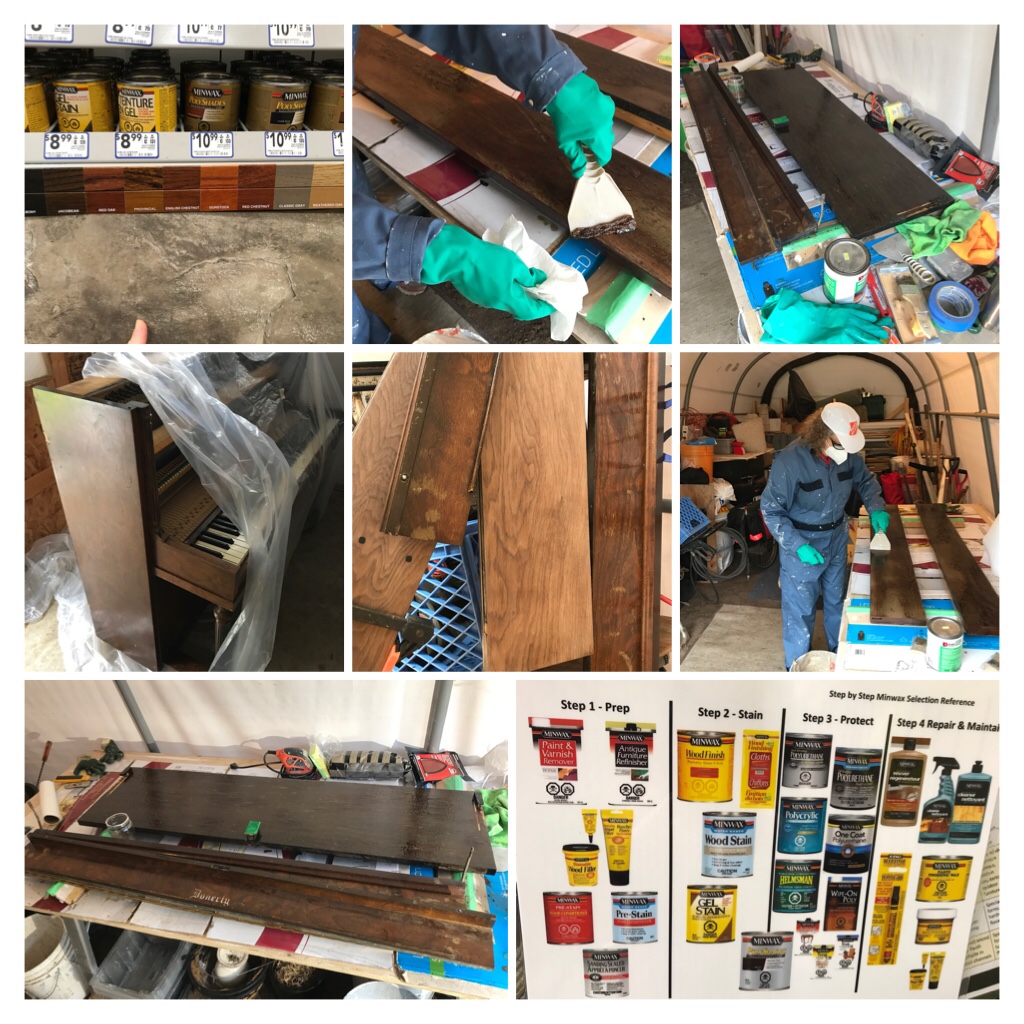
Views from the initial stages of refinishing the piano
My husband has experience with refinishing and agreed to assist me if I required help. I hoped to complete this project as independently as possible.
Step One ….Watch YouTube videos about refinishing furniture including hints from piano specialists. I discovered there are so many opinions and diverse thoughts about the refinishing process. It appeared more research was necessary! Hardware stores and paint/stain sections, were visited and information was requested from “experts“. (Or at least most felt they were experts). More videos were observed. I discussed my thoughts and plans with my husband.
Step 2 — good ventilation area and necessary supplies!
Step Two… Prepare your working space in a well ventilated location and purchase the necessary supplies for the refinishing job. (Be prepared for many future trips to stores to obtain more supplies as necessary). If you do not own the necessary tools …purchase what you require or borrow from your very supportive husband!
Step 3– Removing boards to work on the bench!
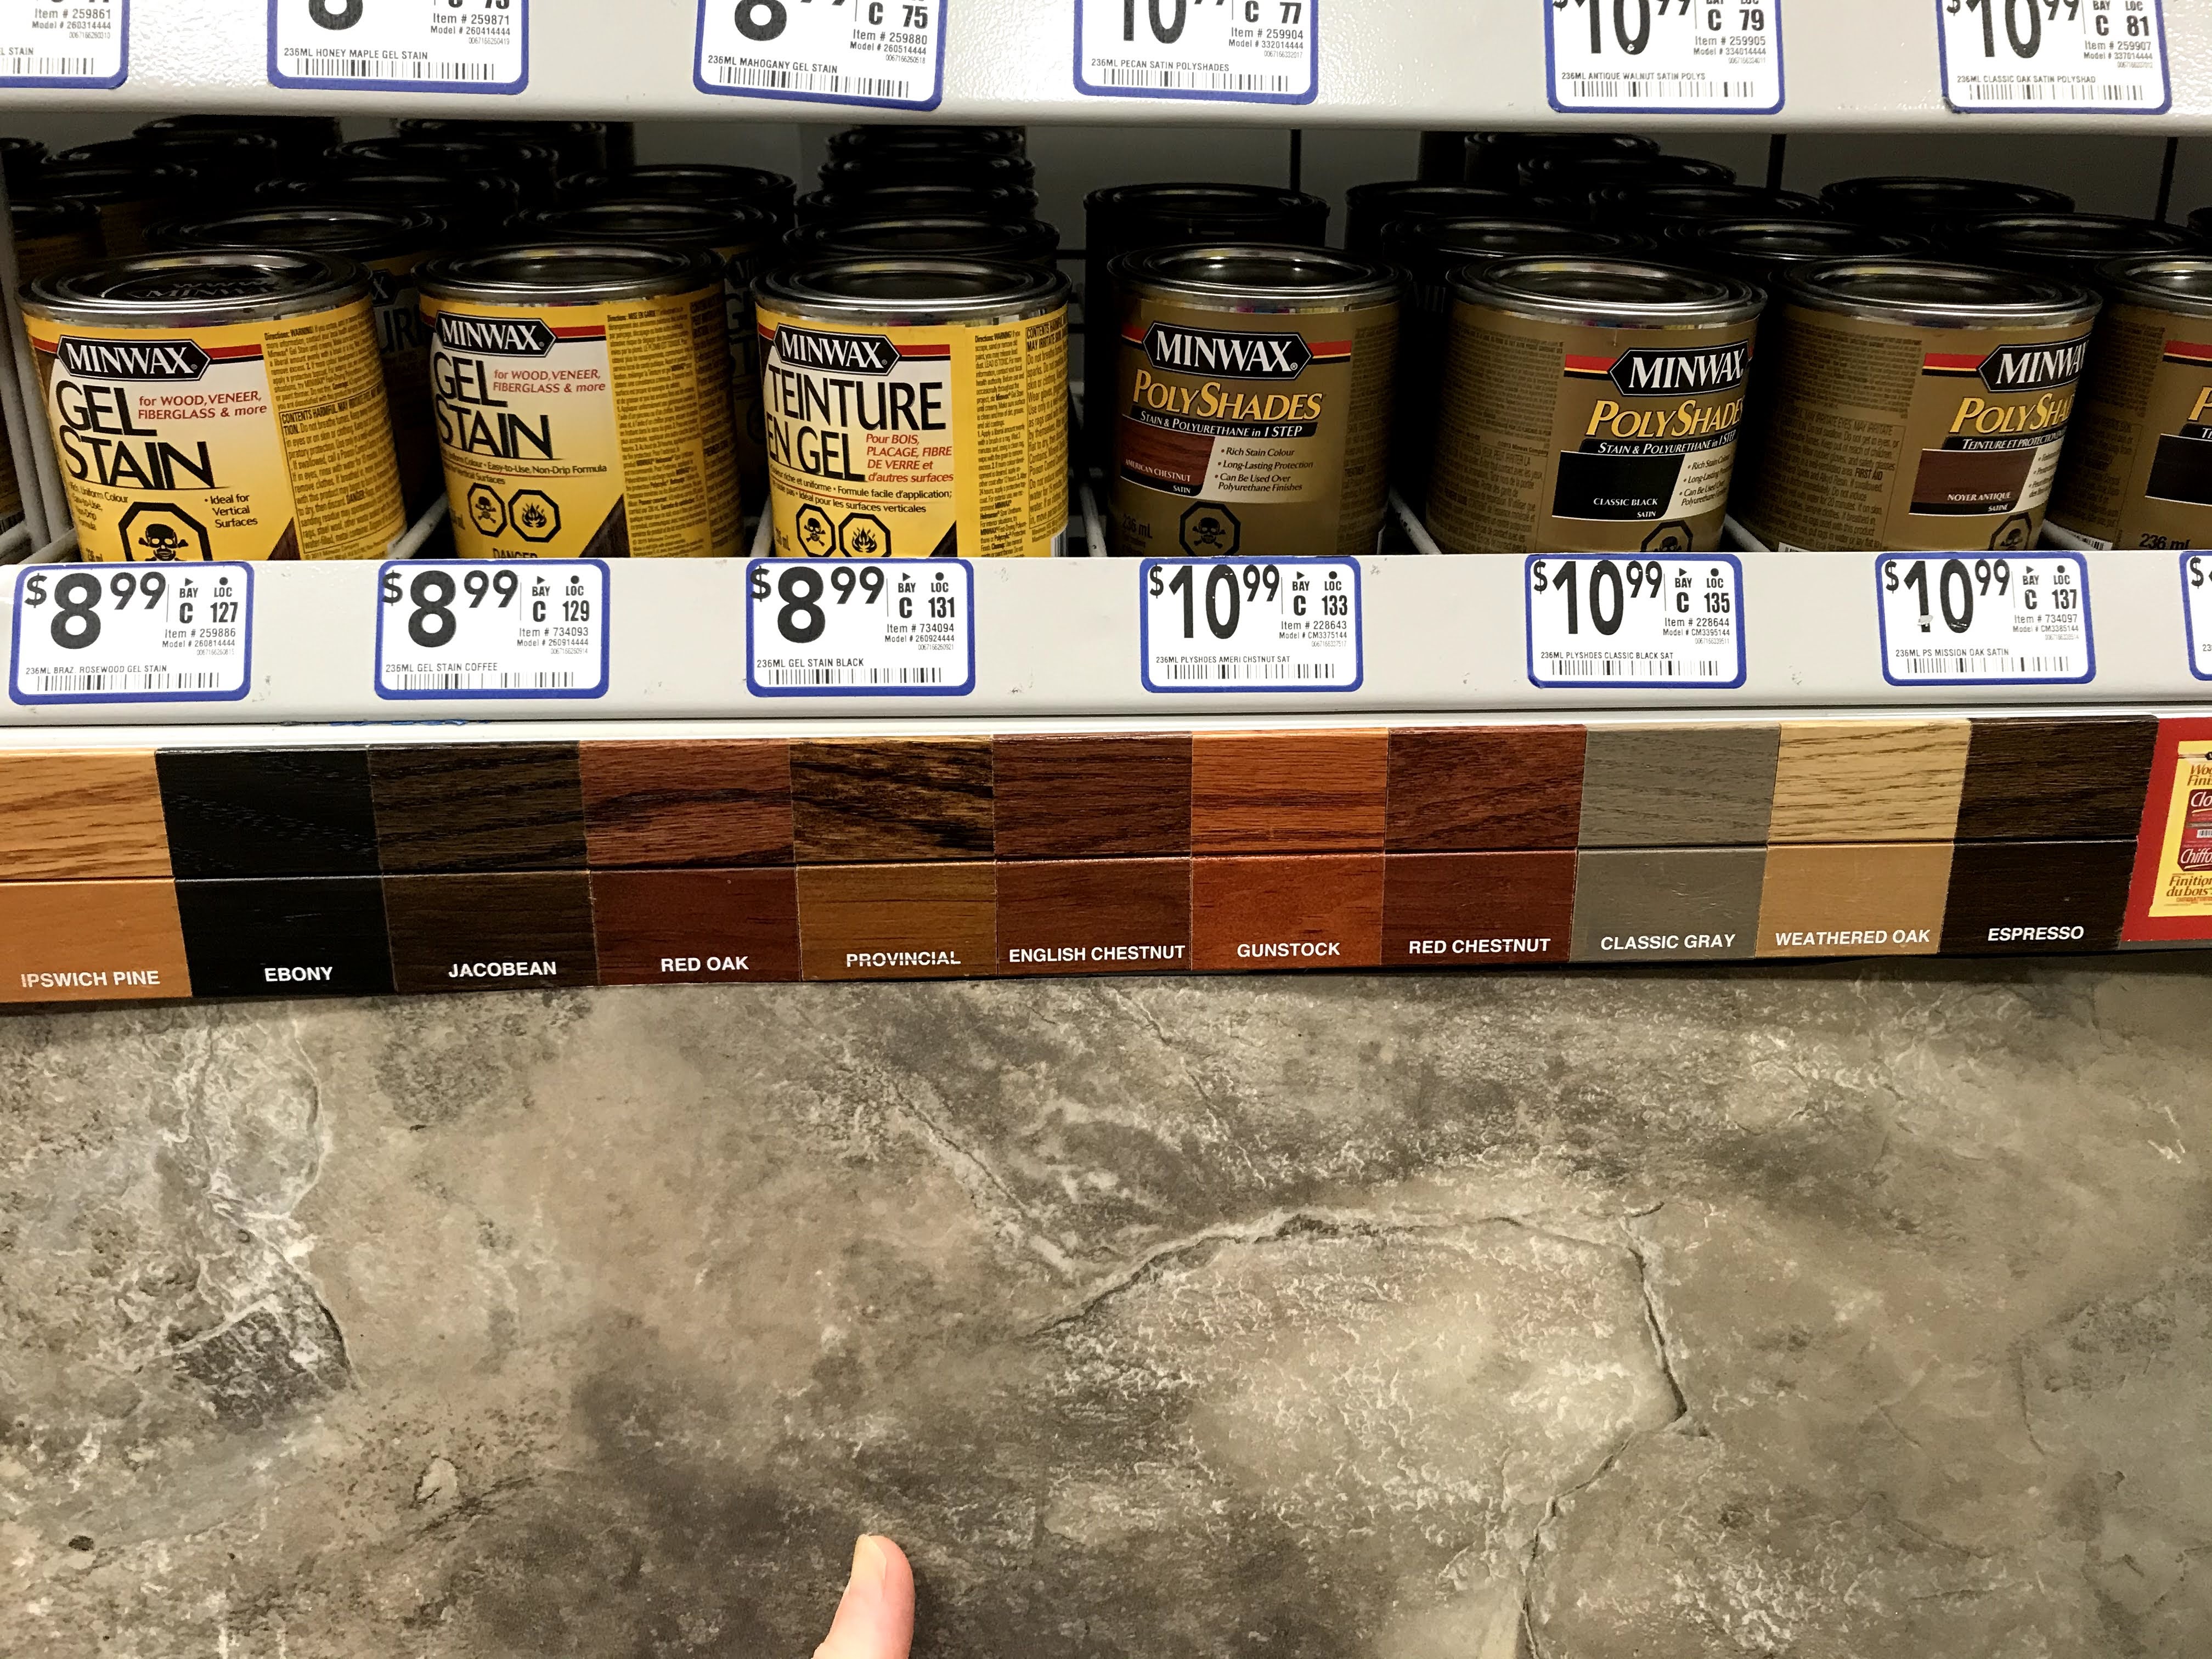
Step Three…Remove as many boards as possible without damaging the workings of the piano. The boards are much easier to clean, sand, strip, prepare, condition, stain, and top coat when they are horizontal! Remove the hinged metal strips from the boards. Select the finishing color you wish to achieve–stain or paint. I selected Espresso stain.
Choosing your stain color–I picked Espresso
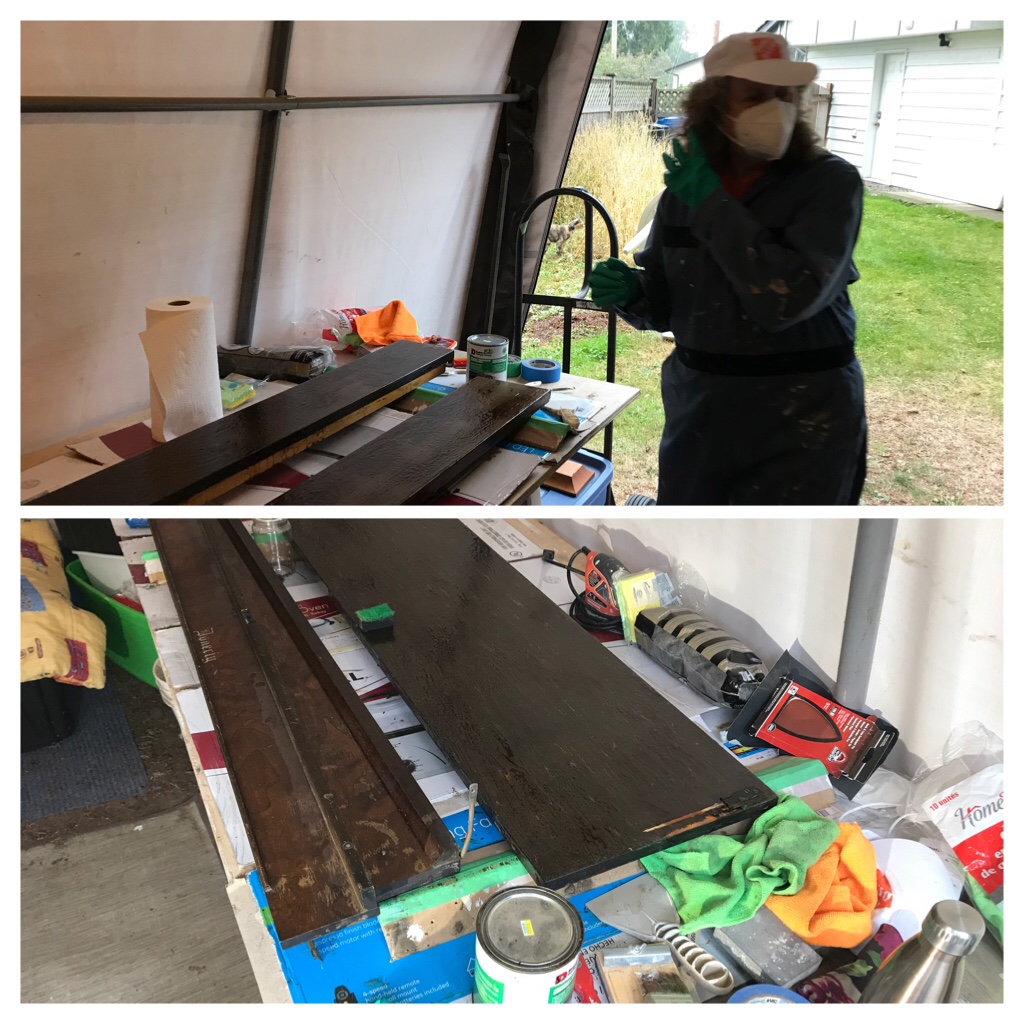
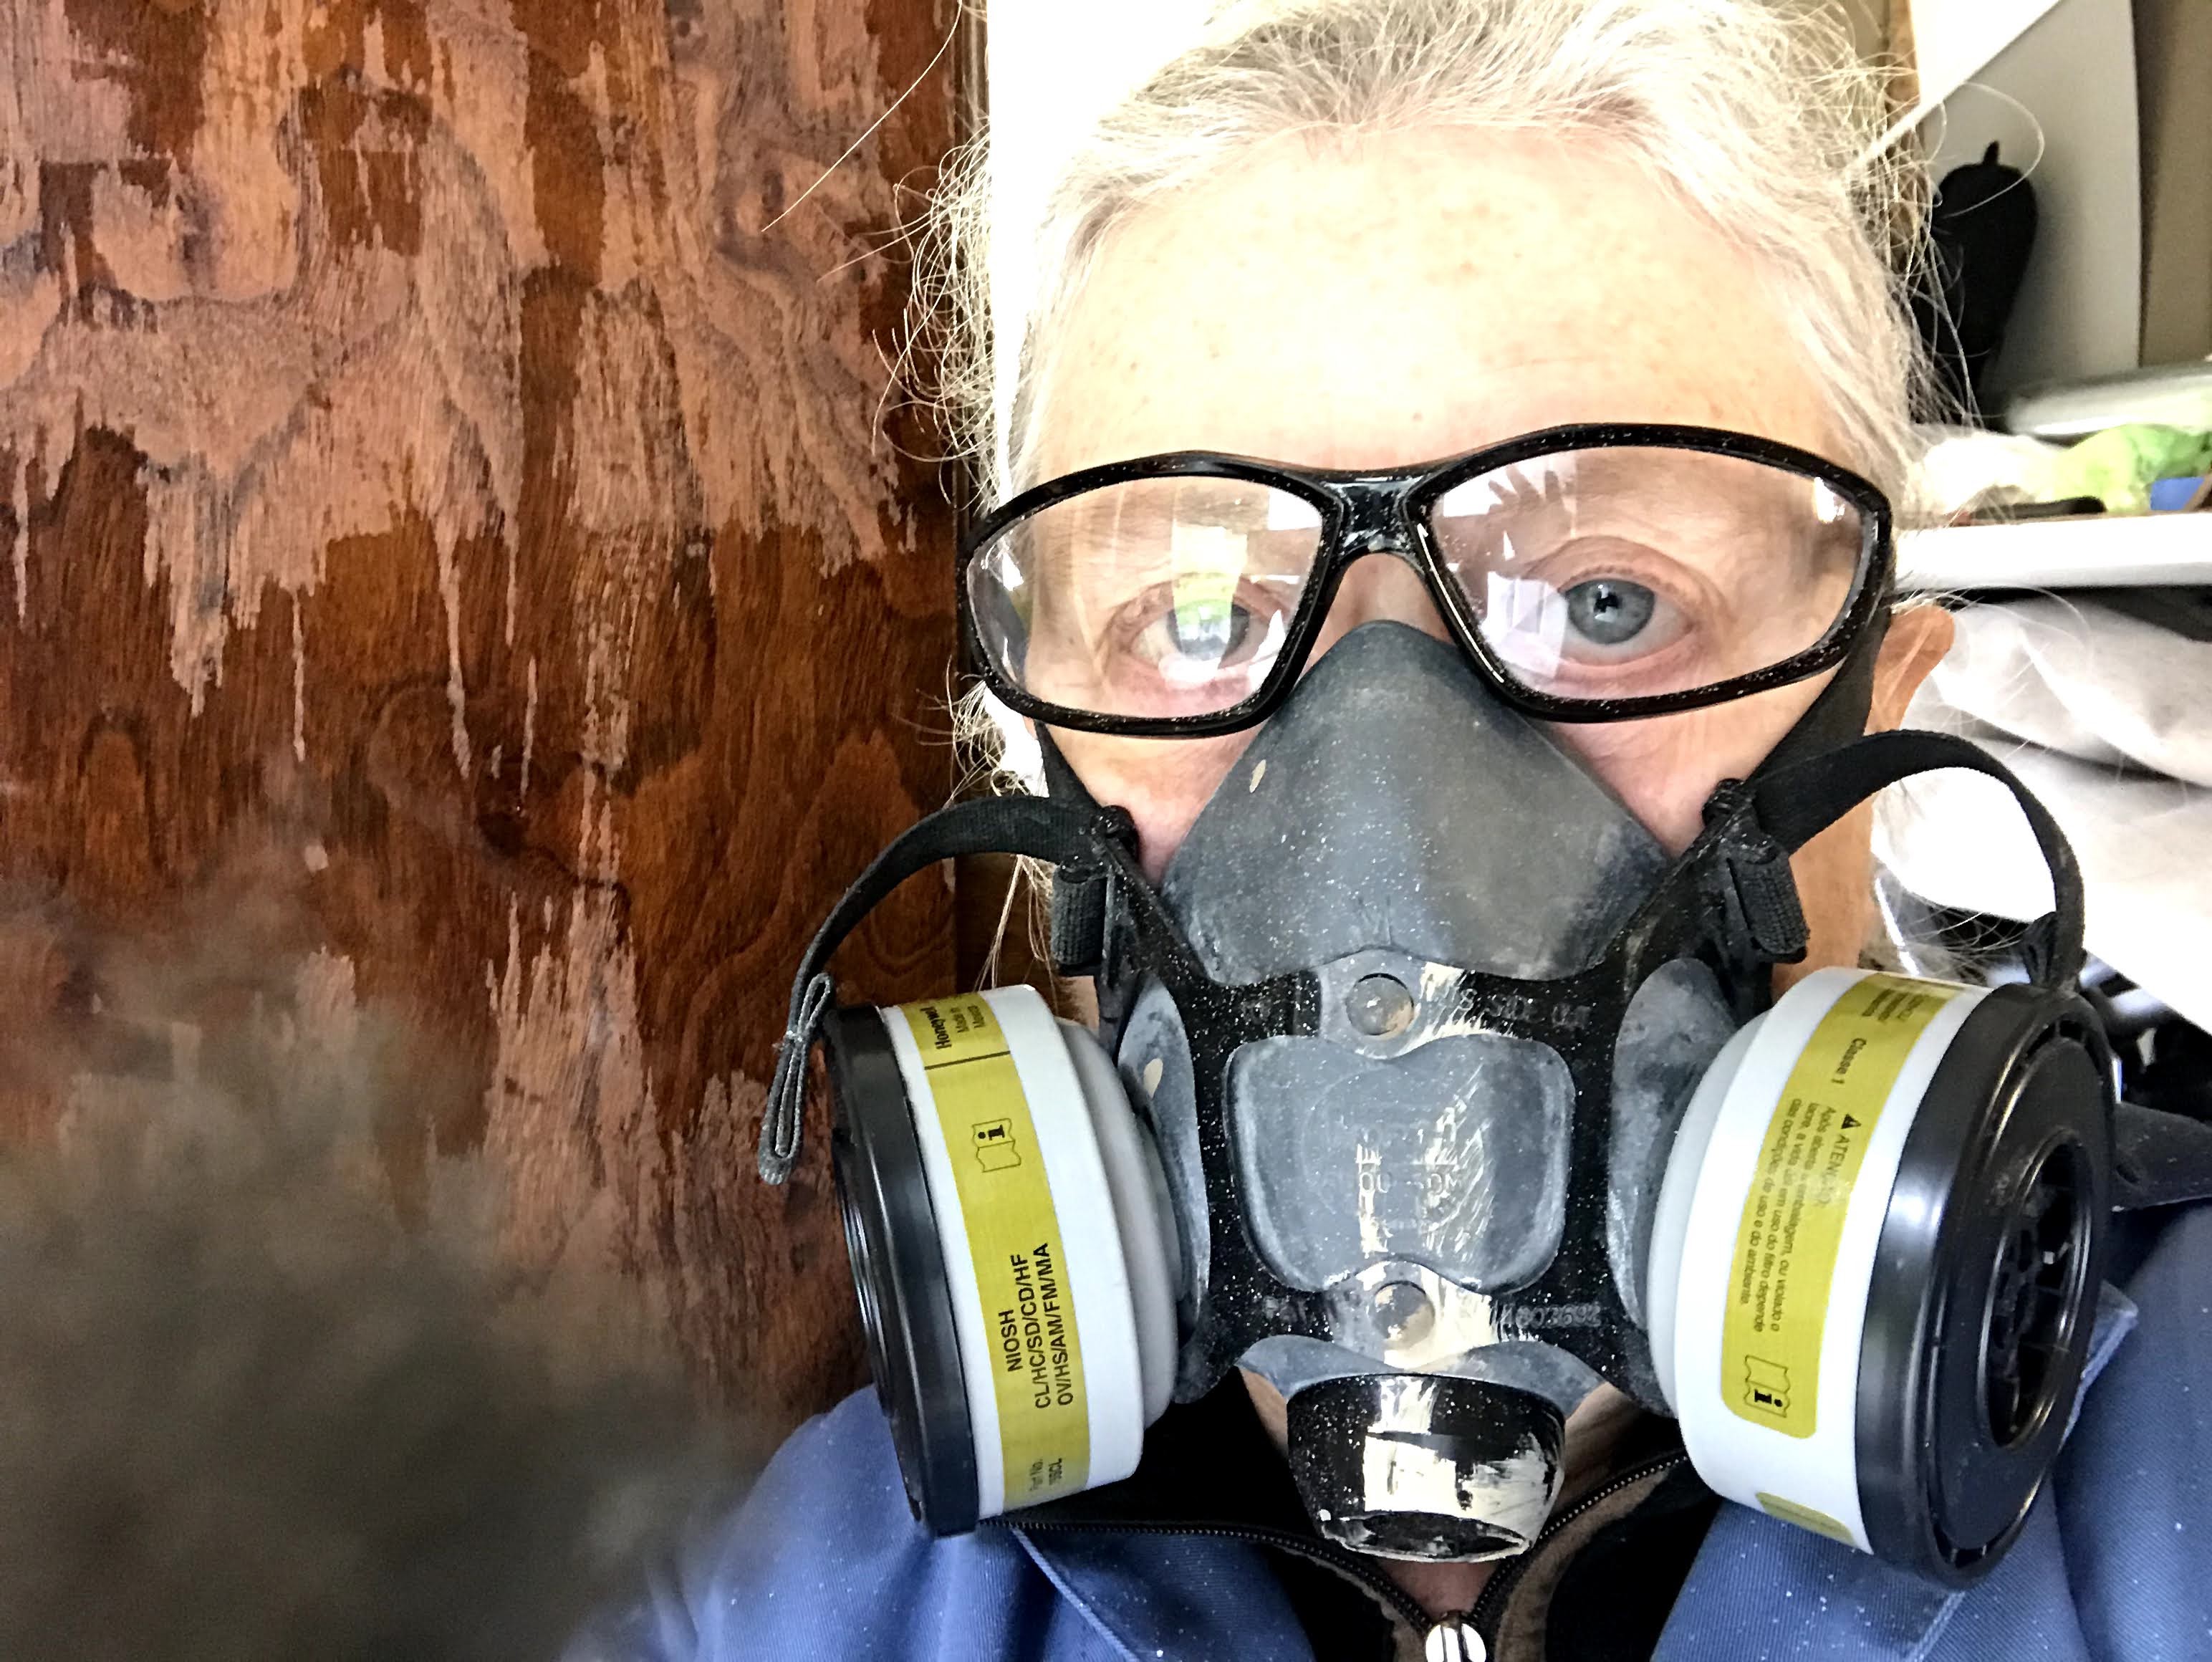
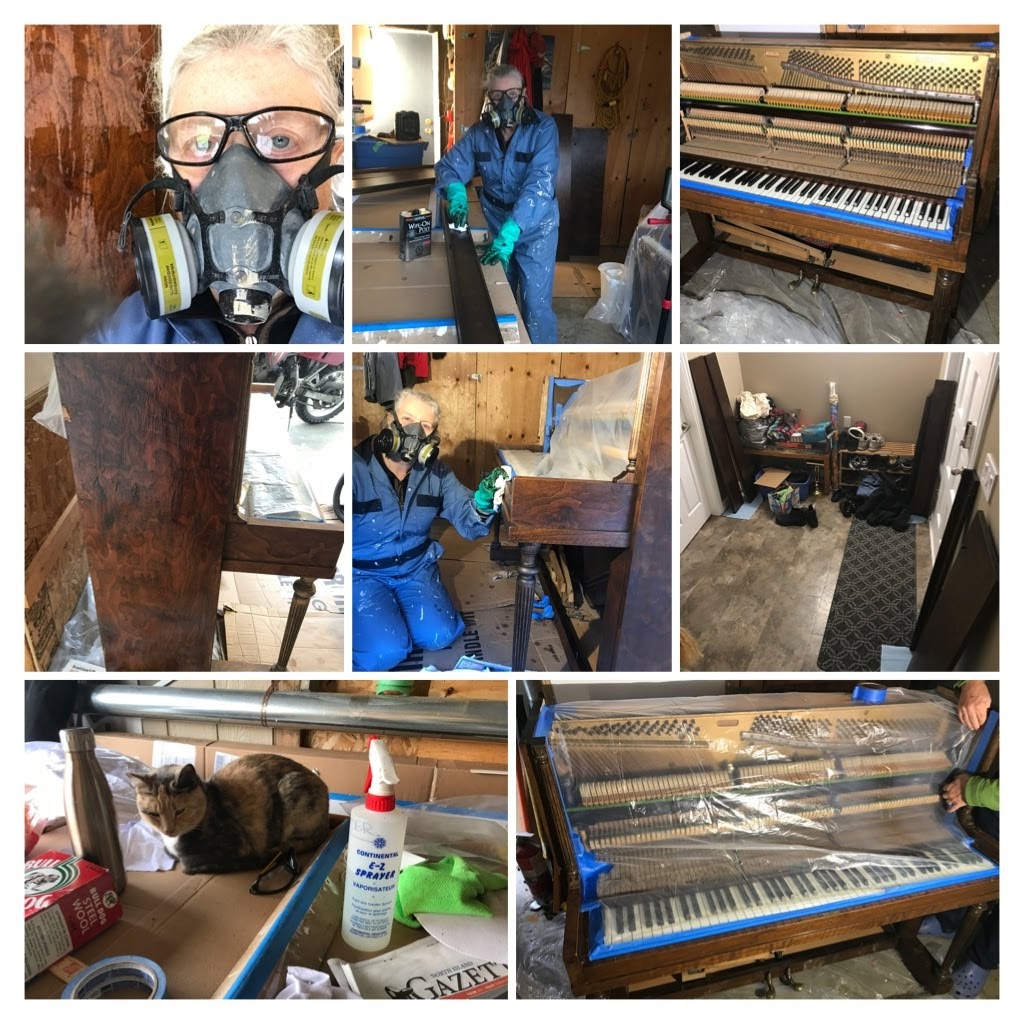
Step Four…Prepare to get dirty and look like a version of Darth Vader. P.S. I worked on this project nearly every day for close to 6 weeks. I consumed a bag of clean rags, 2 boxes of steel wool, sand paper, paper towels, several pairs of paint gloves, brushes, wood filler, putty knives, and containers of stripping solvent, wood conditioner, stain, and poly finish. Refinishing a piano is a labor of love and it is not cheap!
Darth Vader look alike!
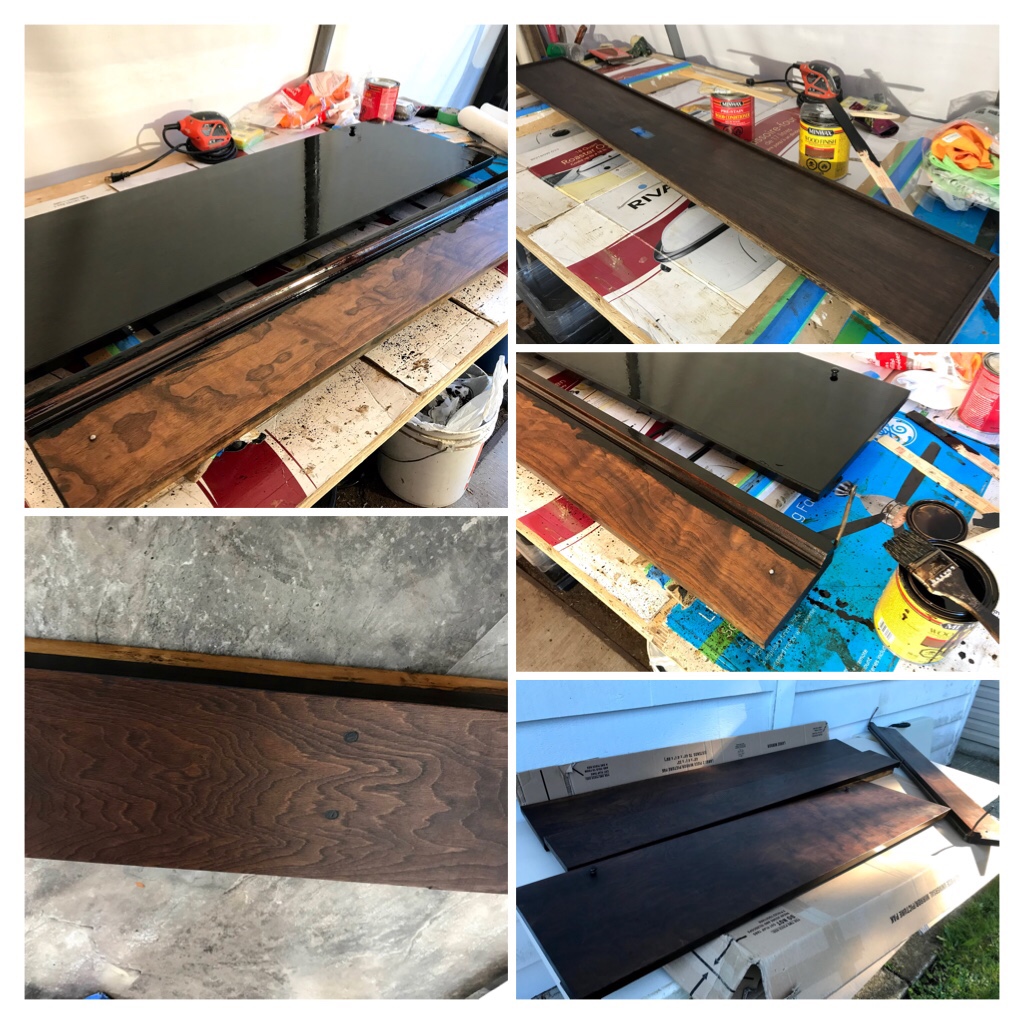
Step Five…Removing the old existing stain/color off the wood boards was a fascinating process. Some boards had terrible water stains from plants which had been sitting on the top of the piano. After stripping the previous finish off the boards, I was shocked at how new the boards looked. Strip and sand. Strip and Sand. It took 3 or more attempts at stripping/sanding each board to achieve a clean new wood surface.
Step 5–Strip and Sand. Repeat. Repeat. …
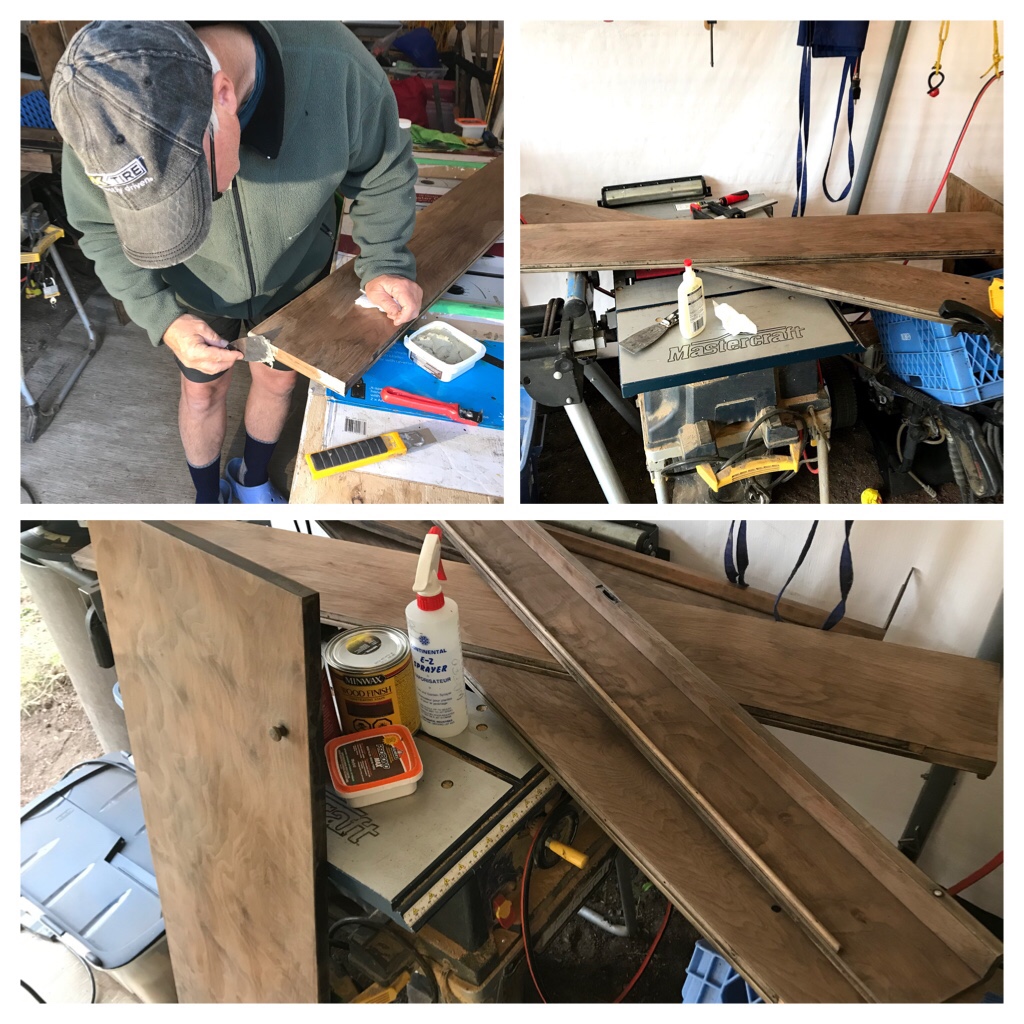
Step Six…Fixing the grooves and imperfections in the wood. It is really hard to make the areas where filler is used match the wood color when it is stained, so we sanded out some imperfections and only used filler where it was really needed. My husband assisted with this. I found this part a bit tricky.
Step 6–Fixing grooves and imperfections.
Step Seven…Adding colour to the wood. Don your Darth Vader attire because the process of adding wood conditioner and stain was very stinky! Without good respiration support, you might feel light headed and probably have quite a bad headache. Drying time for each application is specific and I needed to repeat the process 4times. Each application made the stain finish a bit darker in color. I was aiming for Espresso, but could not get quite as dark a shade as I had originally hoped for.
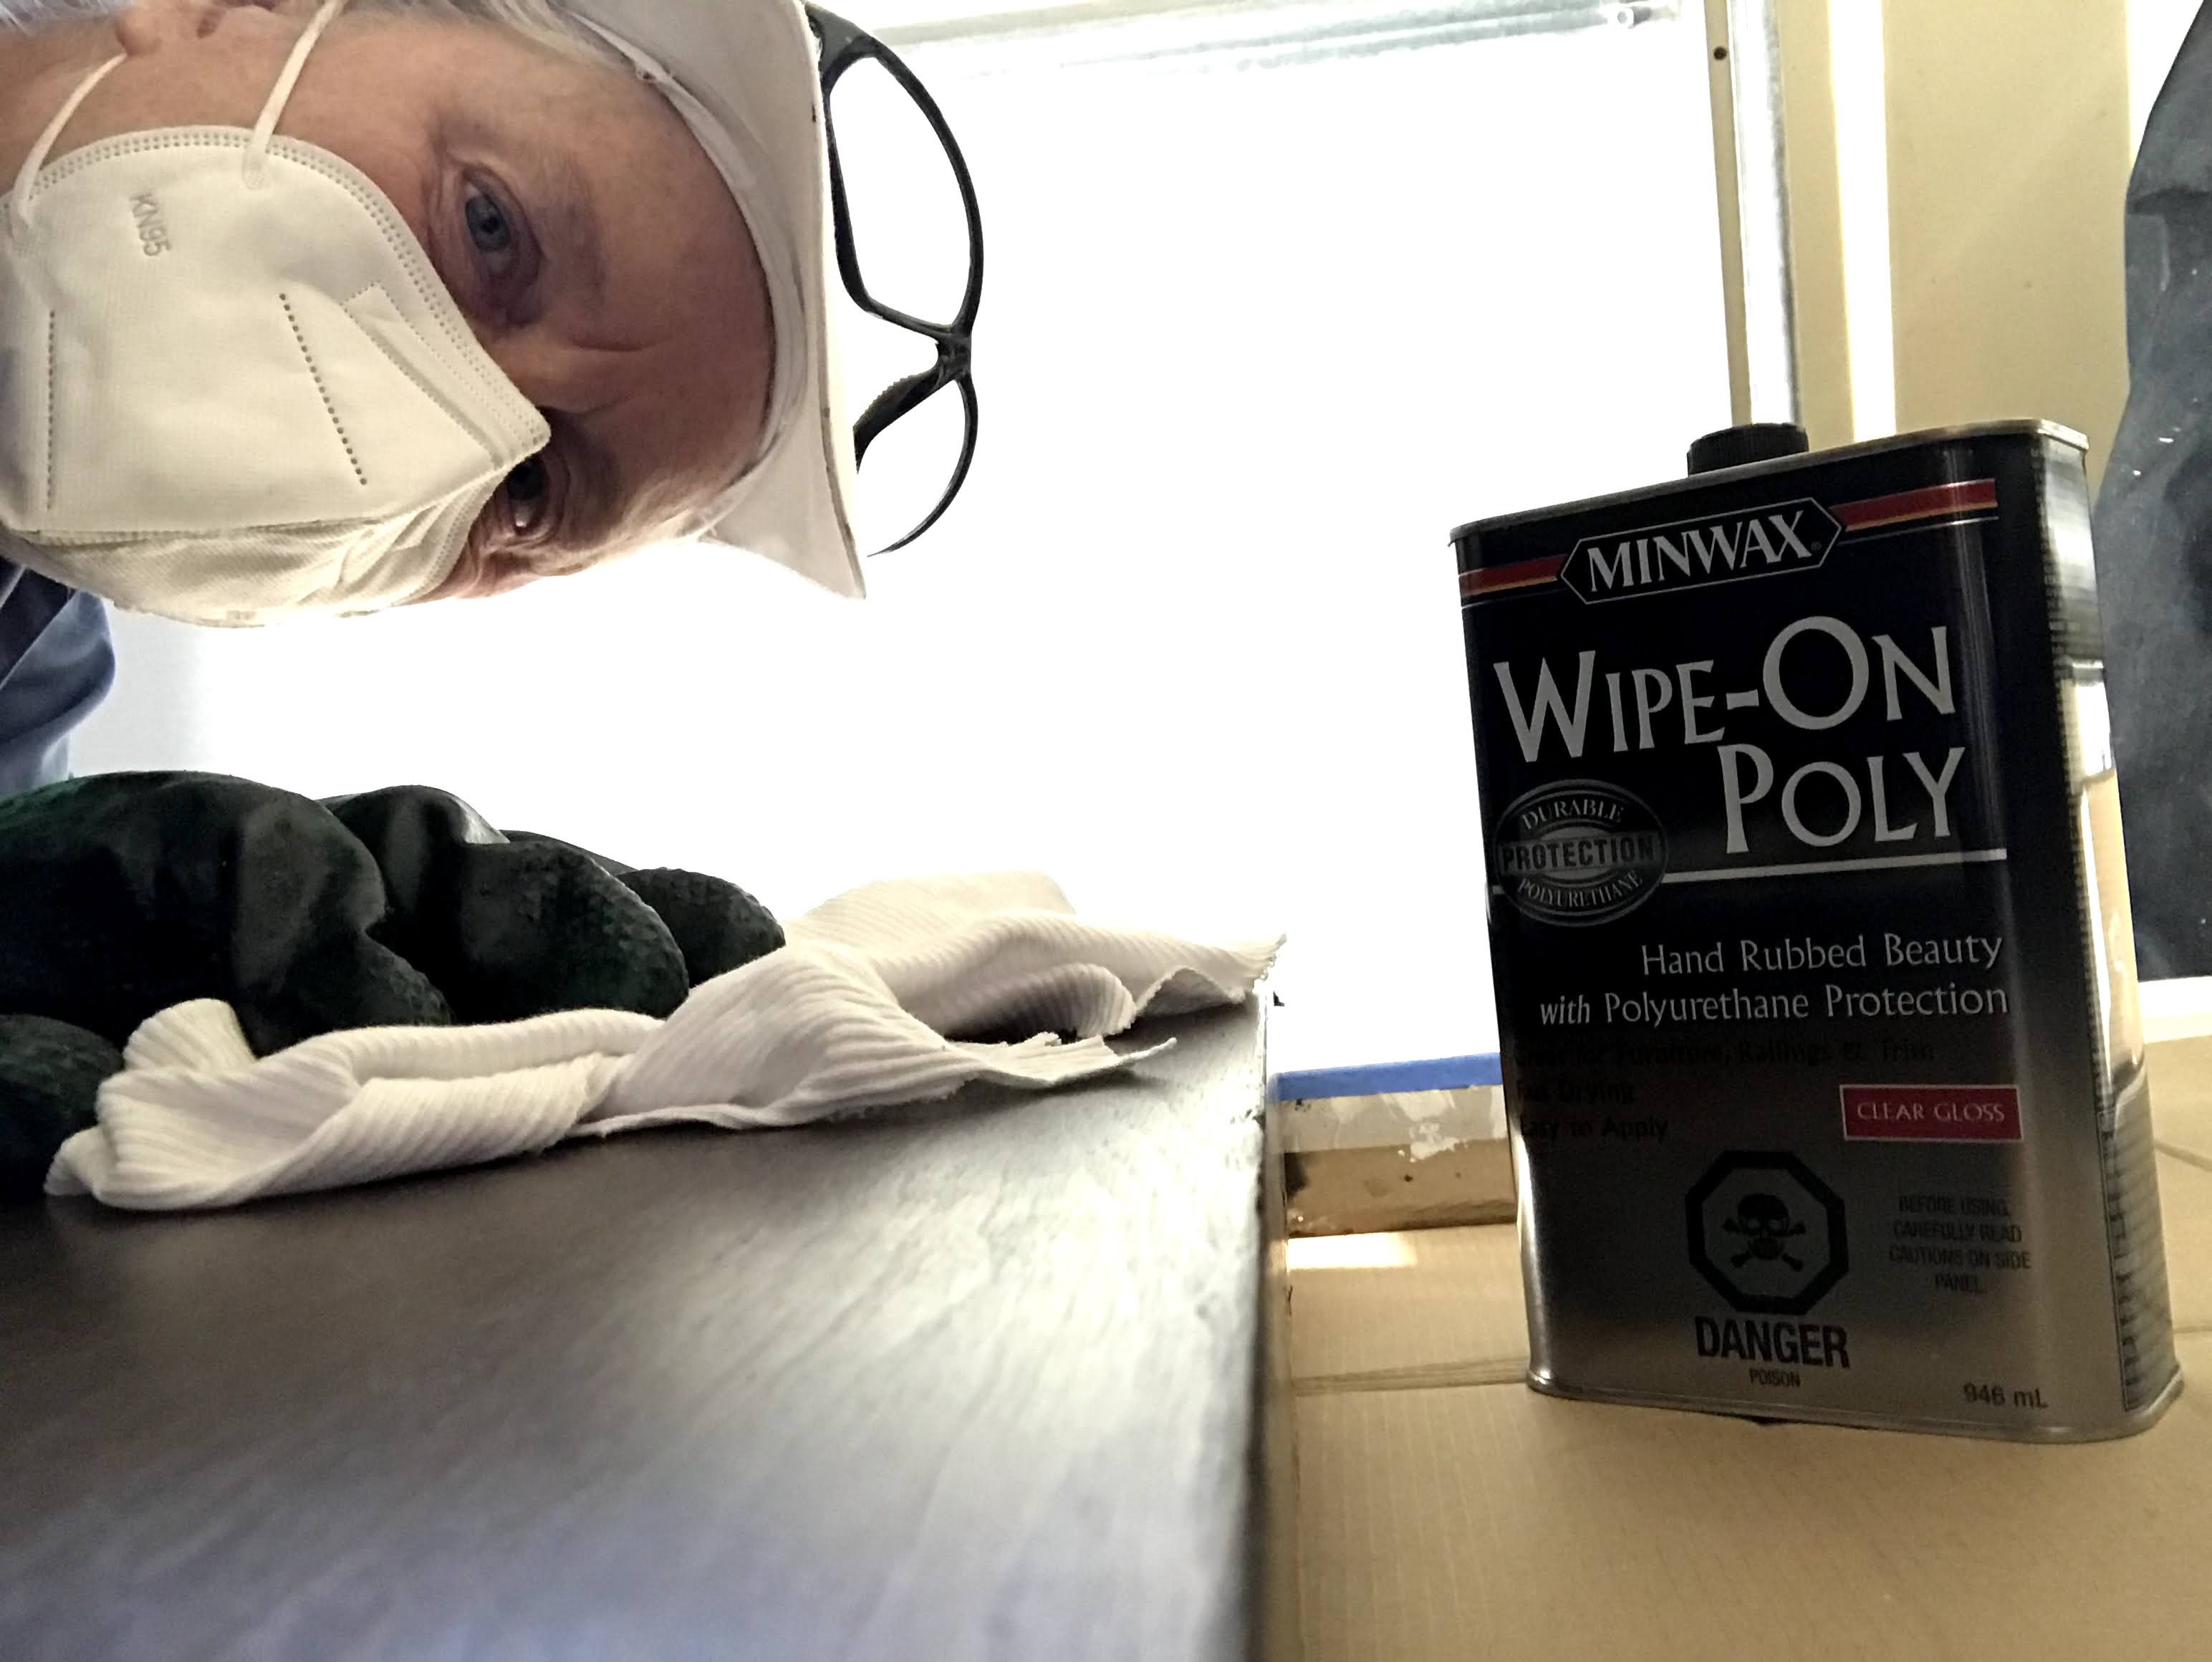
Step Eight...Protective coating time! I chose to use the Poly Wipe On Protective coating on the wood. This process also required several coats.
Step 8–Protection Top Coat with Wipe-On Poly
Step Nine…Now comes the fun part! (I say in jest!). You return to the piano and start the entire process from the beginning on all the vertical surfaces/boards on the piano!
Steps 9 and 10–Sophia supervises in the garage while the remainder of the piano is refinished. My husband assists masking the delicate internal sections.
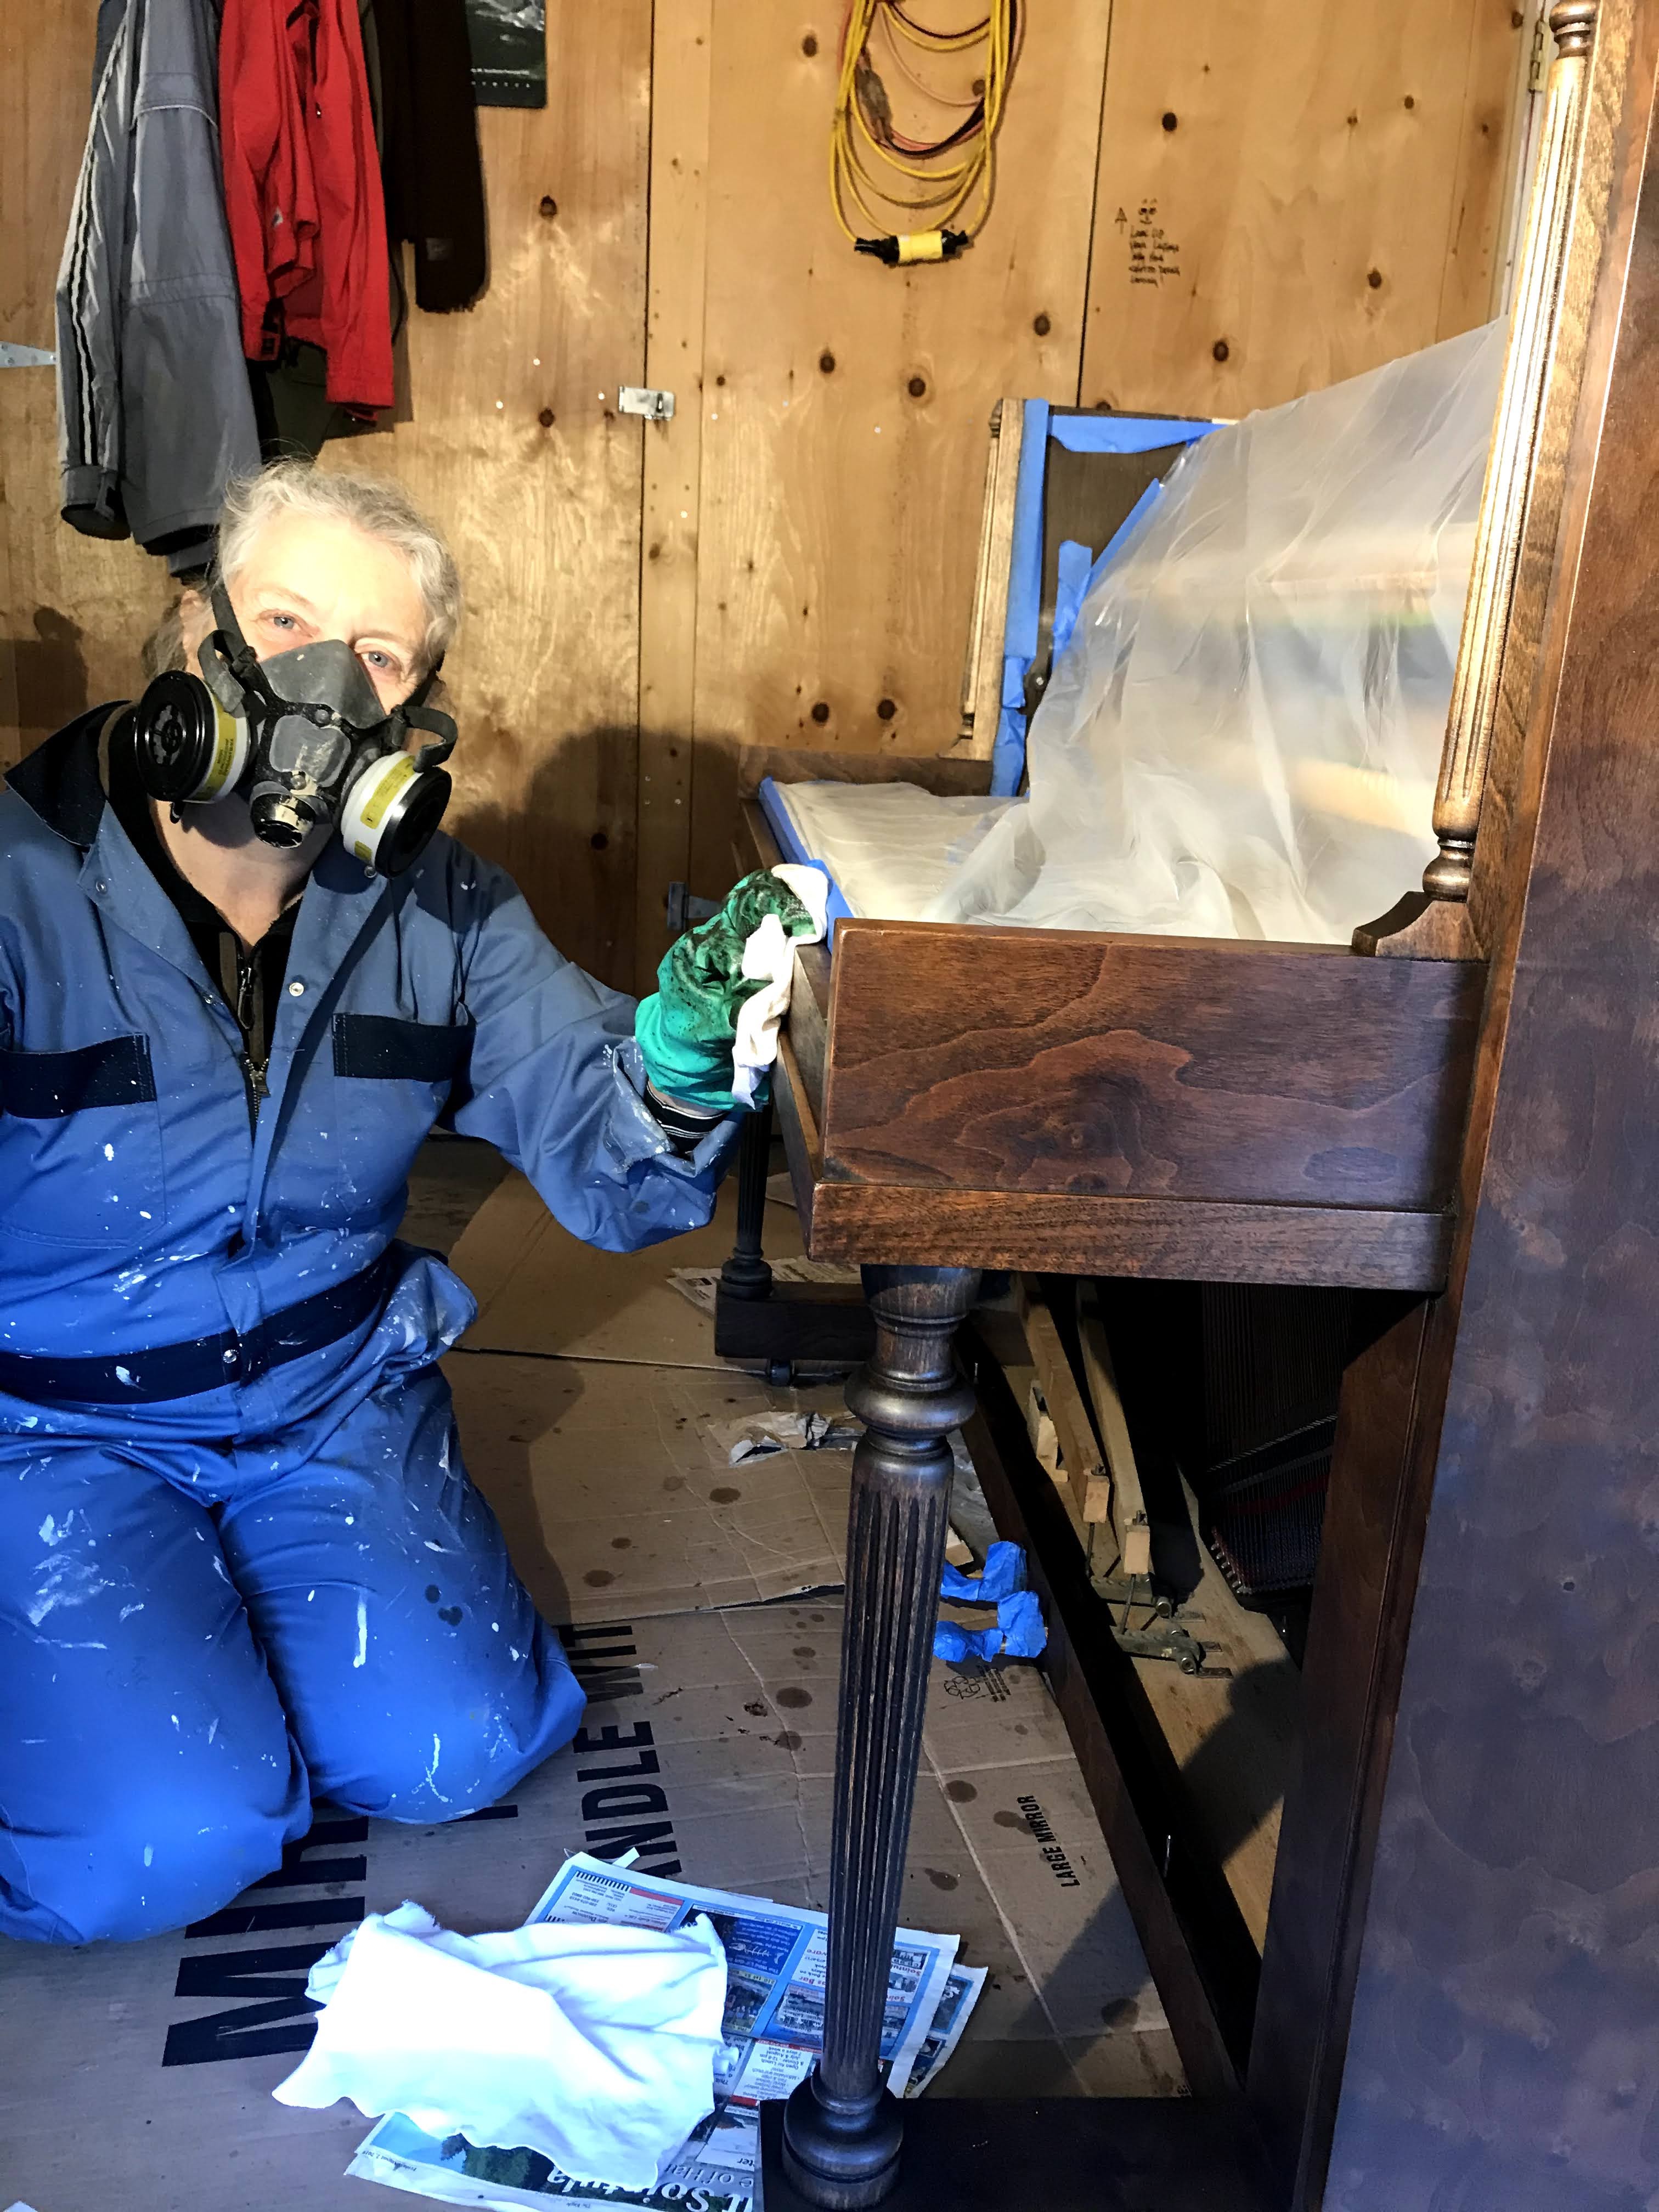
Step Ten…As all the liquids tend to run on vertical surfaces…Make certain you carefully mask any sensitive areas (such as the keyboard) with plastic protection and cover your floor area with sheets to catch the dripping mess! We actually used large cardboard boxes from our appliances on the floor below the piano. They worked well and I preferred the cardboard to slippery drop sheets or plastic on the floor.
Step 11 + . I spent many hours kneeling on my new cardboard floor!
Step Eleven +… Repeat steps 5 to 8 on all vertical boards on the piano. My working area moved from outside to inside the garage during this time. I required additional lighting and needed to open the garage door for ventilation. Occasionally, our cat Sophia would sneak inside to check on the piano refinishing progress.
Step Twelve…Moving the piano from the garage inside the house to its new location in our foyer on the first floor. This was such an exciting event! Finally, we reattached all the finished boards in their correct locations and I reattached the 2 hinge pieces for the keyboard cover and top section of the piano. Here is a short video about this stage of the project!
The final resting location for the newly renovated piano!
I must confess I felt pretty proud of myfirst attempt at refinishing a piece of furniture. Many people have been shocked that my first project was so complex. I honestly had no preconceived ideas about refinishing, so I just naively jumped into it. I learned a great deal. Made mistakes. Tried different methods. Asked for assistance when I required help. Thanks Mark!
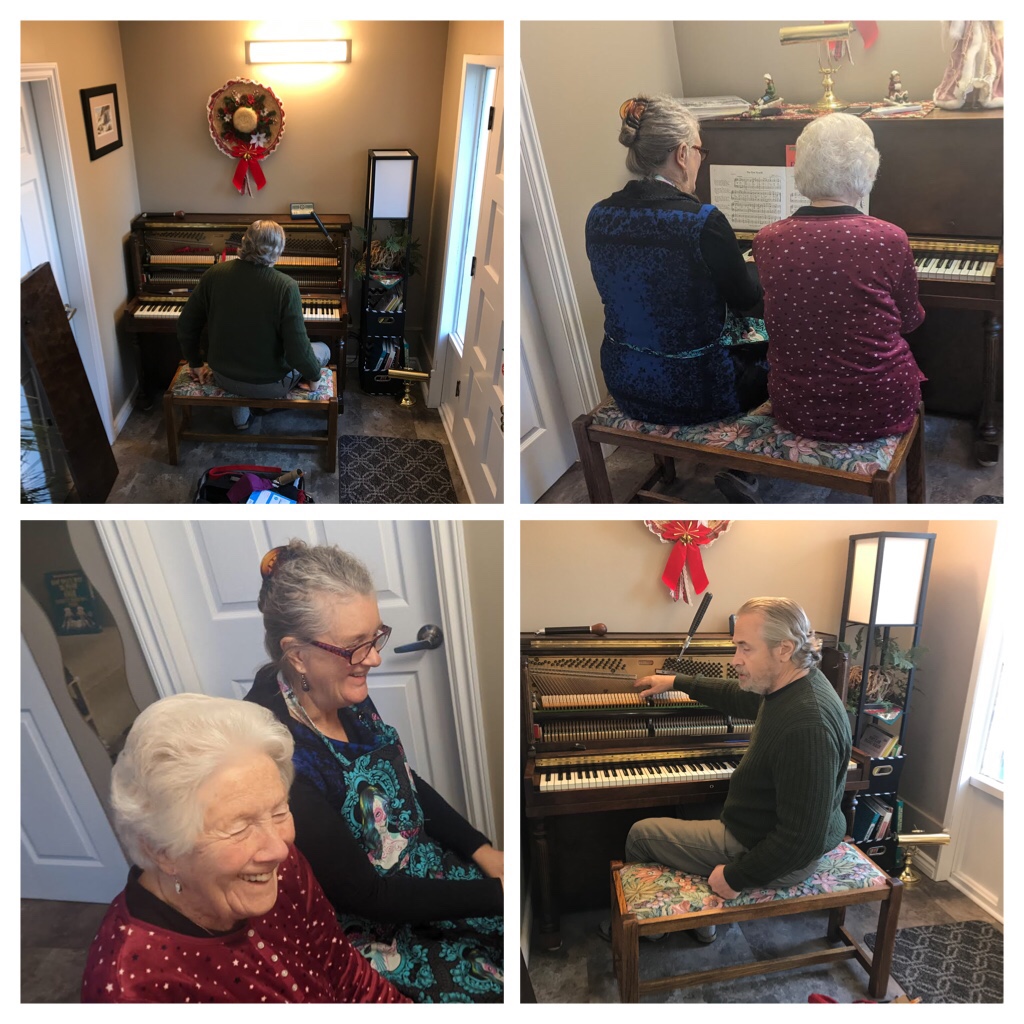
Next step… piano tuner then fun duets with my mom!
This project kept me busy and engaged during the Covid pandemic lockdown. Now when I look at the piano, or tinkle its ivories, I feel a special attachment to this instrument. We spent a great deal of time getting to know each other!
So….Why not try something new? Perhaps you might enjoy refinishing something in your home? Stay safe and keep optimistic. Cheers
In our province of British Columbia, Canada we currently have over 70% of all people having received at least one dose of Covid vaccine and our freedom to interact is increasing steadily!
Pipers Lagoon during recent heat wave in Nanaimo
The 15 months of lockdowns and Covid 19 safety restrictions in British Columbia were indeed challenging, but necessary. Like many others, we utilized this period of lockdown to reflect and enhance our sustainability independence.
As fresh produce was increasingly difficult to obtain, and we were avoiding shopping line ups whenever possible, we decided to join so many others who were establishing vegetable gardens. Until now, our gardens were the flower and shrub variety. Priorities were changing…
Flowers and shrubs around our yard on Vancouver Island
Initially, we researched by watching youtube videos, contacting experienced gardeners, reading about most successful plants to produce in our growing zone area, and talking to experts at local garden stores. Then we observed the areas of our yard which produced the most direct sun for varying periods of time each day and season.
Location selected… Mark and Sophia measure the area
My husband measured the selected location while Sophia (our rescue cat) observed. We decided to use 3 raised beds for this initial garden creation. After establishing level bases, the support beams were placed. Next the 3 beds were framed and built.
My husband created these beautiful beds mainly utilizing using recycled materials from previous projects.
Mark designed the raised boxes and built them mainly utilizing recycled materials. I learned about companion plants and the most successful vegetables to use for newbies first attempts at growing vegetables.
Gogo Family Business in Nanaimo
Next stop, was Gogo’s sawmill to purchase some local rough edge cedar planks to beautify the exterior of the beds. The Gogo family has been involved in local logging for a few generations.
Local Gogo Sawmill
The office displays amazing photos of old growth timber from past eras. Sadly, the number of these majestic trees still standing has dwindled substantially.
Historical photos of old growth trees and logging practices –many moons ago!
Green Thumb, our local nursery, sells local organic mixed soil.
Getting the right combination of soil
We needed to consider drainage and mixes of soils. This project was more complicated than we anticipated!
Wahoo! Beautiful raised beds completed and ready for planting!
Once the raised beds were lined and completed on the outside, then we commenced the process of mixing all the soil types and compost together and carefully planting the seeds being cognizant of companion planting.
Companion planting in each bed was carefully considered. Waiting….
Everything seemed to make perfect sense. But, there was much learning yet to come. The water irrigation system was set up. The trellis for the peas was up. Patiently we awaited the signs of growth.
Sophia plays with fawns in our front yard
Meanwhile, Sophia played with the neighborhood fawns. My husband and I constantly appreciate the diversity of beautiful flowers popping up around the yard.
Then finally, our vegetable gardenstarted to establish itself. Selecting fresh vegetables and herbs as you create your meals each day really is inspiring and so gratifyingly.
Loving the fresh produce each day
From this experience we learned to deeply appreciate local organic farmer market producers as we battled slugs, earwigs, cabbage worms, mildew, overcrowding, and wilting from excessive heat. There truly is a lot of thought and effort involved in producing fresh produce.
Our learning curve was steep last year, but this year we have returned with more optimism and ideas. The tomato plants are separated in their own caged pots on the sundeck.
Our veggie garden July 7th 2021
We have given up on iceberg lettuce (earwigs love it) and Gai Lan (cabbage worms love it). Planting occurred a month earlier than last year (early May) with extra radishes in place. We also added raspberries and strawberries this year in addition to all of our fruit trees.
Produce from last season! The cherries are nearly ripe right now and the radishes are delicious this year!
Each morning there is such satisfaction checking the garden’s progress. We wait with inspired anticipation to see what bounty we are offered this season.
Keep smiling! Upcoming blog posts reflect hiking, kayaking, and outdoor exploration on Vancouver Island.