During the lockdown periods caused by the global Covid 19 pandemic, you may feel confined but you have choices. As a Life Long Learner, I decided to use the extra time to try something completely new to me–refinishing a piano!
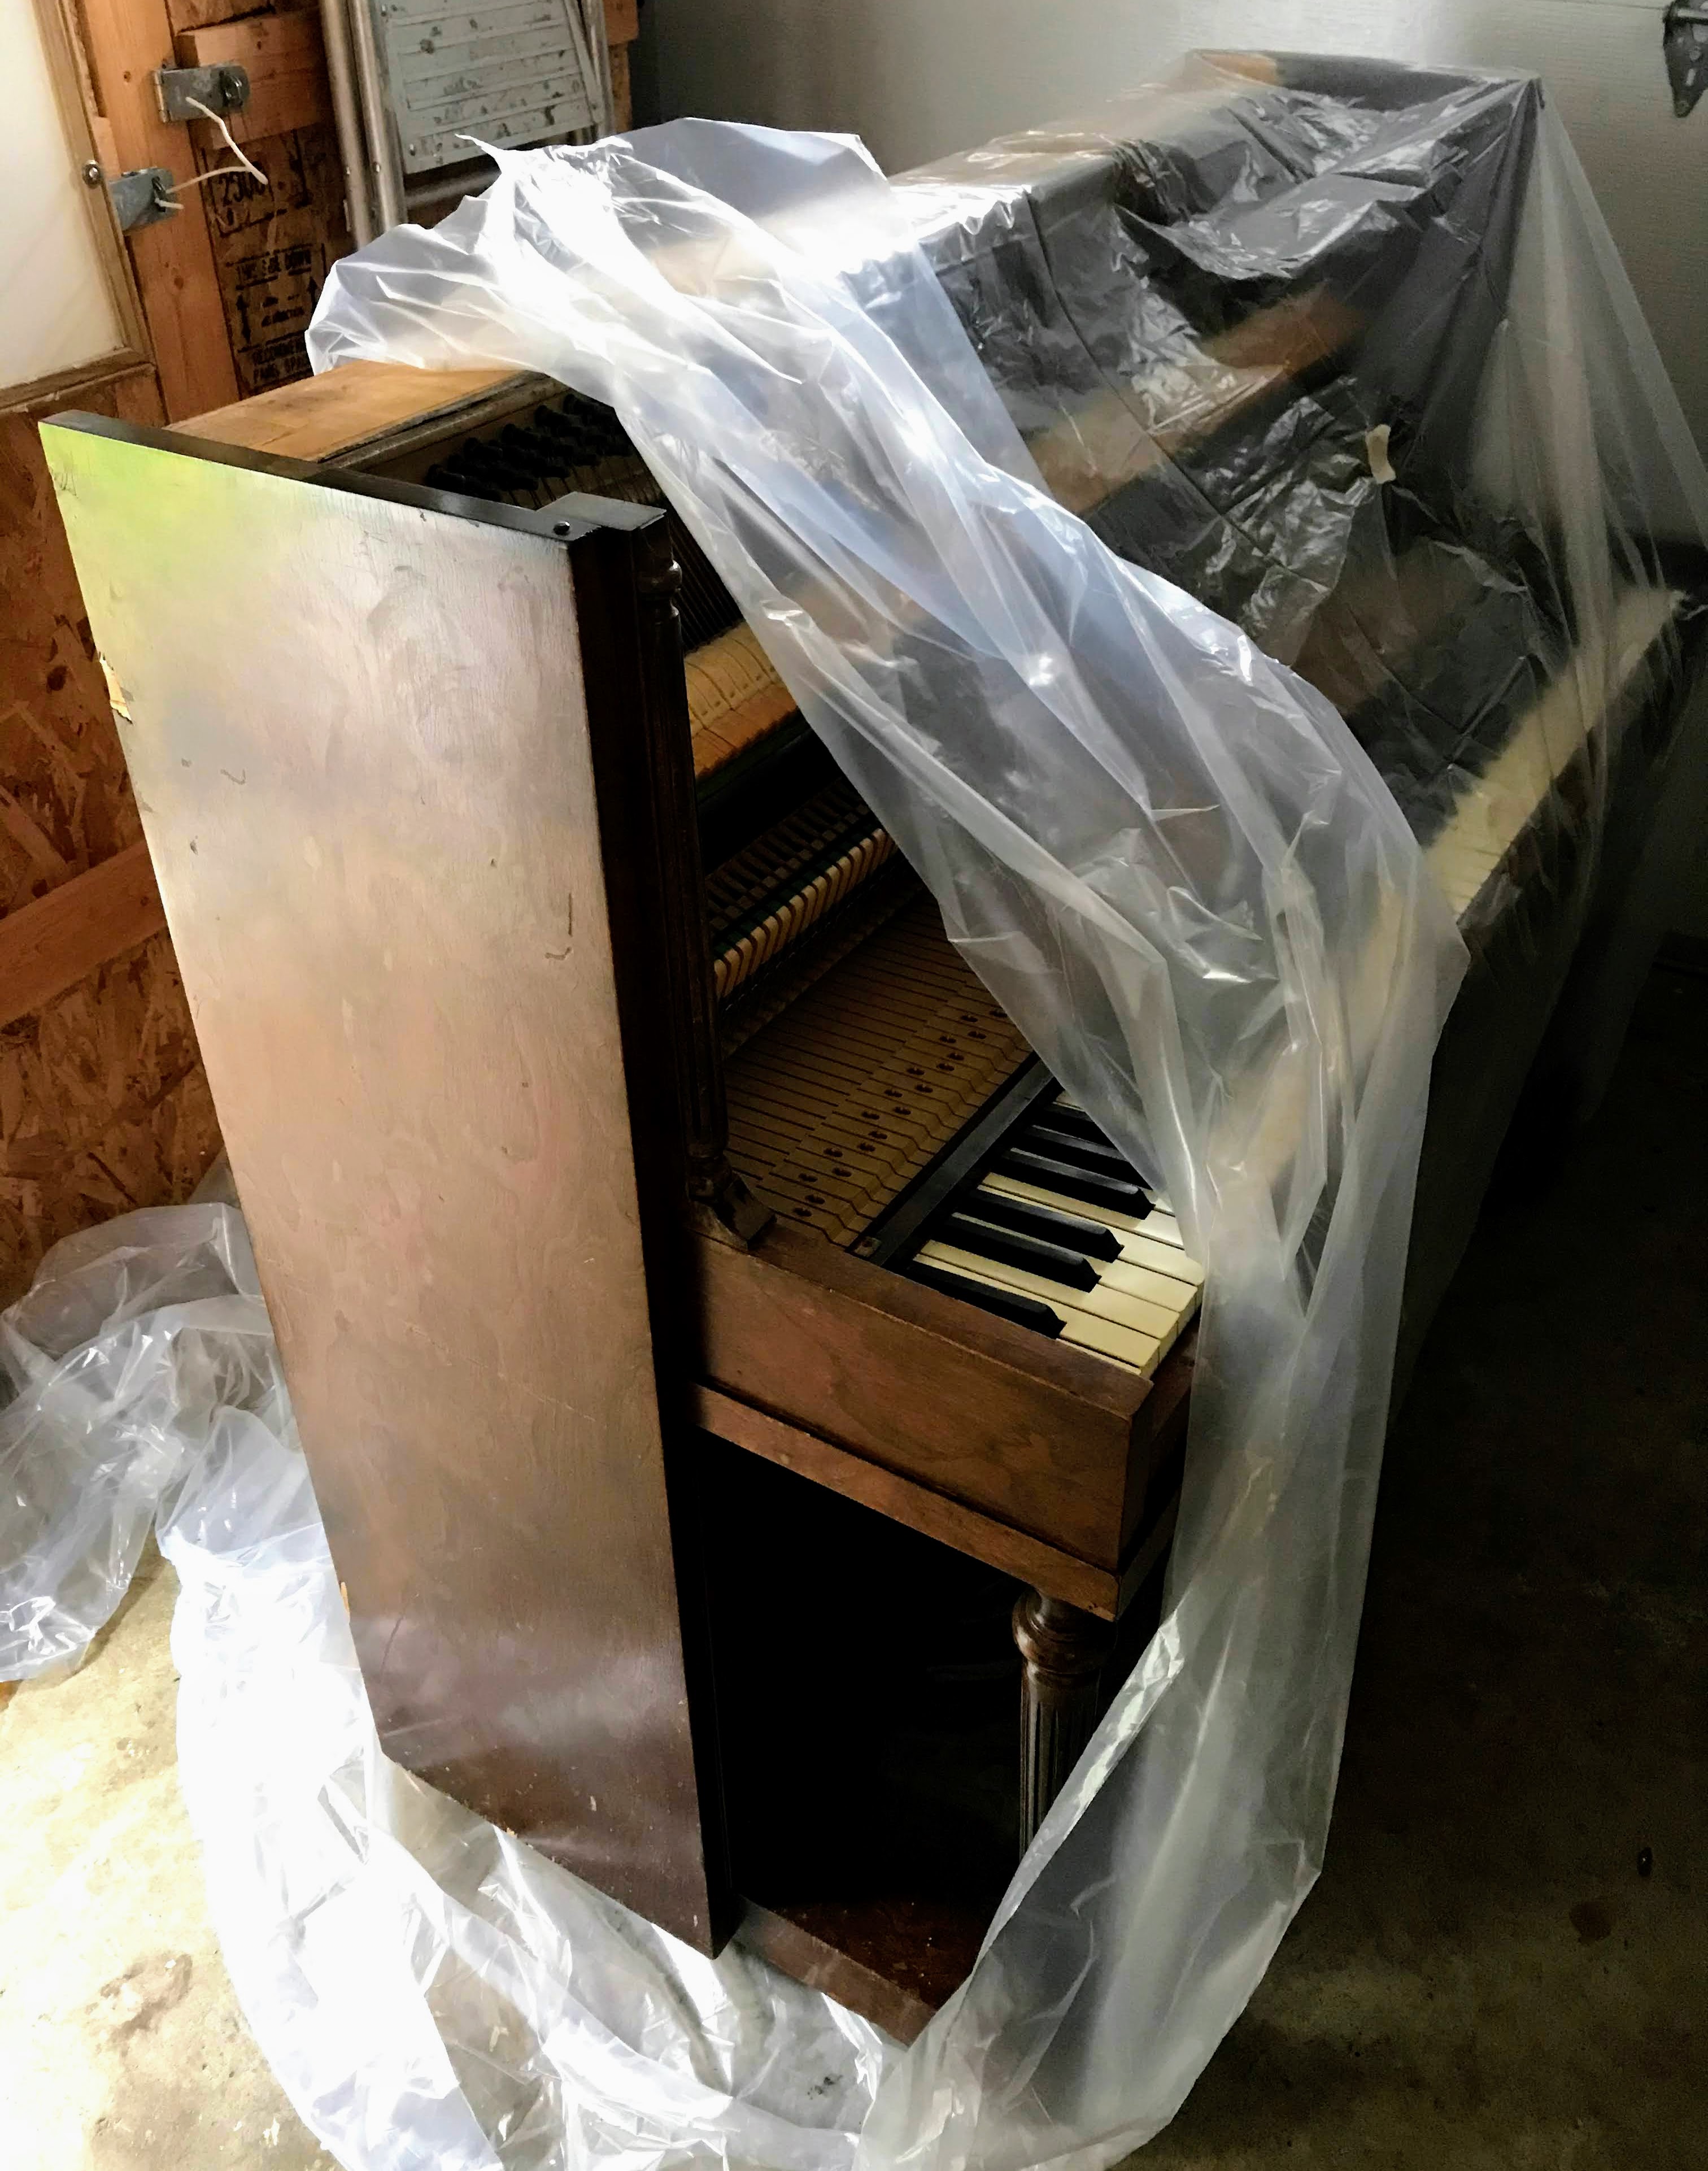
My Doherty Canadian piano was created in late 1936. It has lived a challenging life being bumped and moved many times. I purchased this piano (well used) in the 1980’s when I was studying classical music, then my son also learned to play using this instrument.

Since the last move in 2017, the piano had been sitting in our garage. Boards were stained with water spots and there were multiple grooves and dents in the wood finish. Yet, when I removed the plastic cover and opened the keyboard lid, the sound was still quite reasonable and keys were not sticking! It was time to rejuvenate this amazing instrument and welcome it into our new home.
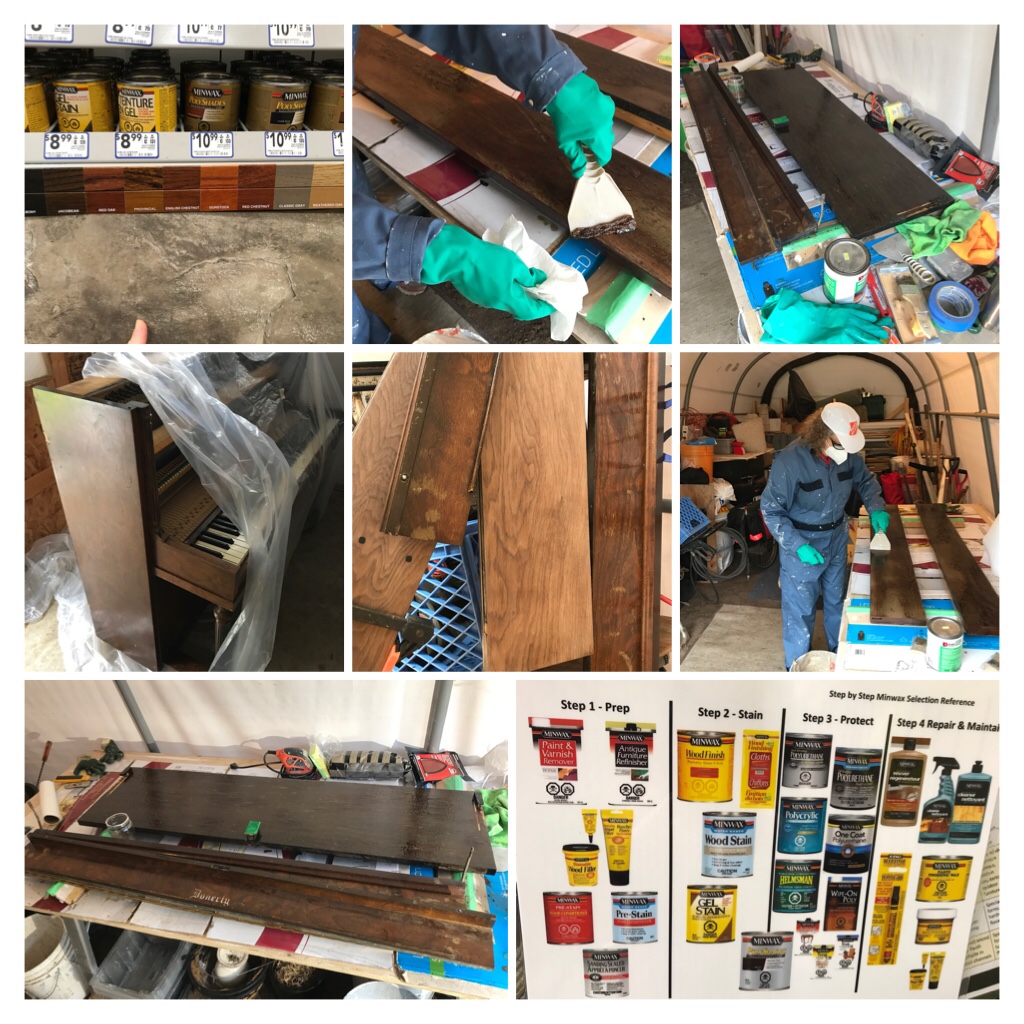
My husband has experience with refinishing and agreed to assist me if I required help. I hoped to complete this project as independently as possible.
Step One ….Watch YouTube videos about refinishing furniture including hints from piano specialists. I discovered there are so many opinions and diverse thoughts about the refinishing process. It appeared more research was necessary! Hardware stores and paint/stain sections, were visited and information was requested from “experts“. (Or at least most felt they were experts). More videos were observed. I discussed my thoughts and plans with my husband.
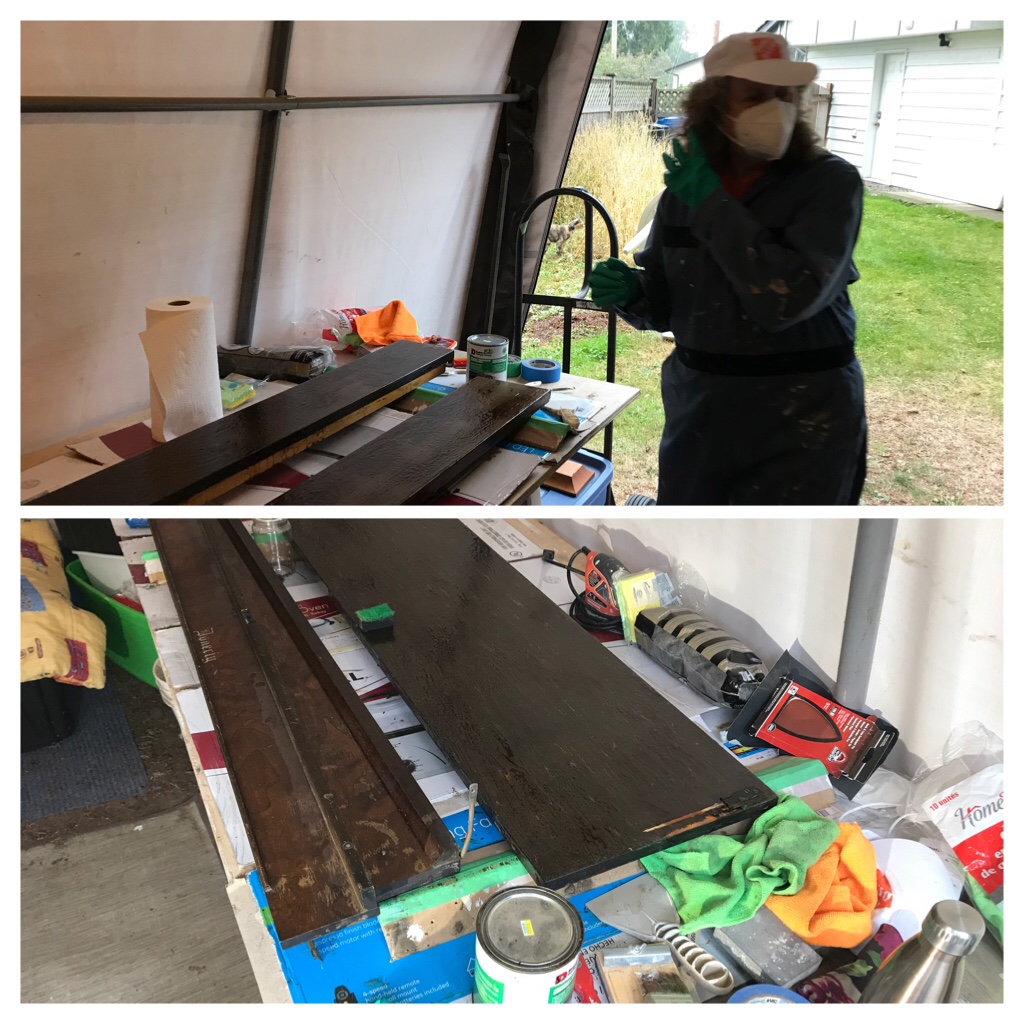
Step Two… Prepare your working space in a well ventilated location and purchase the necessary supplies for the refinishing job. (Be prepared for many future trips to stores to obtain more supplies as necessary). If you do not own the necessary tools …purchase what you require or borrow from your very supportive husband!
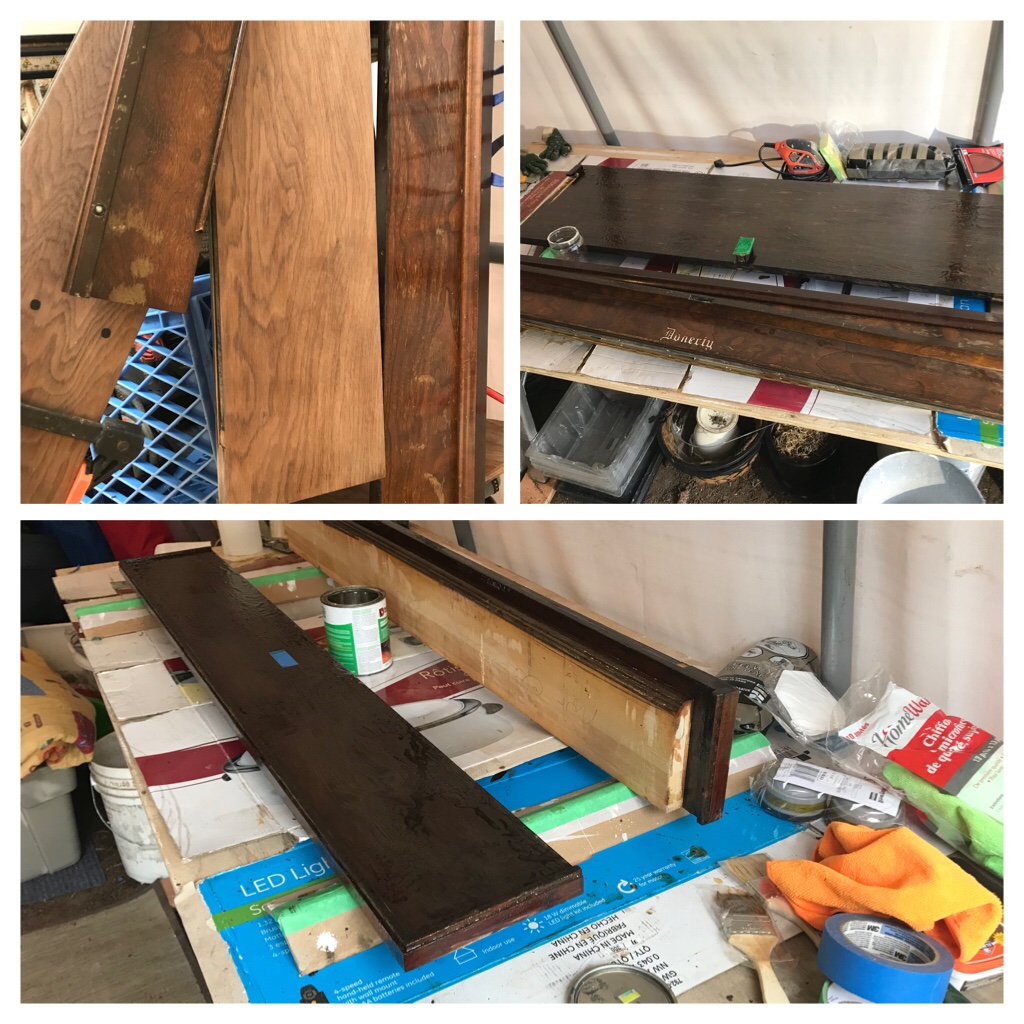
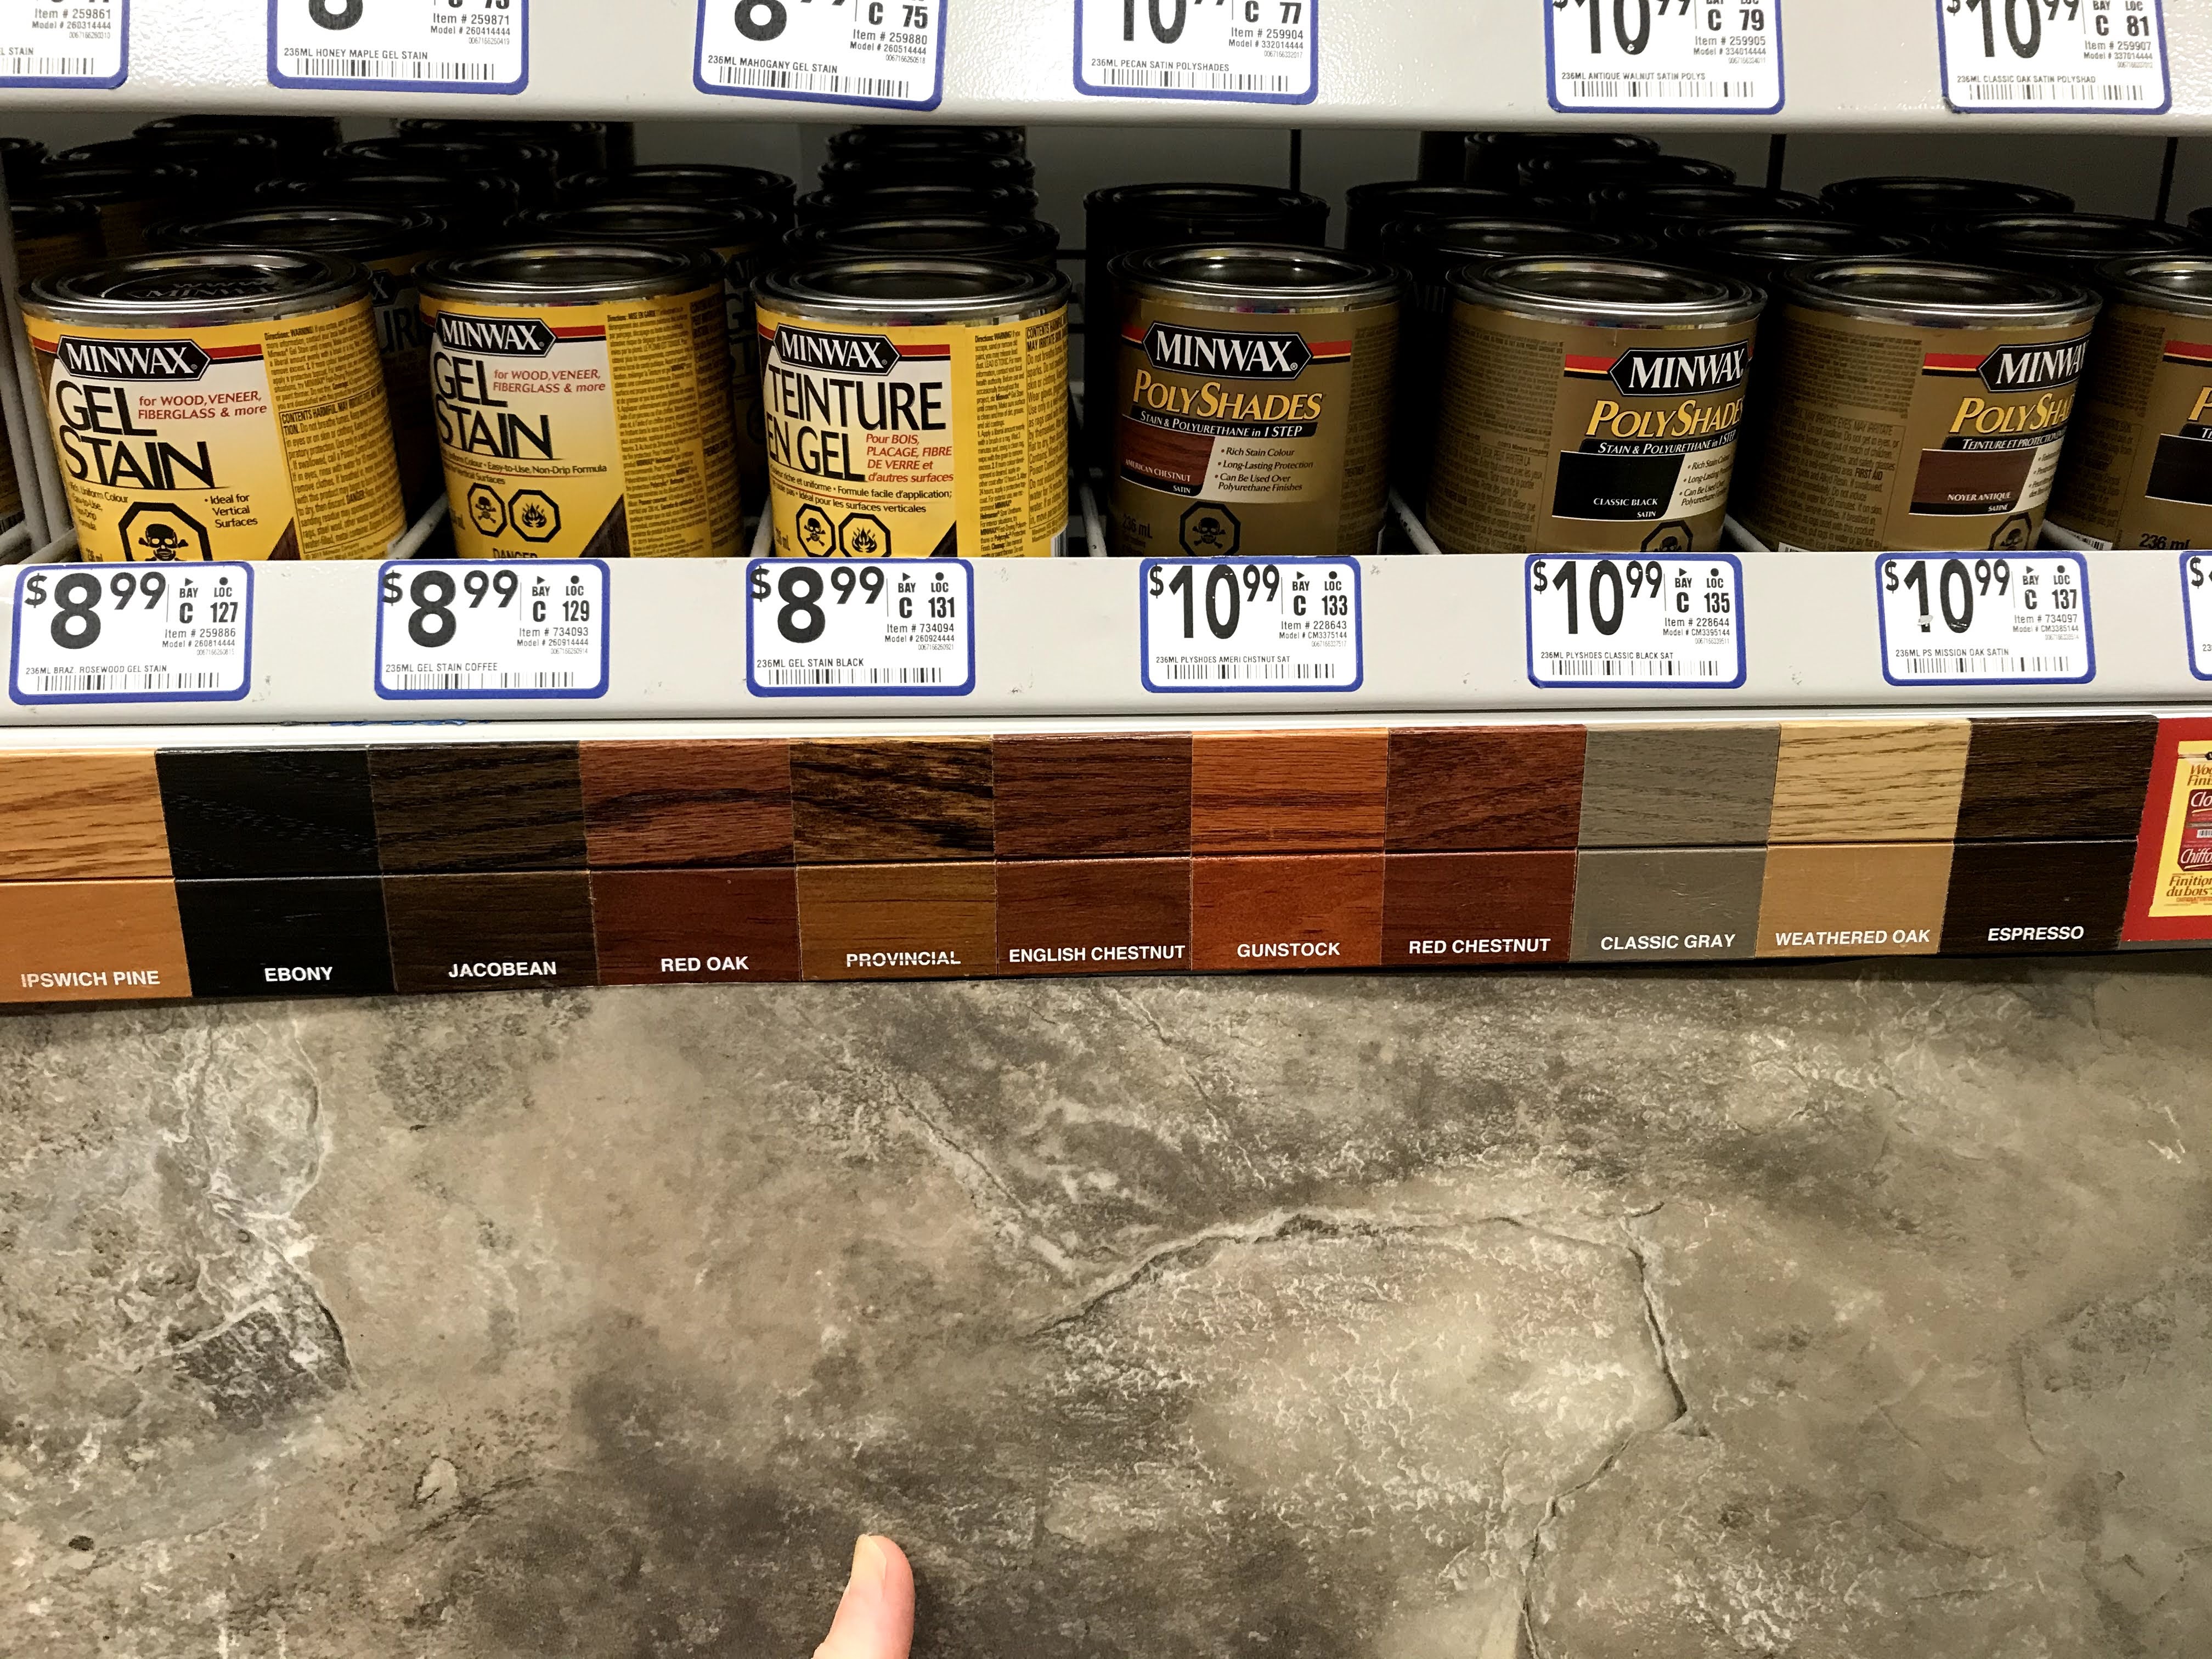
Step Three…Remove as many boards as possible without damaging the workings of the piano. The boards are much easier to clean, sand, strip, prepare, condition, stain, and top coat when they are horizontal! Remove the hinged metal strips from the boards. Select the finishing color you wish to achieve–stain or paint. I selected Espresso stain.
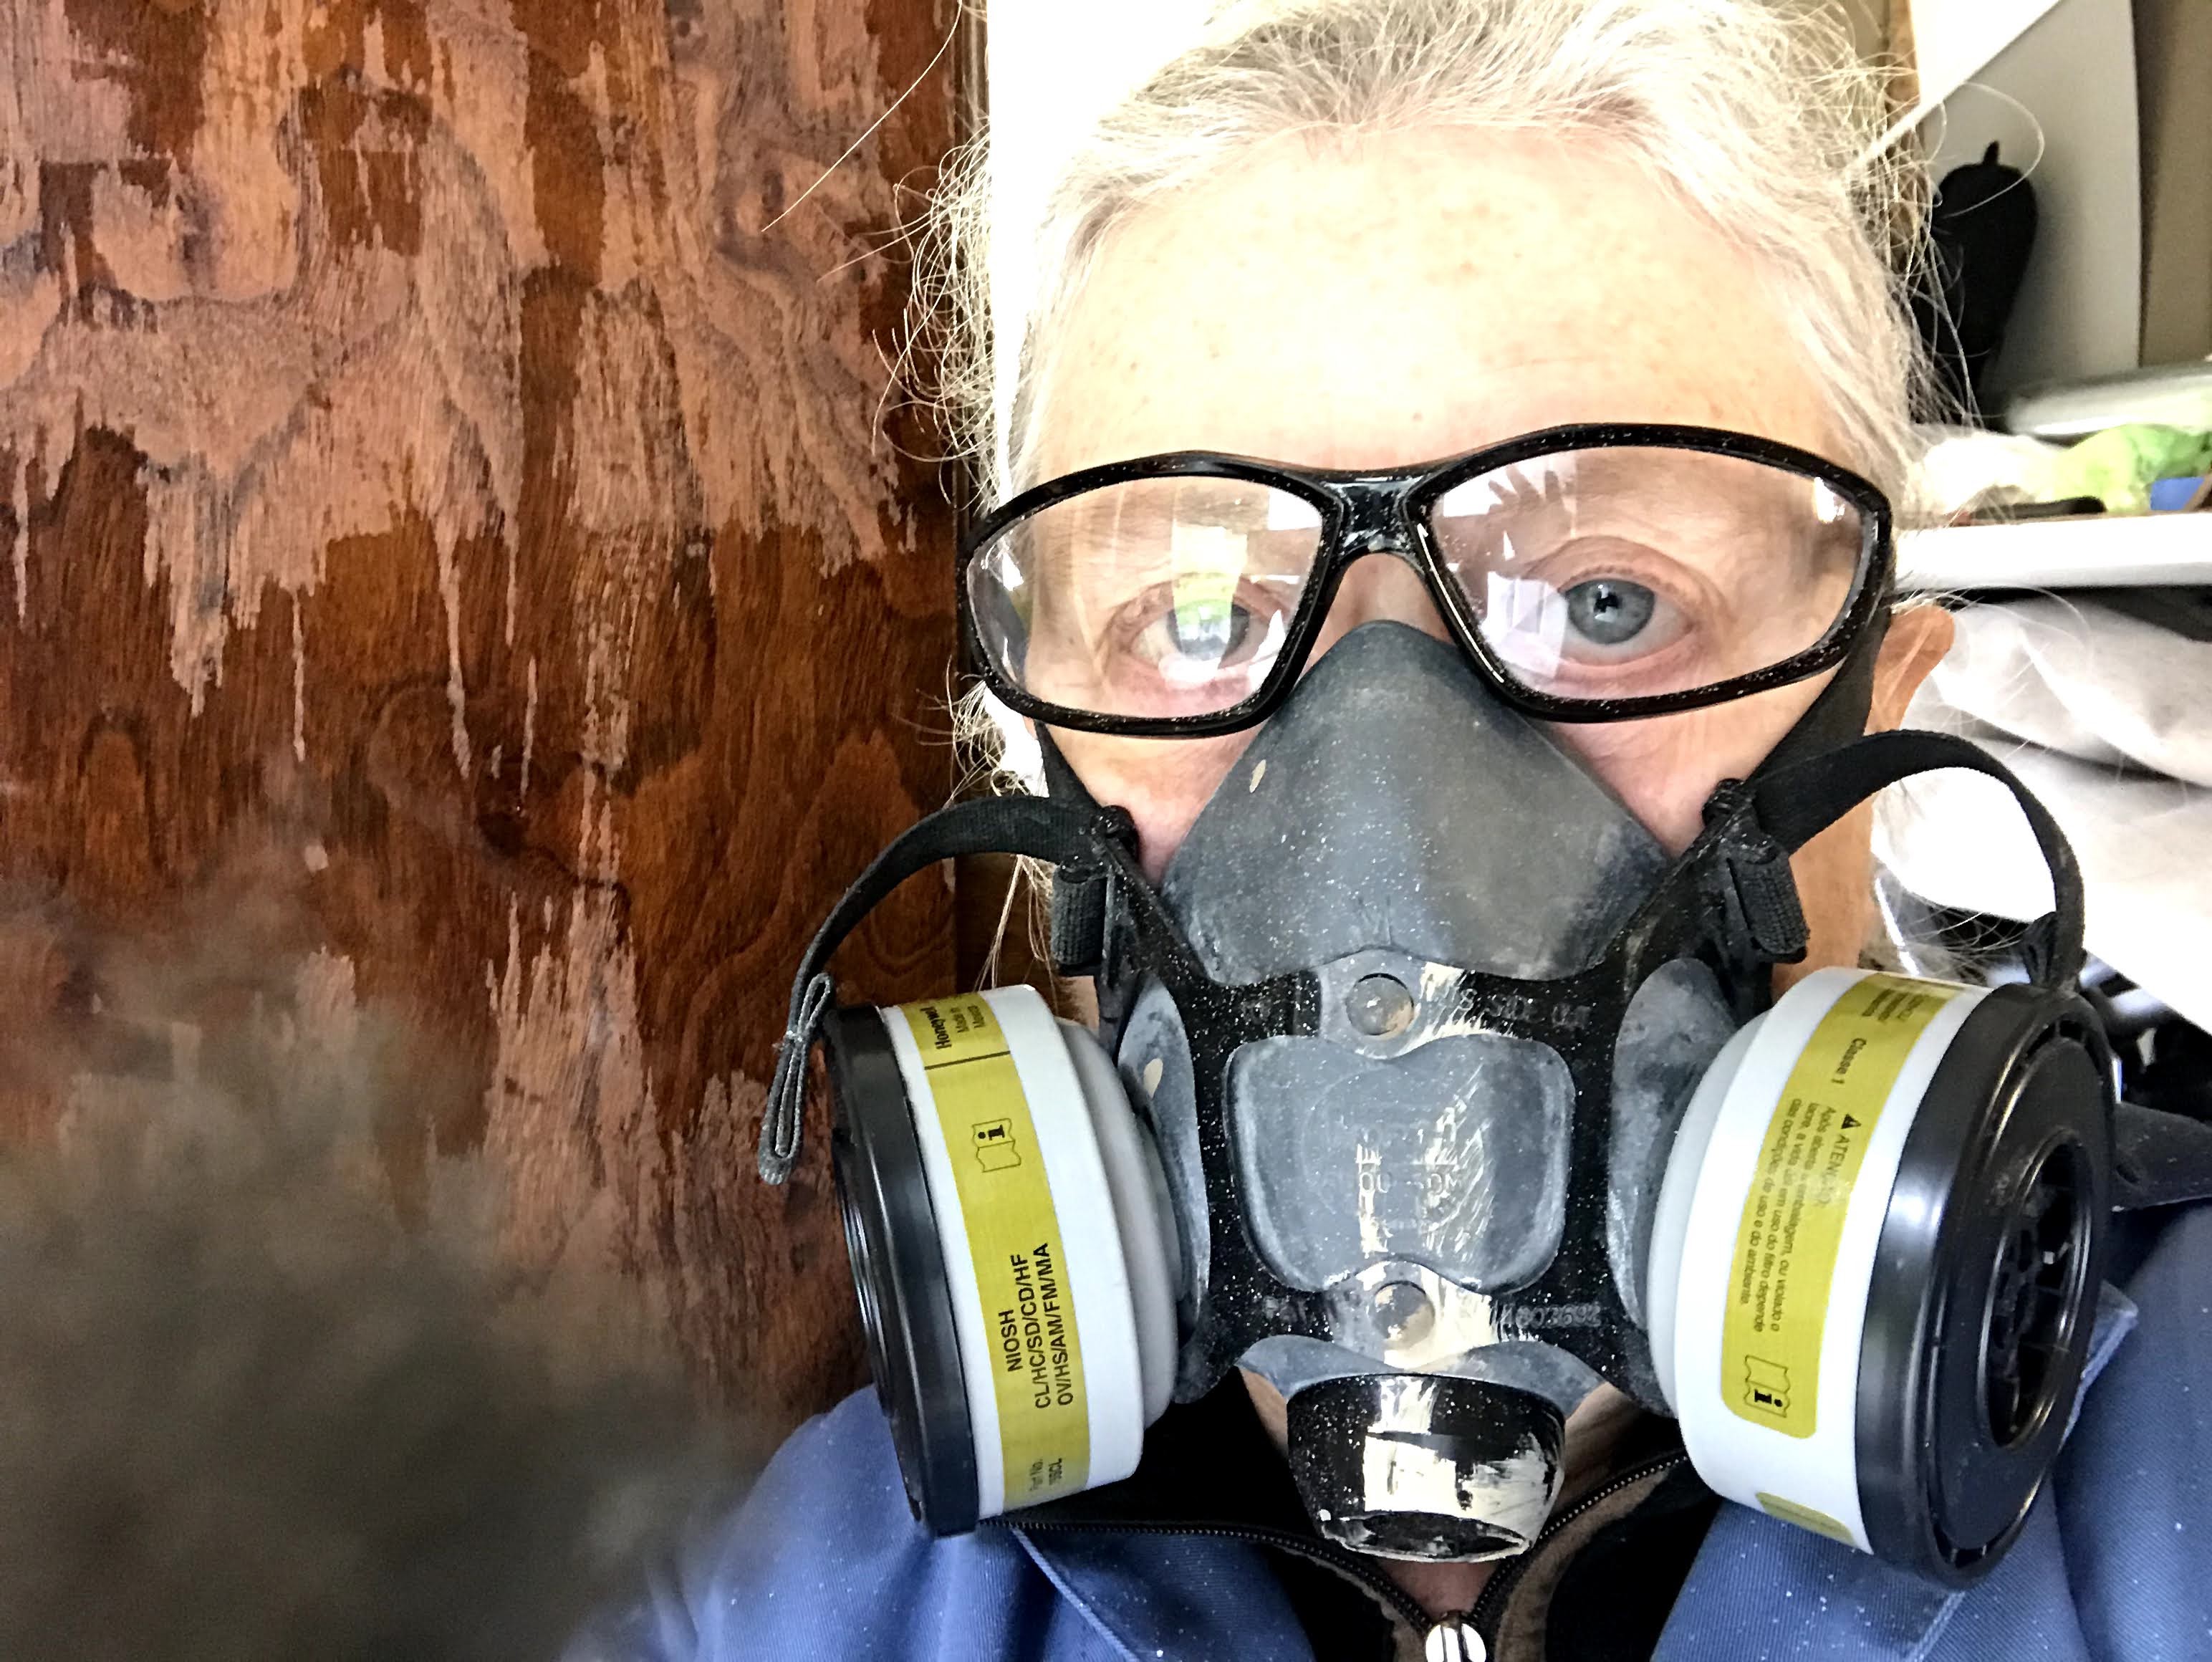
Step Four…Prepare to get dirty and look like a version of Darth Vader. P.S. I worked on this project nearly every day for close to 6 weeks. I consumed a bag of clean rags, 2 boxes of steel wool, sand paper, paper towels, several pairs of paint gloves, brushes, wood filler, putty knives, and containers of stripping solvent, wood conditioner, stain, and poly finish. Refinishing a piano is a labor of love and it is not cheap!
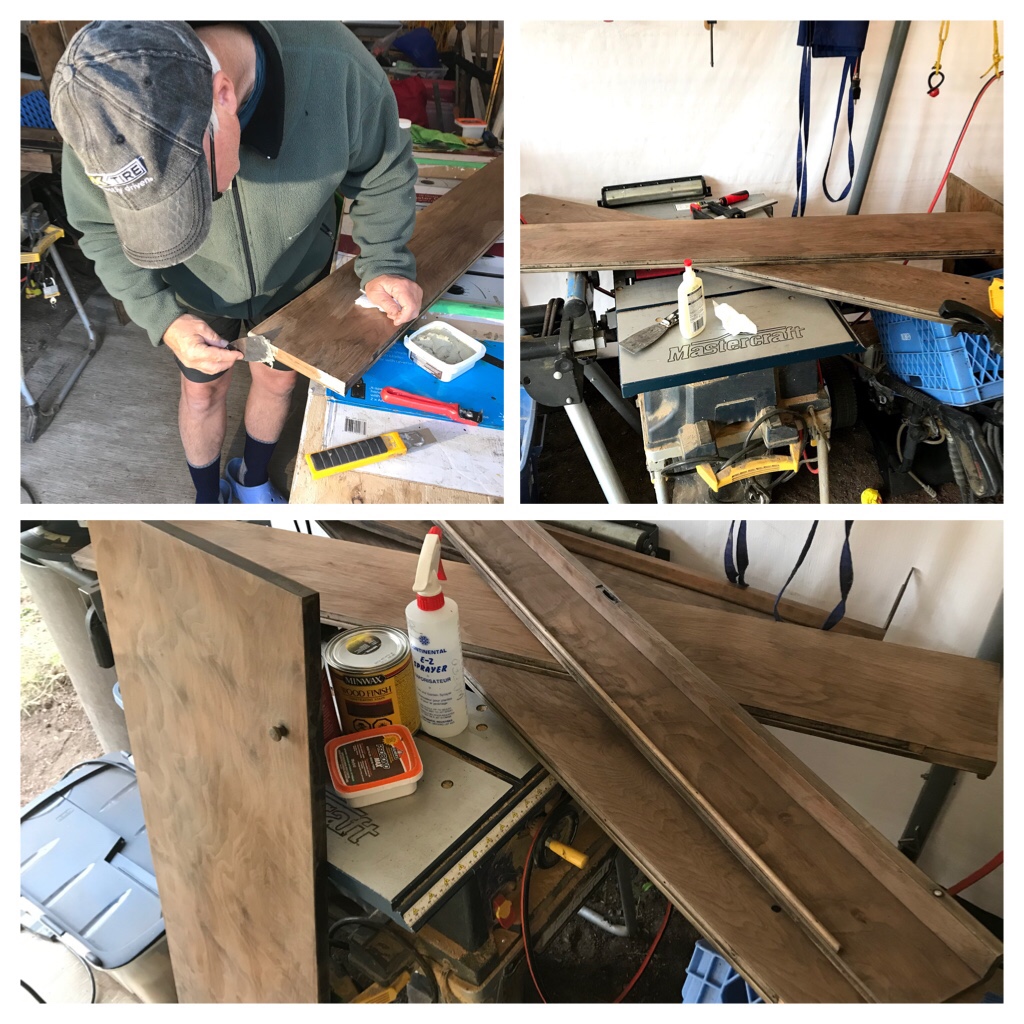
Step Five…Removing the old existing stain/color off the wood boards was a fascinating process. Some boards had terrible water stains from plants which had been sitting on the top of the piano. After stripping the previous finish off the boards, I was shocked at how new the boards looked. Strip and sand. Strip and Sand. It took 3 or more attempts at stripping/sanding each board to achieve a clean new wood surface.

Step Six…Fixing the grooves and imperfections in the wood. It is really hard to make the areas where filler is used match the wood color when it is stained, so we sanded out some imperfections and only used filler where it was really needed. My husband assisted with this. I found this part a bit tricky.
Step Seven…Adding colour to the wood. Don your Darth Vader attire because the process of adding wood conditioner and stain was very stinky! Without good respiration support, you might feel light headed and probably have quite a bad headache. Drying time for each application is specific and I needed to repeat the process 4 times. Each application made the stain finish a bit darker in color. I was aiming for Espresso, but could not get quite as dark a shade as I had originally hoped for.
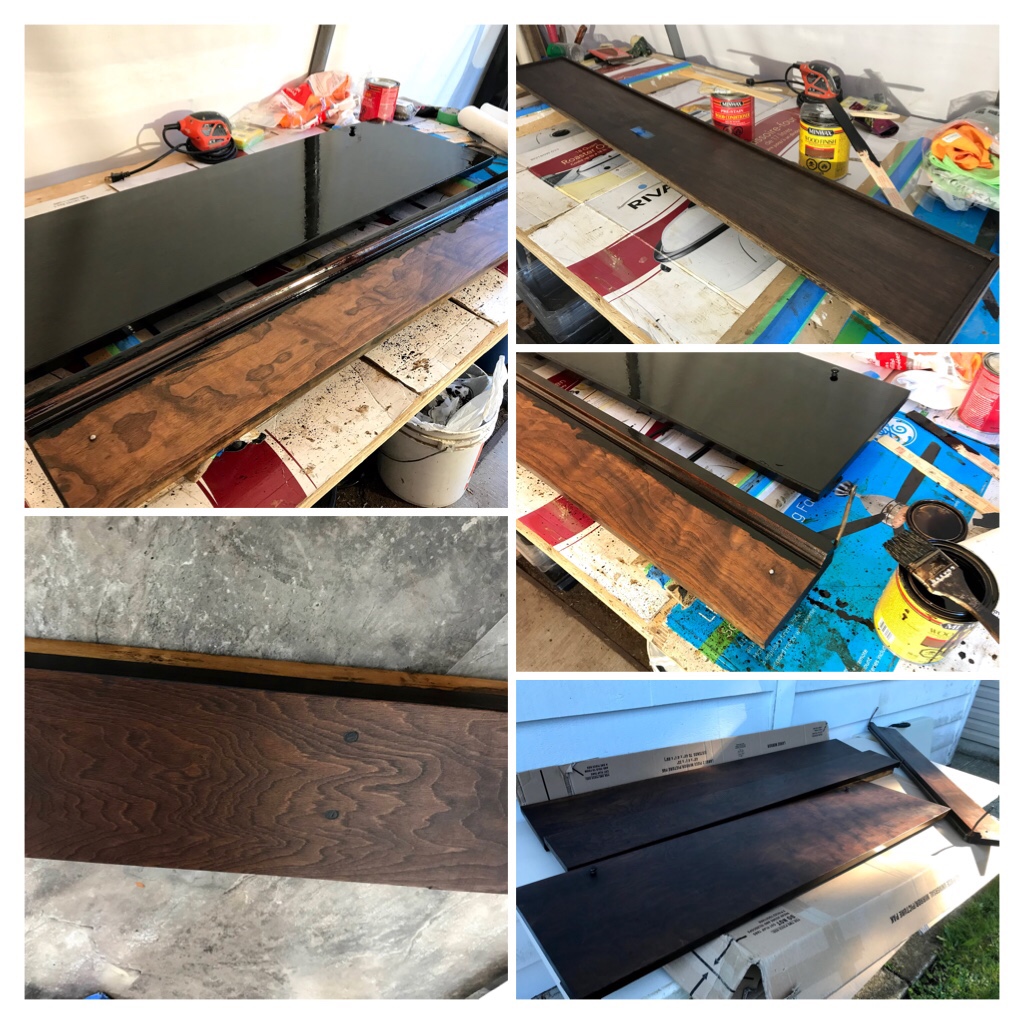
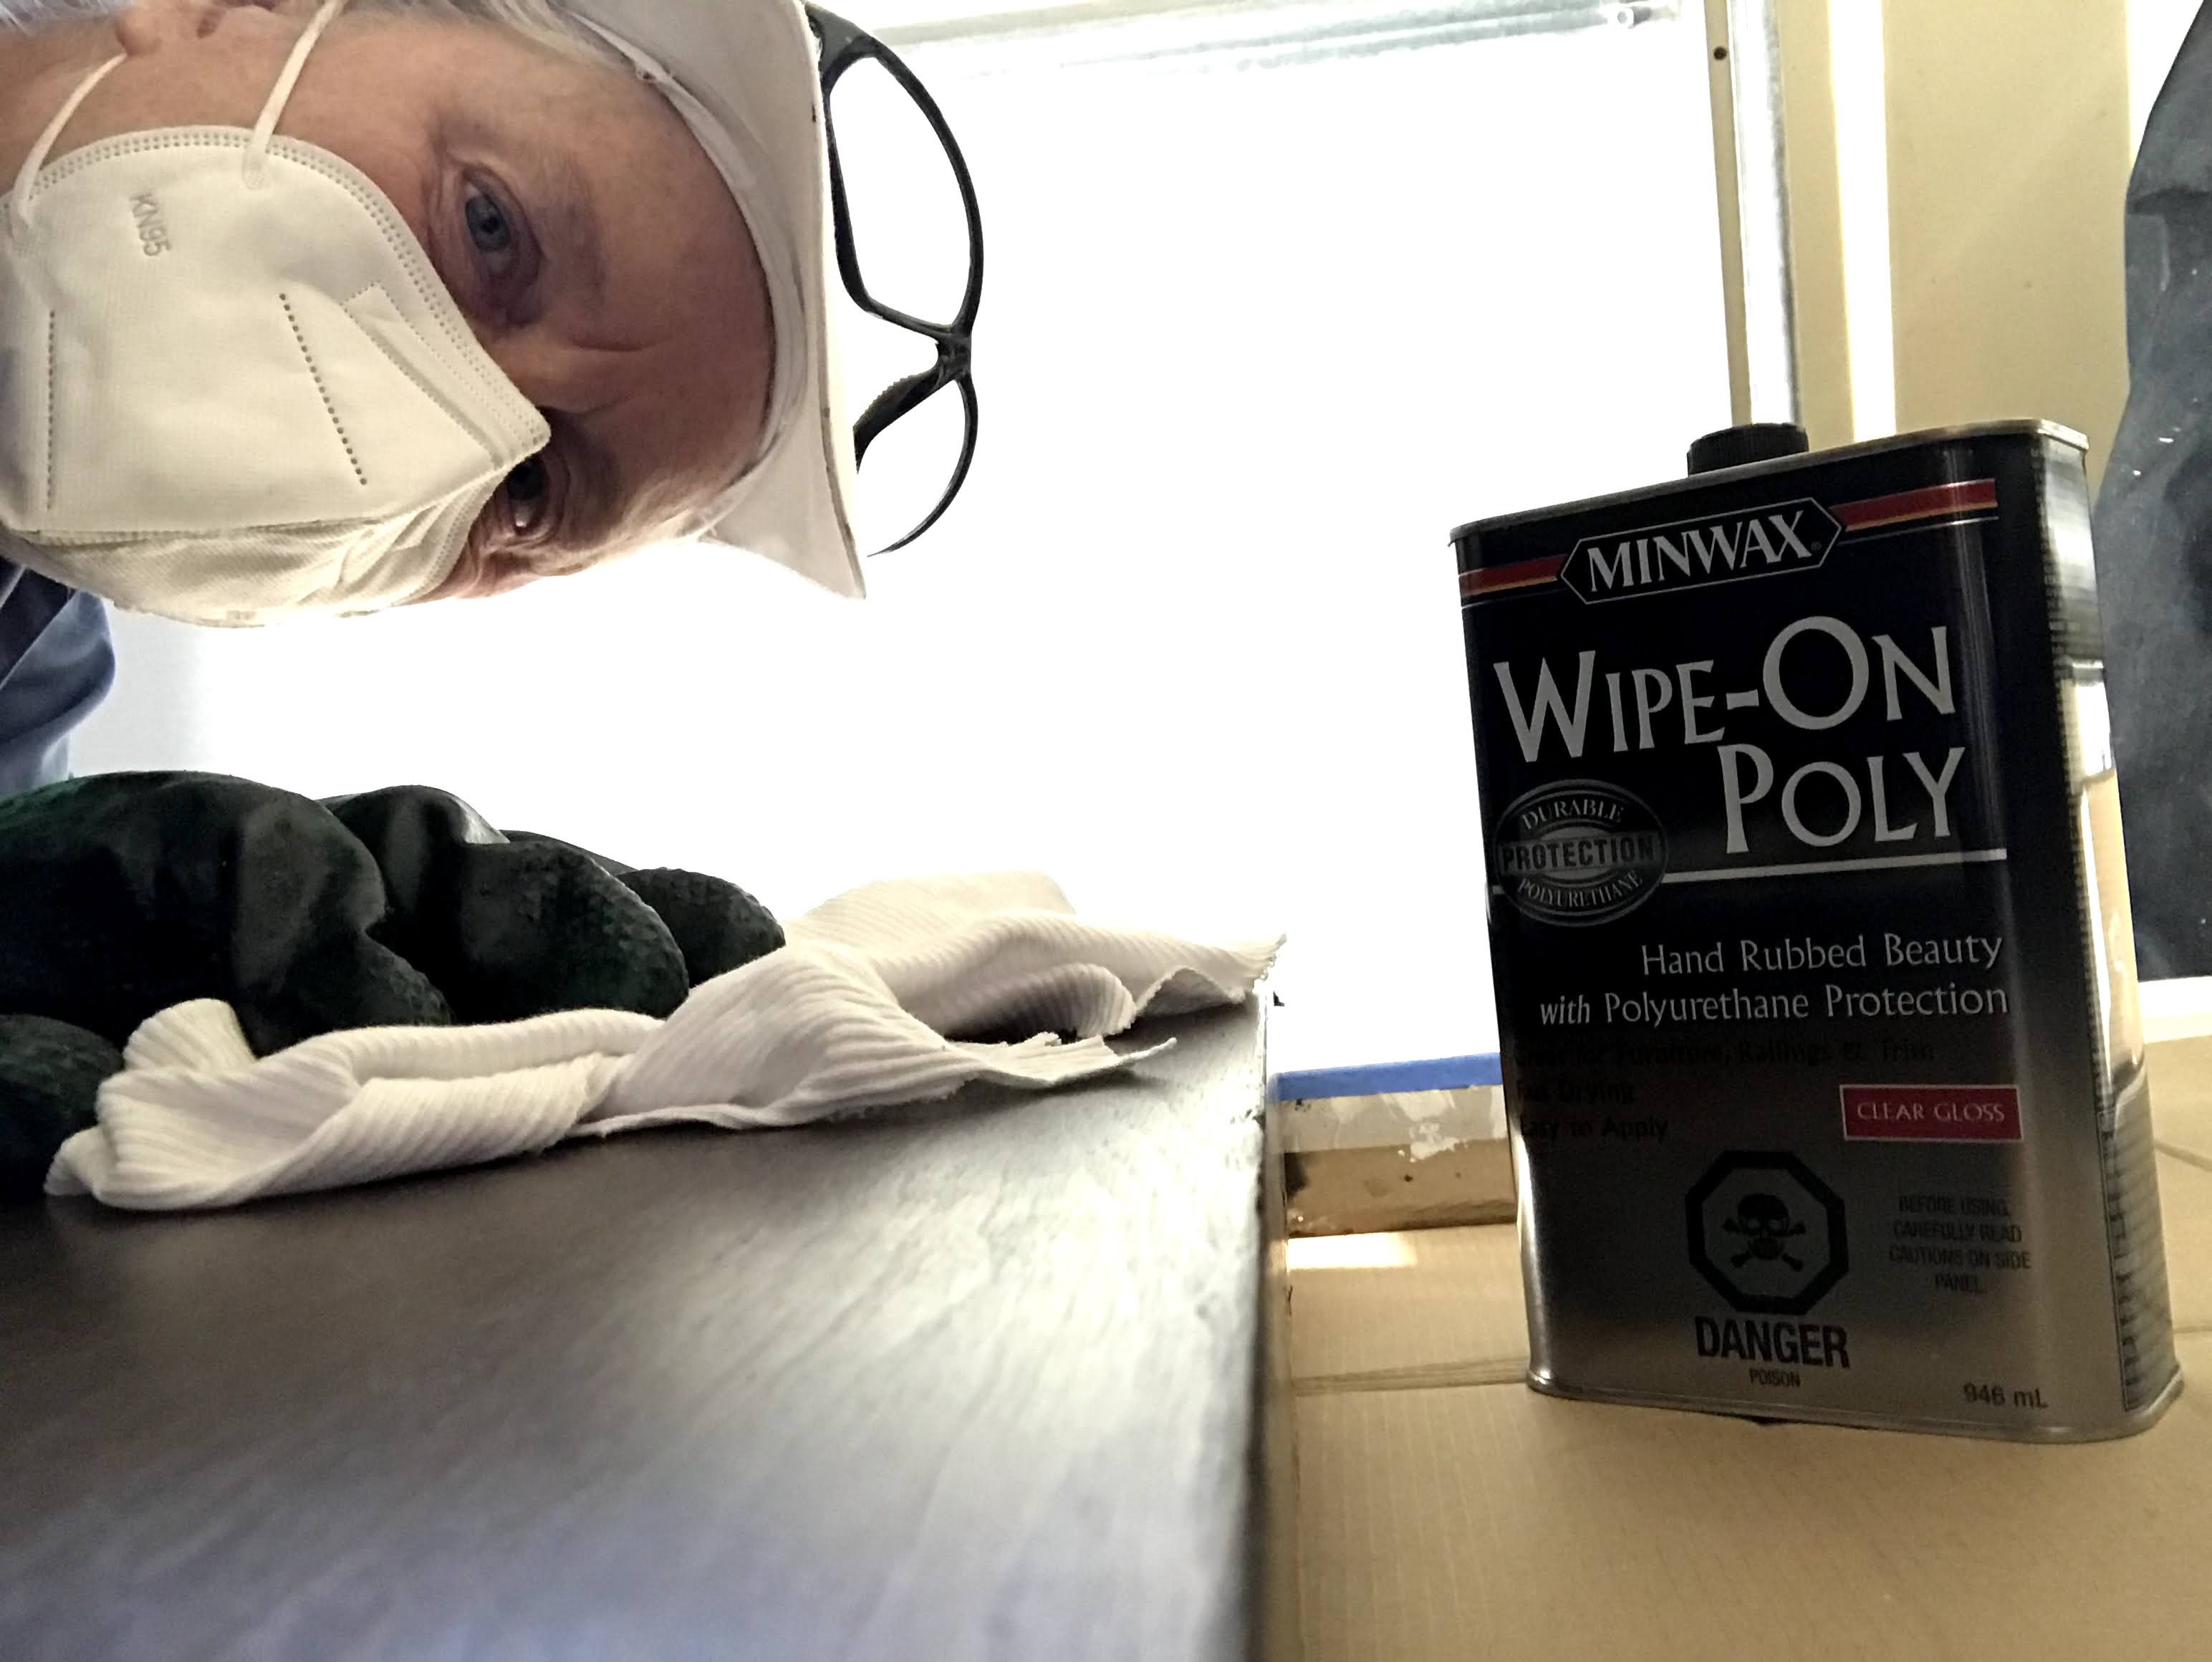
Step Eight...Protective coating time! I chose to use the Poly Wipe On Protective coating on the wood. This process also required several coats.
Step Nine…Now comes the fun part! (I say in jest!). You return to the piano and start the entire process from the beginning on all the vertical surfaces/boards on the piano!
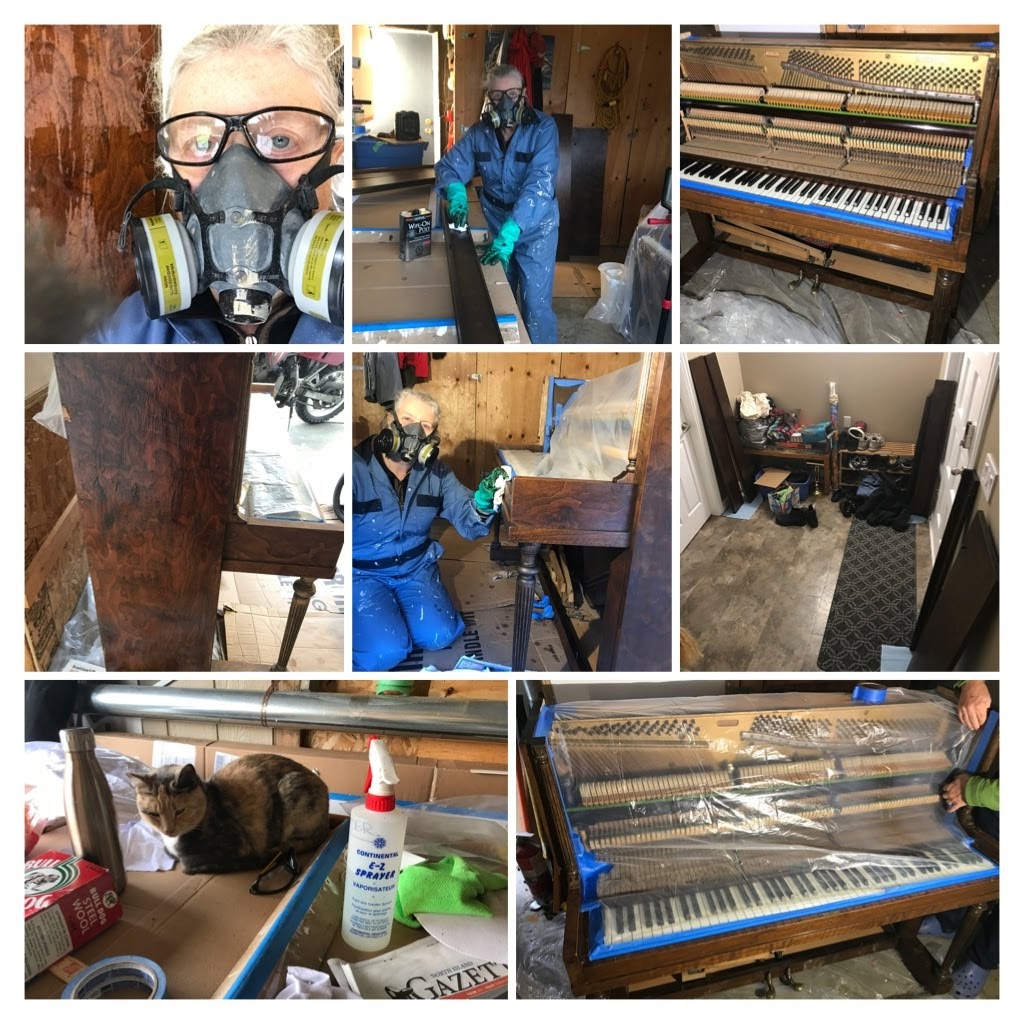
Step Ten…As all the liquids tend to run on vertical surfaces…Make certain you carefully mask any sensitive areas (such as the keyboard) with plastic protection and cover your floor area with sheets to catch the dripping mess! We actually used large cardboard boxes from our appliances on the floor below the piano. They worked well and I preferred the cardboard to slippery drop sheets or plastic on the floor.
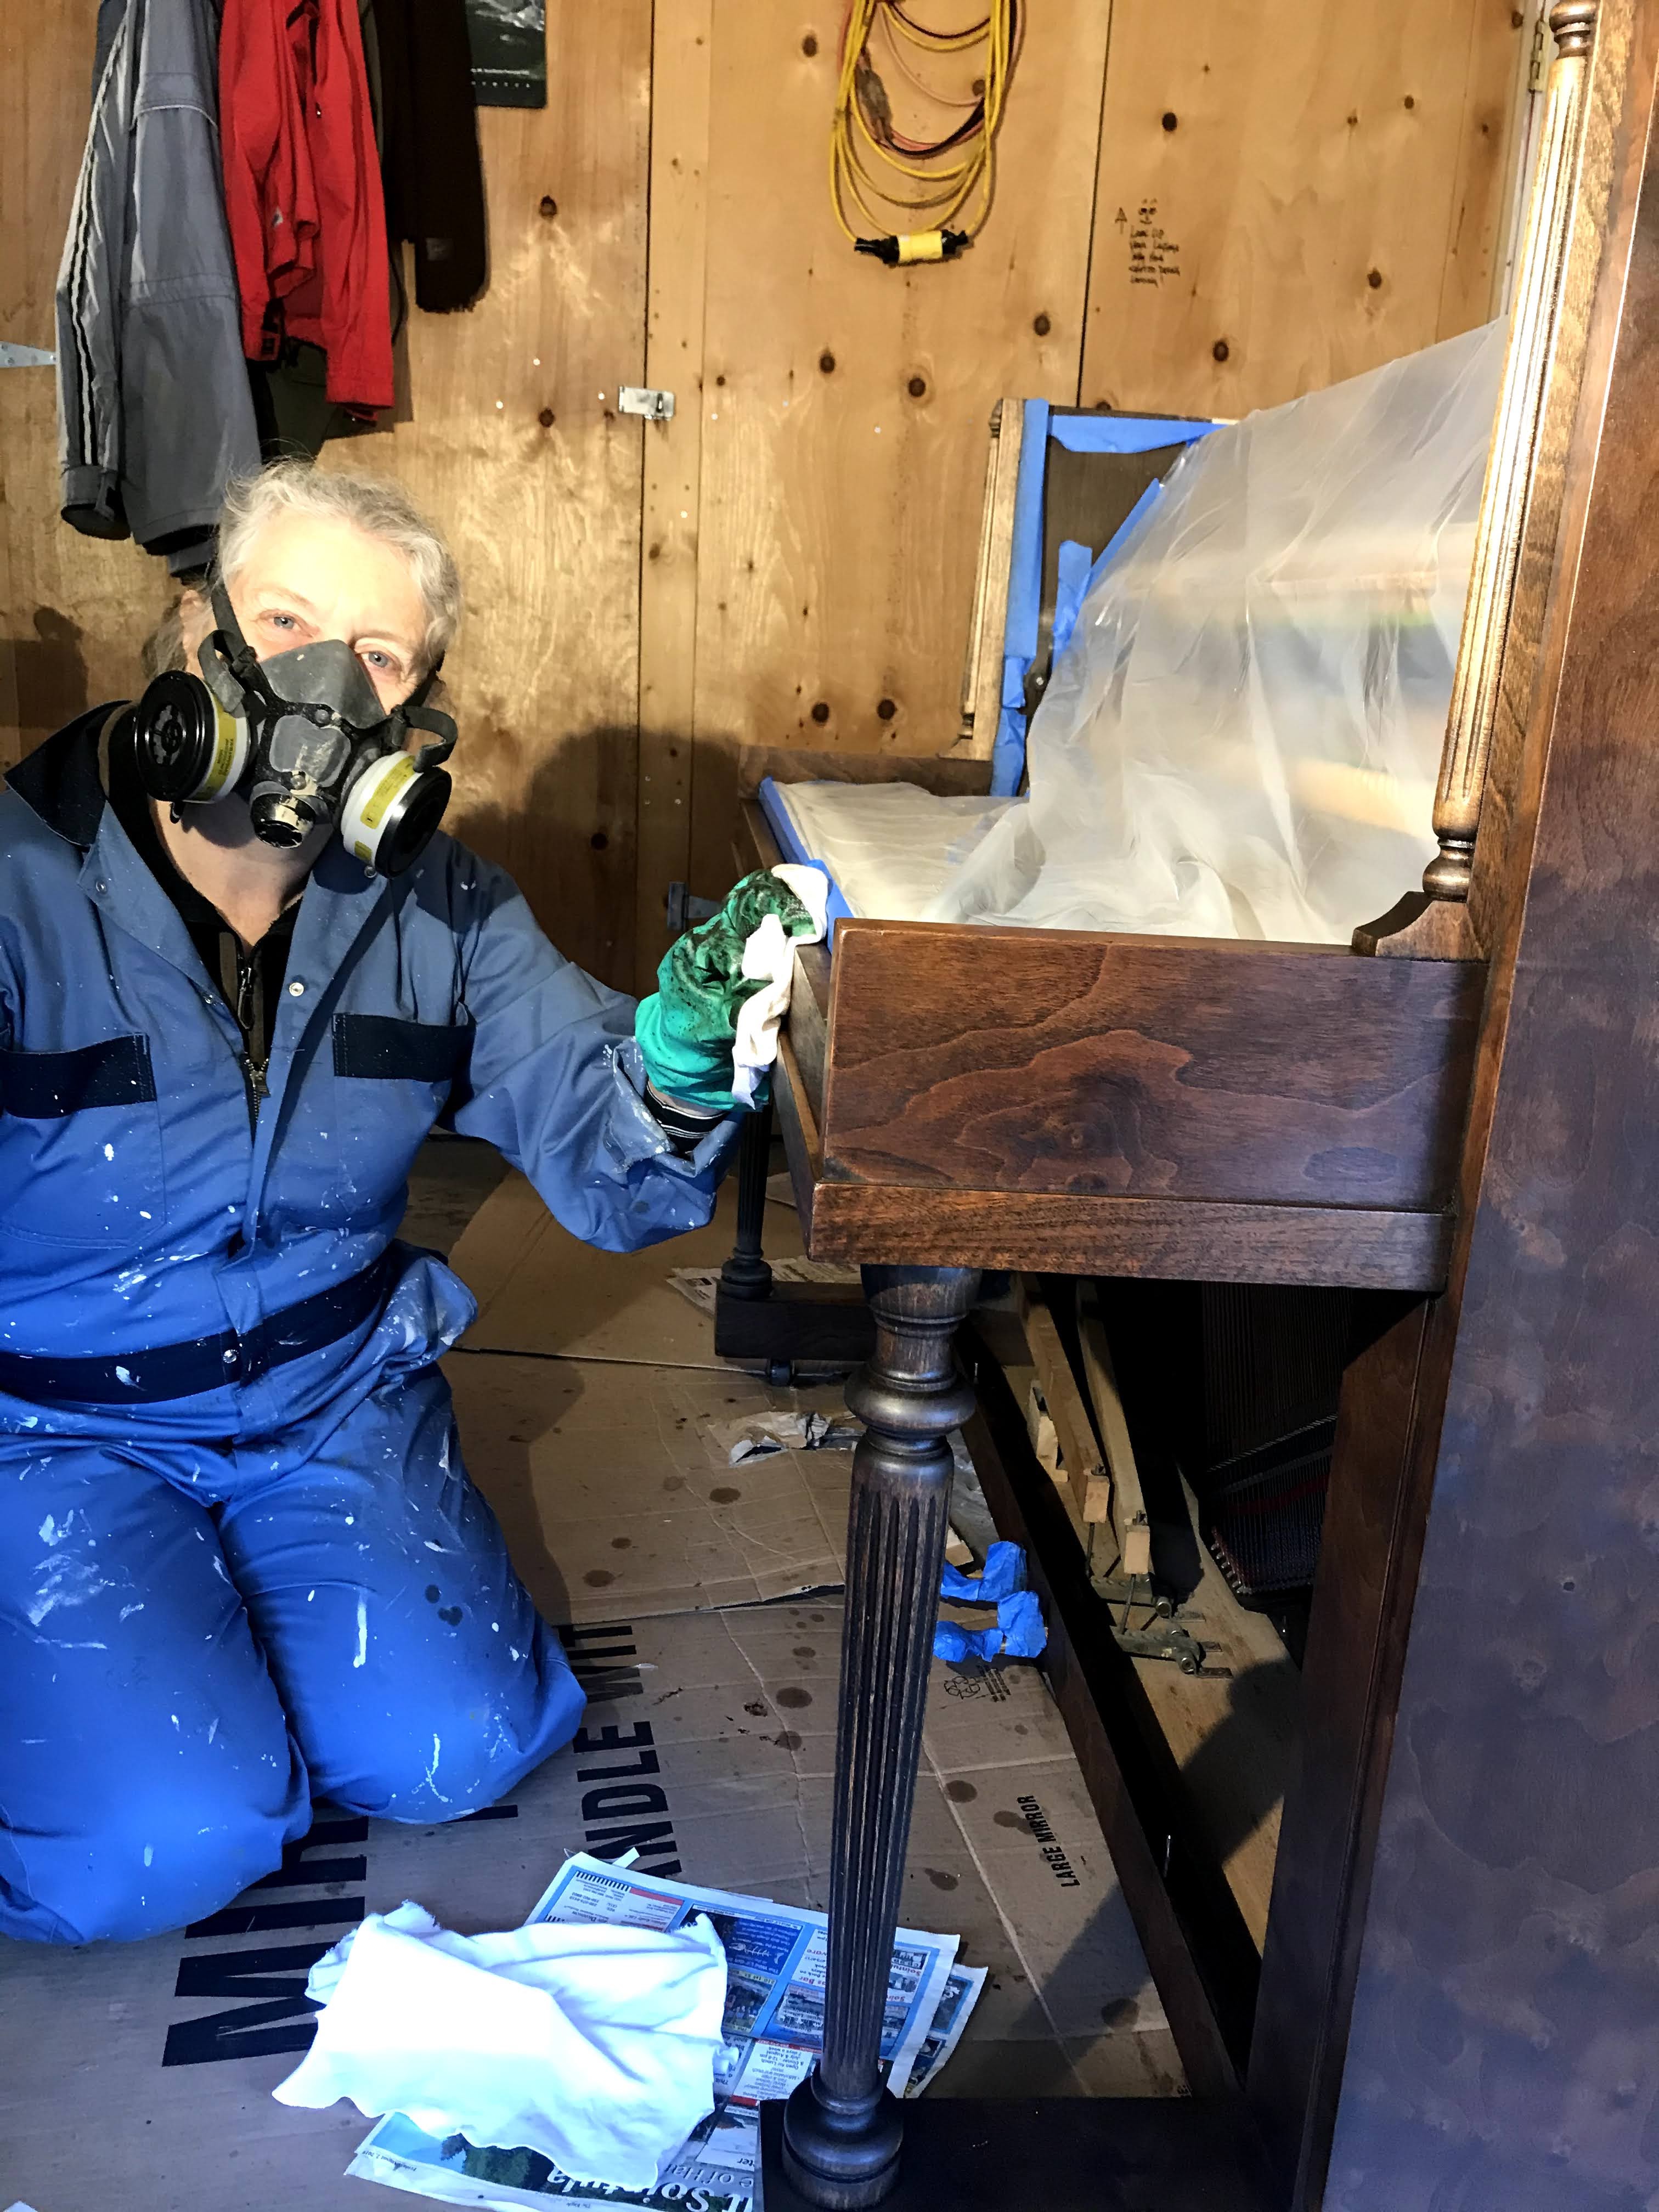
Step Eleven +… Repeat steps 5 to 8 on all vertical boards on the piano. My working area moved from outside to inside the garage during this time. I required additional lighting and needed to open the garage door for ventilation. Occasionally, our cat Sophia would sneak inside to check on the piano refinishing progress.
Step Twelve…Moving the piano from the garage inside the house to its new location in our foyer on the first floor. This was such an exciting event! Finally, we reattached all the finished boards in their correct locations and I reattached the 2 hinge pieces for the keyboard cover and top section of the piano. Here is a short video about this stage of the project!
I must confess I felt pretty proud of my first attempt at refinishing a piece of furniture. Many people have been shocked that my first project was so complex. I honestly had no preconceived ideas about refinishing, so I just naively jumped into it. I learned a great deal. Made mistakes. Tried different methods. Asked for assistance when I required help. Thanks Mark!

This project kept me busy and engaged during the Covid pandemic lockdown. Now when I look at the piano, or tinkle its ivories, I feel a special attachment to this instrument. We spent a great deal of time getting to know each other!
So….Why not try something new? Perhaps you might enjoy refinishing something in your home? Stay safe and keep optimistic. Cheers